The winter solstice offers perfect stargazing conditions with up to 15 hours of darkness. Dress warmly in layers with fingerless gloves and insulated boots. Download apps like SkySafari to locate winter constellations including Orion, Taurus, and the stunning Pleiades cluster. Protect your equipment from thermal shock by gradually acclimating it to outdoor temperatures. Use a tripod for night photography with ISO 800-3200. Join local astronomy clubs or virtual star parties to enhance your celestial exploration journey.
Understanding the Winter Solstice and Its Astronomical Significance
While many mark December 21st simply as a winter date, it actually represents one of our planet’s most significant astronomical events. The winter solstice occurs at 1:19 a.m. PST, when Earth’s 23.5° axial tilt positions the Northern Hemisphere farthest from the sun.
You’ll experience the year’s shortest day as the sun traces its lowest path across your horizon, resulting in approximately 15 hours of darkness.
These extended dark skies create perfect conditions for stargazing during winter nights. The night sky transforms into an astronomical showcase, with winter constellations like Orion, Taurus, and Canis Major prominently displayed.
Essential Winter Sky Constellations Every Beginner Should Know
As the winter solstice transforms northern skies into a celestial theater, several distinctive constellations take center stage for your stargazing adventures.
Look for Orion, the winter sky’s crown jewel, identified by its three-star belt and bright corner stars Betelgeuse and Rigel. Nearby, you’ll find Taurus with its V-shaped horns and reddish Aldebaran marking one eye.
Orion’s distinctive belt guides stargazers to winter’s celestial treasures, while Taurus watches with Aldebaran’s fiery gaze.
The Winter Hexagon offers an impressive asterism connecting six bright stars across multiple constellations, including the dazzling Sirius.
Don’t miss Gemini with its twin stars Pollux and Castor standing tall between Taurus and Cancer. Complete your winter stargazing experience with pentagon-shaped Auriga, featuring brilliant Capella at its apex.
These constellations form a roadmap for beginners, revealing the winter sky’s most spectacular features.
Dressing for Comfort: Cold Weather Stargazing Gear
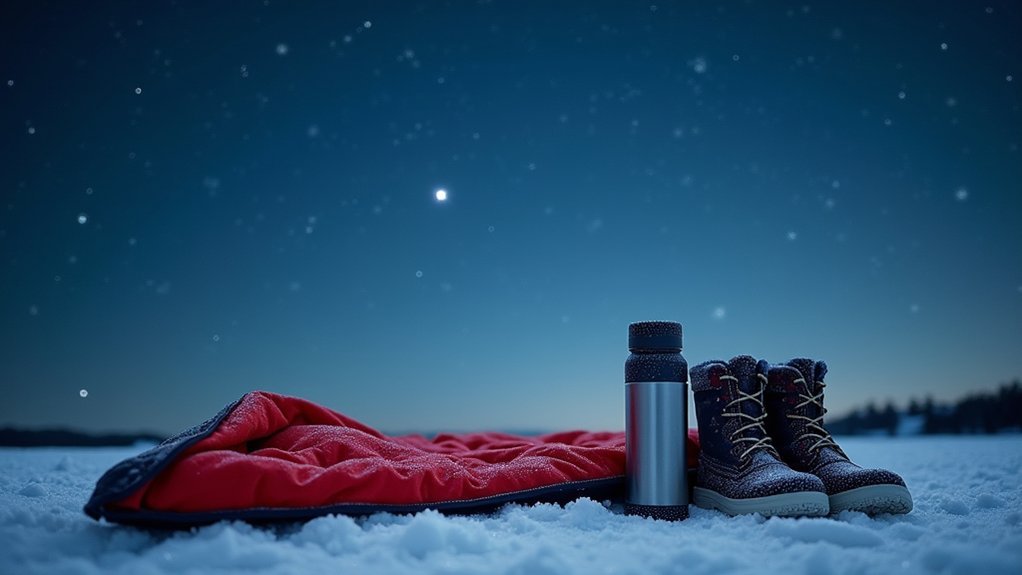
Now that you’re familiar with winter’s celestial landmarks, let’s talk about staying comfortable while you observe them. Proper dressing for cold weather stargazing is essential for enjoyable sessions.
Layer your clothing strategically to adapt as temperatures fluctuate throughout the night. Protect your extremities with insulated boots and double socks, keeping feet warm during extended observation periods.
Opt for fingerless gloves or mittens that provide warmth while maintaining the dexterity needed to handle your equipment. Don’t forget a warm hat or beanie—you’ll lose significant body heat through your head if it remains uncovered.
For additional warmth during those long stargazing sessions when you’re standing still, tuck hand and foot warmers into your gloves and boots. These simple additions can transform a freezing, uncomfortable night into a magical winter astronomy experience.
Top Celestial Targets for Winter Solstice Viewing
The winter solstice sky offers some of the year’s most spectacular celestial views for beginners and experienced stargazers alike.
Orion dominates this season with its distinctive three-star belt and bright Betelgeuse, making it perfect for novice observers.
Orion’s iconic belt and ruby-red Betelgeuse stand as winter’s celestial gateway for beginning stargazers.
Look for the Pleiades (Seven Sisters), a brilliant cluster containing hundreds of young blue stars that’s easily recognizable even without equipment.
Don’t miss the Orion Nebula in the constellation’s sword—visible to the naked eye but transforming into a cosmic flower through a telescope.
The winter night also showcases the Winter Hexagon, an asterism formed by six bright stars including dazzling Sirius—the brightest star in our night sky.
You’ll find Sirius low on the horizon during winter months, making it an unmistakable target for your stargazing sessions.
Binoculars vs. Telescopes: Choosing Your First Stargazing Tool
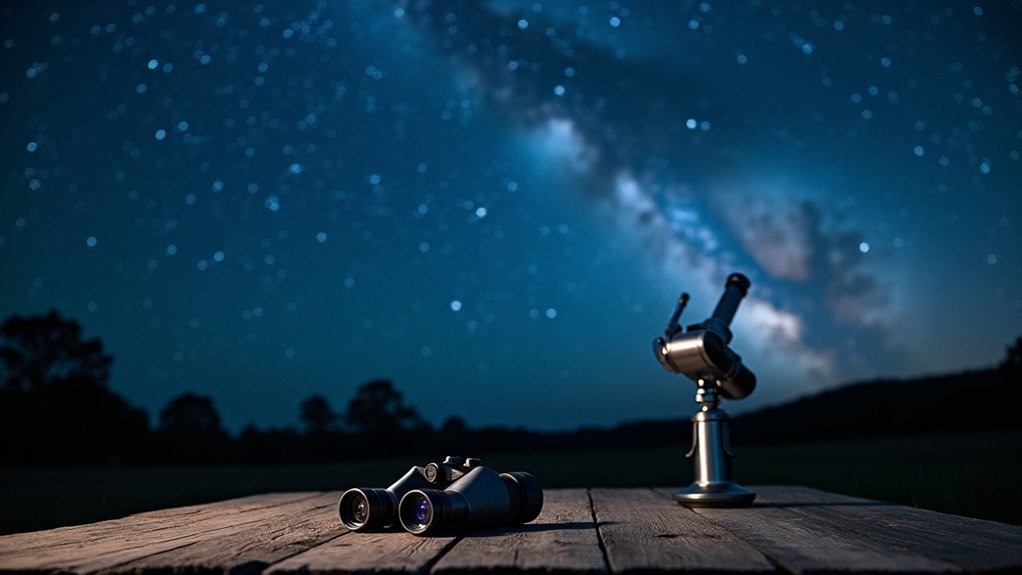
Many aspiring astronomers find themselves at a crossroads when selecting their first piece of equipment for the winter solstice sky. Binoculars offer an excellent entry point—they’re portable, intuitive to use, and provide a wide field of view that makes celestial navigation straightforward, even in areas with light pollution.
With standard 7-10× binoculars, you’ll see hundreds of objects invisible to the naked eye, from lunar craters to distant galaxies. They’re perfect for quickly scanning the winter constellations.
If you’re considering a telescope, prioritize solid mounting and quality optics over sheer size. While larger apertures collect more light, beginners should focus on manageable instruments you’ll actually use.
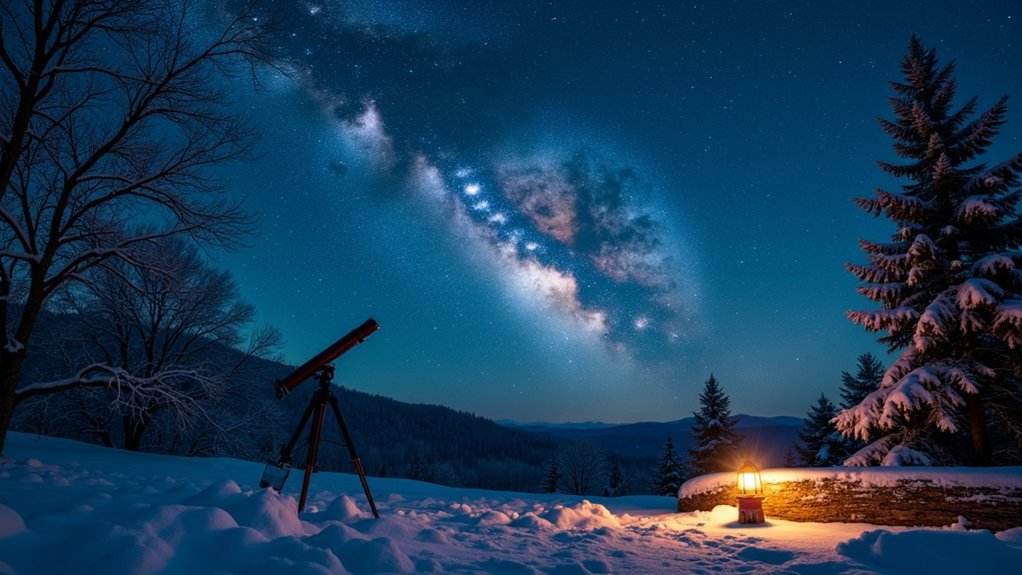
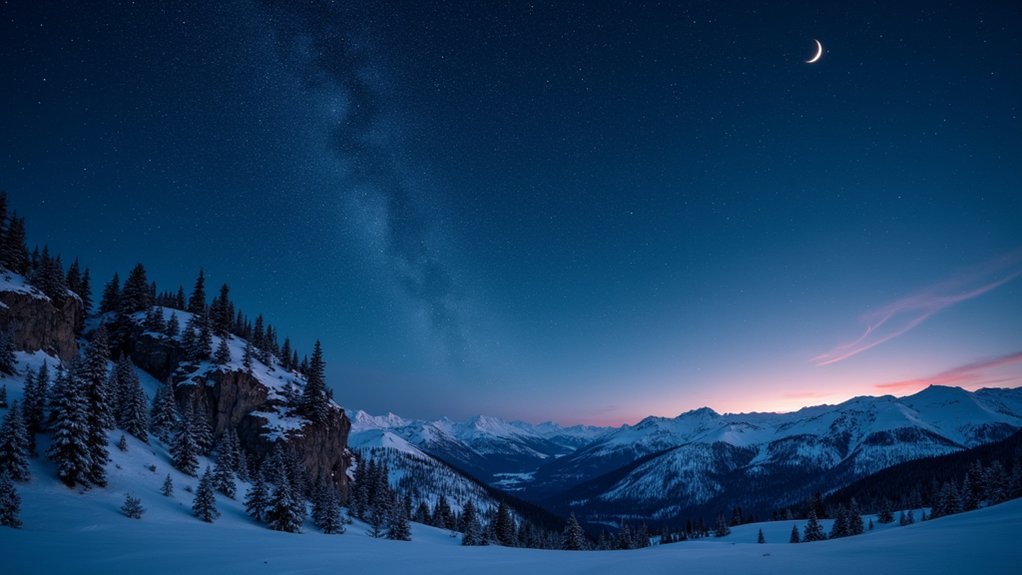
Dark Sky Locations: Finding the Perfect Winter Viewing Spot
Finding a truly dark sky location in winter means researching light pollution zones and seeking designated dark sky areas where celestial objects will appear brightest.
Mountain viewpoints offer excellent winter stargazing opportunities with their higher elevations and protection from valley weather patterns.
Before heading out on cold winter nights, you’ll need to evaluate nighttime accessibility issues such as road conditions, parking availability, and the safety of your chosen location.
Light Pollution Zones
While city dwellers might glimpse only the brightest stars and planets, venturing into dark sky locations can transform your winter stargazing experience entirely.
Light pollution zones are categorized from Bortle 1 (excellent dark sky) to Bortle 9 (inner-city sky), with each level determining what celestial objects you’ll be able to observe.
For ideal winter stargazing, seek out areas designated by the International Dark-Sky Association, such as Big Bend or Jasper National Parks.
These dark sky sites maintain strict lighting policies to preserve stellar visibility. Download light pollution maps through specialized apps to find nearby low-light zones before your expedition.
Consider joining local astronomy clubs, as they regularly organize group viewings at proven dark locations and can introduce you to the best regional spots for winter celestial wonders.
Weather-Protected Mountain Viewpoints
Mountain observatories offer the ideal winter stargazing experience by combining dark skies with shelter from harsh elements. When you visit these weather-protected locations, you’ll benefit from reduced atmospheric interference at higher elevations, especially during cold, dry winter nights.
| Location Type | Benefits | Best Times |
|---|---|---|
| Dark Sky Parks | Designated areas with minimal light pollution | Clear nights after moonset |
| Mountain Observatories | Professional equipment and shelter | Scheduled public nights |
| Alpine Viewpoints | 360° panoramas above cloud cover | Cold, dry evenings |
Before planning your mountain stargazing adventure, check astronomy apps to identify prime viewpoints and monitor local weather forecasts. Many established dark sky reserves in mountainous regions provide facilities specifically designed for astronomy enthusiasts, allowing you to enjoy spectacular winter constellations without battling the elements.
Nighttime Accessibility Considerations
Because winter nights arrive earlier and last longer, you’ll need to carefully plan your travel to dark sky locations for excellent stargazing.
Seek out areas away from city lights where the night sky reveals its full splendor of faint stars and celestial objects.
Use apps and online resources to identify designated dark sky parks or natural reserves, which offer protected environments for ideal winter viewing conditions.
These locations provide the clear winter atmosphere necessary for spotting the Milky Way and other astronomical phenomena.
Before heading out, verify you have safe access to your chosen location during nighttime hours.
Map your route carefully, as guiding in the dark presents unique challenges.
The extra preparation guarantees you’ll safely reach prime viewing spots where the crisp, dark winter sky awaits.
Smartphone Apps and Resources for Winter Sky Navigation
Modern technology has transformed winter stargazing into an accessible hobby for beginners. Your smartphone can become a powerful tool for exploring the winter sky with apps like SkySafari and Star Walk. These interactive platforms provide real-time tracking of celestial events and allow you to simply point your phone skyward to identify constellations and stars.
Don’t miss important astronomical phenomena by downloading apps that send alerts for upcoming meteor showers and lunar eclipses. Resources like Star Chart and Sky & Telescope offer seasonal guides specifically highlighting winter constellations.
For a richer experience, explore the community forums within these stargazing apps to connect with fellow enthusiasts who share tips and organize local viewing events.
These digital resources make deciphering the complex winter night sky simpler and more enjoyable.
Protecting Your Equipment in Cold Weather Conditions
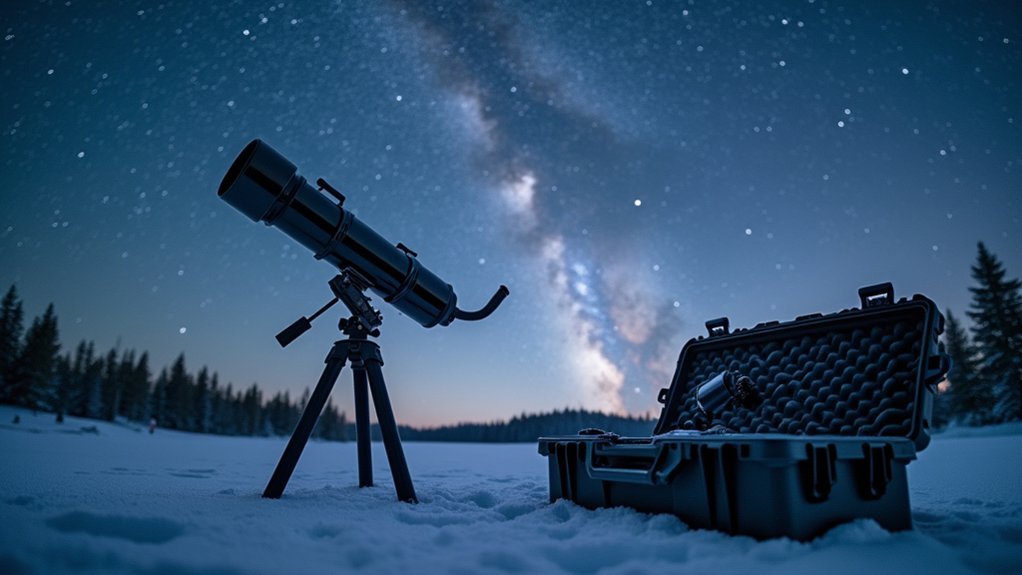
You’ll need to shield your telescope’s optics from dew using purpose-made covers or homemade solutions to prevent moisture buildup that can ruin your winter stargazing session.
Never bring cold equipment directly indoors; instead, place it in a garage or enclosed porch to gradually warm up and avoid damaging thermal shock.
Between observations, store your astronomical gear in insulated containers with moisture-absorbing silica gel packets to maintain ideal condition throughout the winter season.
Prevent Optics Condensation
When stargazing during the winter solstice, condensation on your optical equipment can quickly ruin an otherwise perfect viewing session. To prevent optics condensation, gradually shift your telescope and binoculars from warm indoor environments to the cold outdoors, allowing them to acclimate slowly.
Equip your telescope with dew shields, which act as protective barriers against moisture forming on lenses. For additional protection, consider investing in heated lens caps or portable heaters designed specifically for telescope optics—these maintain temperatures above the dew point.
When not actively observing, keep your binoculars and telescopes covered with a cloth or stored in padded bags.
If condensation does occur despite these precautions, don’t wipe the moisture immediately. Instead, allow your equipment to warm up gradually to room temperature to avoid scratching your valuable optics.
Thermal Shock Safeguards
Beyond preventing condensation, temperature extremes pose another significant risk to your stargazing equipment.
Thermal shock occurs when your telescope or binoculars experience sudden temperature changes, potentially causing optical damage. To protect your investment during winter solstice observations:
- Gradual acclimation – Store equipment in a warm place before use, then move it outside slowly to allow components to adjust to cold conditions naturally.
- Use insulated protection – Transport your telescope and binoculars in insulated cases or bags to maintain stable temperatures and protect against moisture that can freeze.
- Hands-off approach – Avoid touching optical surfaces with bare fingers in cold conditions, as skin oils can freeze on lenses and degrade image quality.
Remember to check your telescope’s collimation regularly, as cold weather can cause misalignment of optical components.
Storage Between Observations
Three key principles govern proper equipment storage during winter stargazing sessions: protection from elements, temperature management, and regular maintenance.
Store your telescope and binoculars in a dry, insulated space to prevent moisture damage. Always use lens caps and protective cases when your equipment isn’t in use to shield it from dust and scratches that are particularly problematic in winter conditions.
Between observations, allow your equipment to fully acclimate to outdoor temperatures before removing covers to prevent condensation on lenses. This simple step preserves visibility and protects your optics.
Don’t forget about your batteries—keep spares in a warm pocket rather than in your equipment bag, as cold drastically reduces their efficiency.
After each session, thoroughly check and clean your gear to remove any ice or snow buildup.
Photographing the Winter Night Sky With Basic Equipment
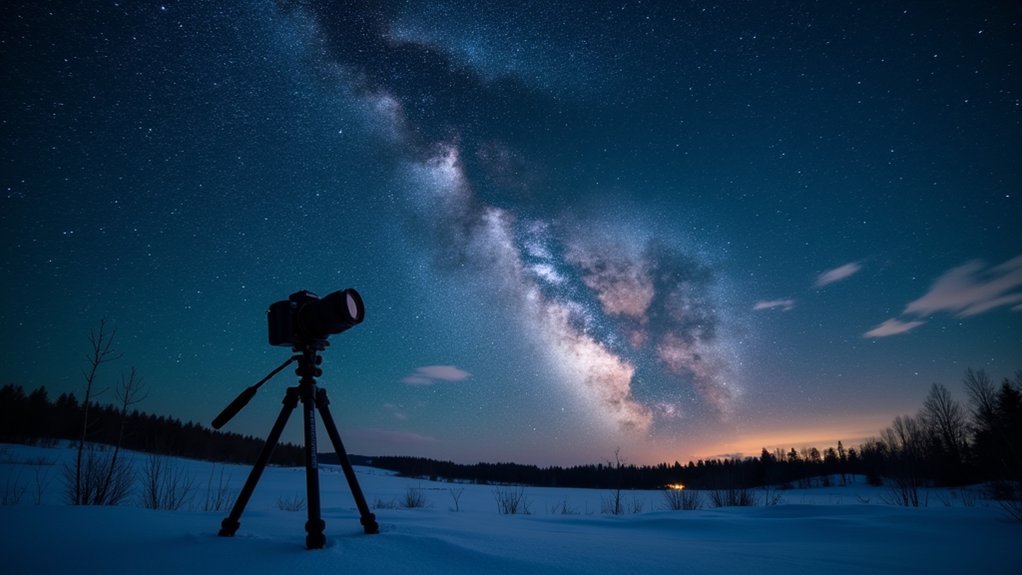
Although many believe astrophotography requires expensive equipment, you can capture stunning winter night sky images with just a basic camera setup.
Mount your camera on a tripod for stability during those essential 10-30 second exposures needed to reveal star clusters and nebulae. You’ll want to set your ISO between 800-3200 to maximize your camera’s sensitivity in low-light conditions.
For the best winter night sky photographs:
- Use wide-angle lenses (14-24mm) to capture expansive views of constellations like Orion and Taurus.
- Prevent camera shake by using a remote shutter release or your camera’s timer function.
- Experiment with different exposure times to balance capturing detail while minimizing star movement blur.
Even without binoculars, these techniques will help you document the celestial wonders of winter nights.
Joining Winter Astronomy Events and Community Star Parties
You’ll find winter star parties and solstice celebrations through local astronomy clubs, planetariums, and parks that welcome beginners with open arms.
Online astronomy forums and social media groups connect you to nearby events and virtual viewing sessions when weather prevents outdoor stargazing.
These community gatherings offer valuable mentorship from experienced observers who’ll help you identify constellations, operate telescopes, and appreciate the unique wonders of the winter night sky.
Finding Local Star Parties
Where better to experience the magic of winter’s night sky than at a local star party? These gatherings connect beginners with experienced astronomers who’ll guide your celestial journey under pristine dark skies.
Local astronomy clubs typically host winter star parties featuring seasonal celestial events like meteor showers and lunar eclipses.
To find community star parties near you:
- Search online platforms like Meetup and Facebook groups for local astronomy clubs posting upcoming winter events.
- Check nearby observatories for public viewing nights where you’ll gain access to professional telescopes and expert guidance.
- Join astronomy forums where members share information about impromptu gatherings when viewing conditions are ideal.
Participating in these events will rapidly improve your observational skills as you learn alongside fellow enthusiasts who share your passion for winter’s stellar treasures.
Online Astronomy Communities
While in-person star parties offer hands-on experiences, the digital universe expands your astronomical horizons even further.
Online astronomy communities like Cloudy Nights and Reddit’s r/astronomy provide valuable resources for winter stargazing, including event calendars that track meteor showers and celestial phenomena.
Join virtual star parties where enthusiasts share live viewing sessions and answer your questions in real-time. You’ll gain access to expert knowledge and tips specifically tailored for winter astronomical events.
Many local astronomy clubs maintain active online presences where you can connect before attending their winter observing nights.
Social media astronomy groups offer another way to share observations and photos during the solstice season.
Virtual Solstice Celebrations
The winter solstice brings a flurry of virtual astronomy events that open doorways to celestial wonders without requiring you to brave the cold.
Join astronomy clubs worldwide as they livestream telescope views of winter constellations and planetary alignments directly to your screen.
These virtual stargazing events foster community connections while enhancing your astronomical knowledge. You’ll find expert presentations on seasonal celestial events like meteor showers and planet alignments, all accessible through platforms like Zoom or dedicated social media groups.
To maximize your virtual solstice experience:
- Register early for community star parties featuring live telescope feeds
- Prepare questions about winter constellations like Orion or the Pleiades
- Share your observations with fellow enthusiasts to build connections and improve your skills
Frequently Asked Questions
How to Stargaze for Beginners?
To stargaze as a beginner, you’ll need to find a dark spot, bring binoculars, download a star app, bundle up in layers, and learn to identify major constellations using bright stars as guides.
How to Stargaze in the Winter?
To stargaze in winter, you’ll need to dress in warm layers, bring insulated gloves and boots, and use binoculars to explore Orion and Taurus. Winter’s longer nights offer excellent viewing during new Moon periods.
What Time Should You Start Stargazing?
You’ll want to start stargazing around 6:00 PM during winter months when the sky is fully dark. Since sunset occurs at approximately 4:19 PM on winter solstice, this gives ideal viewing conditions.
What Moon Phase Is Best for Stargazing?
You’ll see the most stars during a new moon when the sky is darkest. Plan your stargazing around this monthly phase, or the days just before and after, for ideal visibility of celestial objects.
In Summary
As you embrace the winter solstice’s astronomical wonders, you’ll find stargazing becomes a lifelong passion that deepens with each frosty night. Don’t let cold temperatures deter you—with proper gear, knowledge, and community connections, you’re well-equipped for celestial discovery. The winter sky offers some of the year’s most brilliant displays, so bundle up, look up, and let the universe’s winter magic transform your perspective.


Leave a Reply