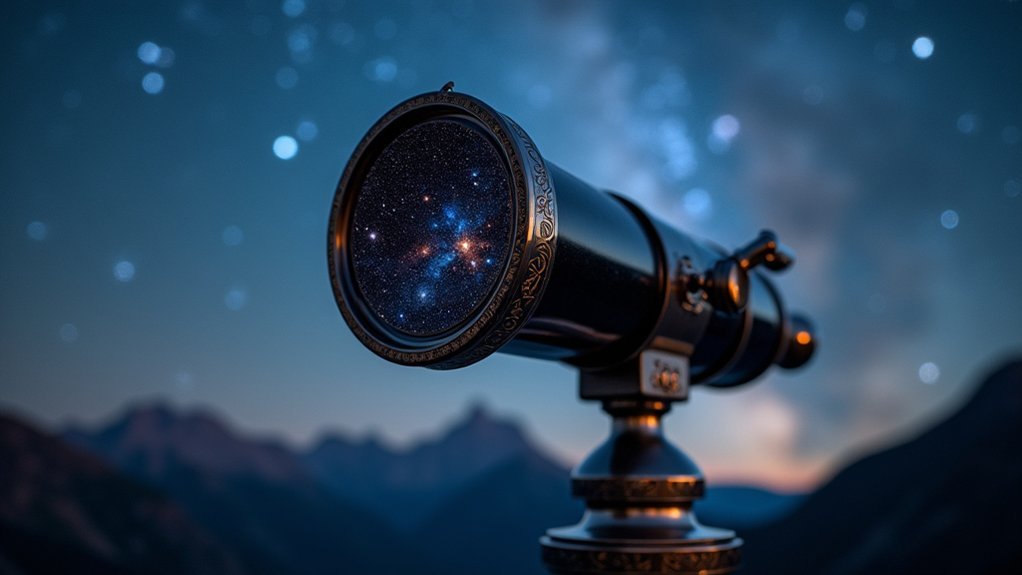
Essential telescope terms you’ll need include aperture (diameter of main lens/mirror), focal length (affects magnification), focal ratio (f/number for light gathering speed), and mount type (alt-azimuth or equatorial). You should also know about eyepieces, filters, and Barlow lenses which enhance viewing experiences. Understanding resolving power, seeing conditions, and basic navigation techniques will transform your stargazing from random scanning to purposeful exploration of the cosmos.
What Are Common Telescope Words Every Stargazer Needs?
When you’re just beginning your journey into astronomy, the specialized vocabulary can seem as vast as the cosmos itself. Understanding a few key terms will help you navigate this new universe with confidence.
The aperture—your telescope’s main lens or mirror diameter—determines how much light you’ll gather and how faint an object you can see. A larger aperture reveals more celestial wonders.
Aperture is the stargazer’s portal—the wider it opens, the deeper you’ll see into the universe’s hidden treasures.
Your telescope’s focal length affects magnification power—longer lengths provide higher magnification for detailed views of planets and the moon.
For serious stargazing, an equatorial mount is invaluable. It tracks celestial objects as Earth rotates, keeping stars centered in your eyepiece throughout the night.
Don’t forget about the focal ratio (f/number), which indicates your telescope’s “speed” and field of view.
Aperture and Light Gathering Power
The heart of your telescope’s performance lies in its aperture—the diameter of the main lens or mirror. This essential measurement determines how much light your instrument can collect, directly impacting what celestial objects you’ll be able to see.
- Larger apertures reveal fainter objects and finer details that smaller telescopes simply can’t detect.
- Light gathering power increases with the square of the aperture—double the aperture means four times more light.
- Beginner telescopes typically range from 70mm to 150mm, with 100mm offering a solid starting point.
- The focal ratio (f-number) also affects light gathering; lower f-numbers collect more light in less time.
- When comparing telescopes, prioritize aperture size over most other features if you’re interested in viewing distant galaxies and nebulae.
Focal Length and Magnification Basics
Understanding your telescope’s focal length is just as essential as knowing its aperture size. This measurement—the distance from your telescope’s lens or mirror to its focal point—fundamentally determines how your instrument performs.
To calculate magnification, simply divide your telescope’s focal length by your eyepiece’s focal length. For instance, pairing a 1000mm telescope with a 10mm eyepiece yields 100x magnification.
Higher focal lengths deliver greater magnification but narrower views, perfect for detailed observations of planets and the Moon. Lower focal lengths provide wider fields of view, ideal for nebulae and star clusters.
Don’t overlook focal ratio—focal length divided by aperture diameter. Lower f-ratios produce brighter images, making them excellent for deep-sky objects, while higher ratios excel at planetary viewing.
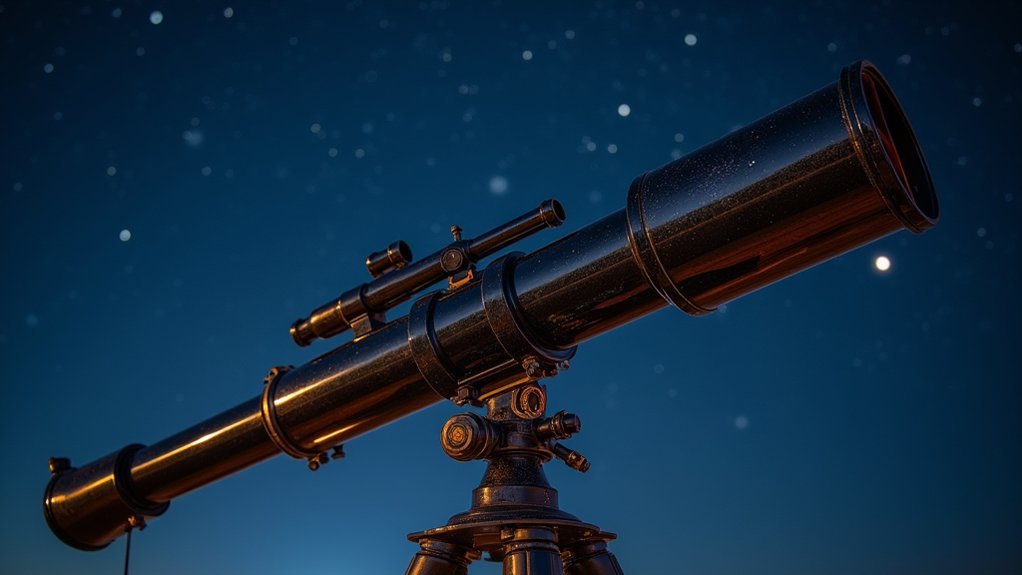
Mount Types: Alt-Azimuth vs. Equatorial
Your telescope’s mount type determines how it moves and tracks celestial objects across the night sky.
Alt-Azimuth mounts offer simple up-down and left-right movements that you’ll find intuitive and budget-friendly for casual stargazing sessions.
Equatorial mounts align with Earth’s rotation, giving you smoother tracking capabilities that become essential when you’re pursuing astrophotography or extended deep-sky observations.
Basic Movement Principles
When selecting a telescope, movement capabilities play an essential role in your stargazing experience. Understanding how your telescope moves helps you locate and track celestial objects efficiently.
- Alt-azimuth mounts move up/down and left/right—similar to a camera tripod—making them intuitive for beginners and quick observations.
- Equatorial mounts align with Earth’s rotation axis, allowing smooth tracking of stars as they move across the night sky.
- A polar alignment scope helps position your equatorial mount correctly for ideal tracking.
- Go-To systems can be added to either mount type, automating the process of finding celestial objects.
- Your choice depends on intended use: casual observation (alt-azimuth) versus astrophotography or extended viewing sessions (equatorial).
Tracking Object Benefits
The ability to track celestial objects smoothly across the night sky represents one of the most essential benefits of choosing the right telescope mount. When you’re observing distant galaxies or planets, Earth’s rotation causes these objects to drift out of view, often disrupting your stargazing experience.
Equatorial mounts shine here with their specialized tracking capability. Unlike alt-azimuth mounts, they align with Earth’s rotational axis, allowing them to follow celestial objects with a single motor. This proves invaluable for astrophotography, where longer exposure times demand precise, uninterrupted tracking.
You’ll capture sharper images without star trails that blur your cosmic targets. Though equatorial mounts require more setup time and practice, their precision compensates for Earth’s movement, keeping distant wonders perfectly centered in your eyepiece throughout extended observation sessions.
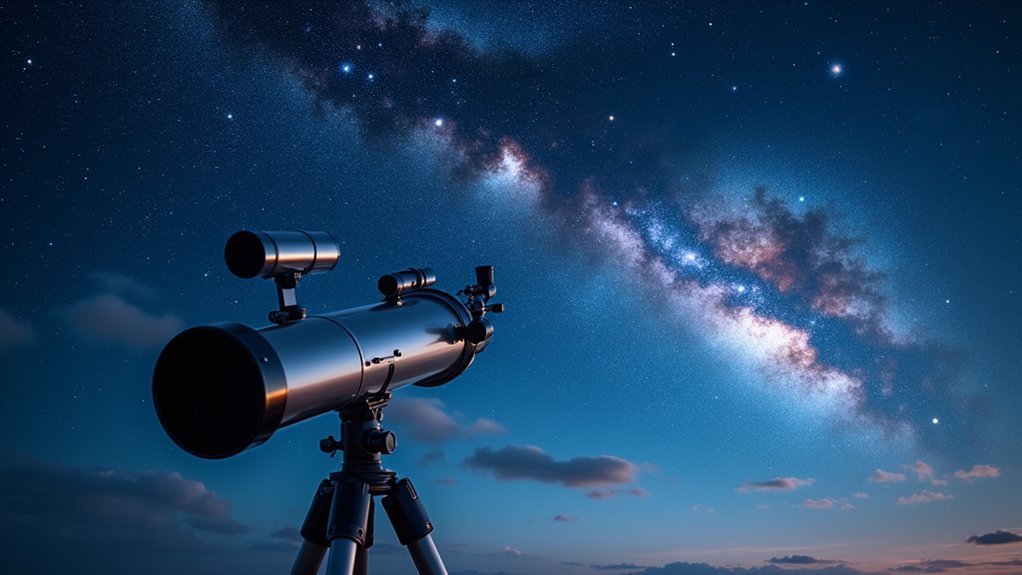
Reflectors, Refractors, and Catadioptric Designs
When choosing your telescope, you’ll encounter three primary optical designs: reflectors that use mirrors to gather light, refractors that employ lenses, and catadioptric systems that combine both technologies.
Reflectors typically offer larger apertures at lower costs, while refractors provide sharp, high-contrast images without the mirror alignment concerns found in other designs.
Catadioptric telescopes strike a balance between portability and performance, making them versatile for observing both planets and deep-sky objects like nebulae and galaxies.
Primary Telescope Designs
Choosing the right telescope design greatly impacts your stargazing experience, as each type offers distinct advantages for different celestial targets.
- Reflector telescopes utilize mirrors to gather light, making them cost-effective for deep-sky observation with their wider apertures and excellent light-gathering ability.
- Refractor telescopes use lenses that provide crisp, high-contrast images of planets and the Moon, though they become expensive at larger apertures.
- Catadioptric designs like Schmidt-Cassegrain and Maksutov-Cassegrain combine mirrors and lenses for a compact, versatile package suitable for both planetary and deep-sky viewing.
- Larger apertures across all designs mean better light collection and clearer images of distant objects.
- Focal length determines your field of view—longer for detailed planetary views, shorter for sweeping nebulae and star clusters.
Optical Advantages Compared
Understanding the optical advantages of different telescope designs helps you make an informed choice based on your observing preferences and budget constraints.
Reflectors offer excellent value with larger apertures at lower costs, making them ideal for viewing faint deep-sky objects. Their Newtonian design delivers good contrast and optical quality.
Refractors provide sharper images with minimal maintenance, though they’re typically more expensive per inch of aperture. You’ll notice better contrast for planetary viewing, but may encounter chromatic aberration in simpler models.
Catadioptric telescopes like Schmidt-Cassegrains balance the benefits of both designs in compact packages. Their longer focal lengths excel at planetary detail while maintaining decent deep-sky capabilities.
When comparing telescopes, remember that aperture size trumps design type for light-gathering ability, while focal ratio determines your ideal viewing targets.
Eyepiece Types and Eye Relief
The world of telescope eyepieces presents stargazers with essential choices that greatly impact viewing experiences. When selecting eyepieces, you’ll encounter various designs offering different benefits for your astronomical adventures.
- Plossl eyepieces, especially the 32mm variety, provide an excellent starting point for beginners with their wide field of view and affordability.
- Eye relief—the distance between the eyepiece and your eye—should be at least 15mm, particularly if you wear glasses.
- Magnification is calculated by dividing your telescope’s focal length by the eyepiece’s focal length (e.g., 1000mm telescope ÷ 10mm eyepiece = 100x magnification).
- Longer focal length eyepieces (20-25mm) offer more comfortable viewing during extended observing sessions.
- Different designs like Plossl, ortho, and wide-field each provide unique viewing characteristics for various celestial targets.
Understanding Field of View
Field of view represents one of the most practical concepts you’ll need to grasp as you explore the night sky. It measures how much sky you can see through your telescope at once, typically in degrees or arc minutes.
As an amateur astronomer, you’ll discover that wider fields of view make locating celestial objects much easier, especially when you’re just starting out. Your telescope’s field of view depends on two factors: the focal length of both your telescope and eyepiece. Shorter focal lengths deliver wider views.
To calculate your true field of view, divide the apparent field of view (AFOV) of your eyepiece by the magnification. The AFOV can range from 40 to over 100 degrees, considerably affecting your stargazing experience.
Collimation and Optical Alignment
Collimation guarantees your telescope delivers crisp, detailed views by properly aligning all optical components along a single axis.
You’ll notice dramatically improved contrast and resolution once you’ve correctly aligned your primary and secondary mirrors, particularly when observing fine planetary details.
A collimation cap or laser collimator can help you achieve perfect alignment quickly, making these essential tools for any serious stargazer’s kit.
Sharpening Your View
Proper alignment of your telescope’s optical elements, known as collimation, stands as one of the most critical yet overlooked aspects of stargazing. When your quality optics are perfectly aligned, you’ll see dramatic improvements in your views of deep-sky objects and planets alike.
- Check your collimation regularly, especially if you own a Newtonian or reflector telescope.
- Use specialized tools like laser collimators or collimation caps to simplify the alignment process.
- Perform this adjustment before each observing session for ideal results.
- Pay special attention before viewing high-resolution targets like planets or double stars.
- Remember that even minor misalignments can greatly reduce contrast and detail.
Don’t underestimate this fundamental skill—proper collimation transforms mediocre views into spectacular ones by reducing optical aberrations and enhancing image sharpness.
Your telescope can’t perform its best if its optics aren’t properly aligned.
Tools For Alignment
Essential tools for precise telescope alignment can transform your stargazing experience from frustrating to fantastic.
Collimation—the proper alignment of optical elements—ensures light paths converge correctly for the sharpest possible images.
If you own a reflector telescope, you’ll need to collimate regularly since mirrors can shift during transport or use. A collimation cap or laser collimator will help you accurately align your primary and secondary mirrors without guesswork.
While refractor telescopes require less frequent adjustment, proper alignment remains important for peak performance.
When your telescope is well-collimated, you’ll notice enhanced detail in celestial objects, especially at higher magnifications.
Mastering these alignment tools means you’ll spend less time adjusting your equipment and more time enjoying the wonders of the night sky.
Filters and Their Astronomical Applications
When you’re struggling to view celestial objects through the glow of city lights or trying to enhance specific features of planets, telescope filters become indispensable tools in your stargazing arsenal.
These specialized accessories dramatically improve your viewing experience by isolating specific wavelengths of light.
Telescope filters transform ordinary stargazing into extraordinary exploration by selectively revealing celestial wonders invisible to the naked eye.
- Light Pollution Filters block artificial light from streetlights, allowing you to see fainter celestial objects in urban areas.
- Nebula Filters (UHC) isolate light from hydrogen and oxygen, making emission nebulae appear brighter and more defined.
- Polarizing Filters reduce glare when observing the Moon and planets, enhancing surface details.
- Color Filters accentuate specific features on planets like Mars or Jupiter by highlighting different aspects.
- Solar Filters enable safe observation of sunspots and solar flares by blocking harmful radiation.
Barlows, Focal Reducers, and Other Accessories
Expanding your telescope’s capabilities often depends on having the right accessory for the right celestial target. A Barlow Lens instantly doubles or triples your magnification by increasing focal length, giving you closer views of planets and moon details without purchasing additional eyepieces.
When you want the opposite effect—a wider view of nebulae or galaxy clusters—a Focal Reducer decreases focal length, creating faster exposure times for astrophotography. It’s particularly valuable for capturing faint deep-sky objects.
Don’t overlook the humble Finderscope, a small auxiliary scope that provides a wider field of view, making target location much easier.
Other essential accessories include collimators for proper optical alignment and star diagonals that provide more comfortable viewing angles, especially for refractors pointing high overhead.
Resolving Power and Seeing Conditions
While accessories enhance your telescope’s functionality, its fundamental performance hinges on two key factors: resolving power and seeing conditions. Resolving power determines how well you’ll distinguish fine details in celestial objects, calculated as 1.22 × (wavelength/aperture) in arc seconds.
A telescope’s true capability lies not in its accessories but in its resolving power and the sky’s cooperation.
- Larger aperture telescopes deliver better resolving power, revealing more detail in planets and splitting closer double stars.
- Atmospheric conditions (seeing) can limit your actual viewing resolution regardless of your telescope’s capabilities.
- Good seeing conditions allow for resolutions of 1 arc second or better.
- Poor seeing makes images appear blurry or wavy, even with excellent equipment.
- Seeing conditions vary constantly due to atmospheric turbulence, temperature changes, and local weather patterns.
Your telescope’s theoretical resolving power sets the ceiling, but nightly seeing conditions determine your actual viewing experience.
Star Hopping and Navigation Terminology
Finding your way across the vast celestial landscape requires specific navigation skills and terminology. Star hopping is an essential technique where you’ll use bright stars as stepping stones to locate fainter objects. Your finderscope becomes invaluable here, offering a wider field of view than your main telescope.
| Term | Definition |
|---|---|
| Star Hopping | Technique using bright stars as reference points to locate fainter objects |
| Finderscope | Small telescope mounted on the main scope providing wider field of view |
| Right Ascension (R.A.) | East-west celestial coordinate measured in hours, minutes, seconds |
| Declination (Dec.) | North-south celestial coordinate measured in degrees |
| Star Charts | Maps displaying celestial objects for navigation |
Good star charts are vital for successful navigation, as they’ll show you which constellations and celestial objects are visible from your location at specific times.
Frequently Asked Questions
What Do You Call a Person Who Loves Stargazing?
If you’re drawn to observing celestial bodies, you’re commonly called a stargazer. You might also identify as an amateur astronomer, an astrophile, or a cosmophile—all terms capturing your passion for the night sky.
What Are the Constellations Glossary?
A constellations glossary includes key terms you’ll encounter in stargazing: constellation (official star pattern), asterism (unofficial pattern), zodiac (12 sun-path constellations), circumpolar stars (always visible), and star clusters (gravitationally bound star groups).
What’s a Good Telescope for Stargazing?
For stargazing, you’ll want a telescope with at least a 4-inch aperture. Consider a Dobsonian like the Orion XT6 or XT8 if you’re a beginner. Celestron binoculars are great portable alternatives for immediate enjoyment.
How Do You Use a Stargazer Telescope?
To use your stargazer telescope, set it up on stable ground, let it adjust to outdoor temperature, align your finderscope, start with low magnification eyepieces, and smoothly track objects using the altitude and azimuth controls.
In Summary
You’ve now got a stargazer’s vocabulary at your fingertips! From aperture to star hopping, these terms aren’t just jargon—they’re your keys to guiding both your equipment and the night sky. As you’re peering into the cosmos, you’ll find that understanding these concepts transforms your viewing experience, making the difference between just looking up and truly seeing the universe.


Leave a Reply