Start by ensuring your mount is perfectly level and balanced in both axes. Check for signs of poor tension like squealing or vibrations. Use proper tools including Allen keys and a tension gauge. Don't overtighten – aim for slight deflection with finger pressure. Clean pulleys regularly and inspect belts monthly for wear. Make seasonal adjustments as temperature changes affect performance. Test tracking accuracy through autoguiding software. These fundamentals will set you up for deeper understanding of mount optimization.
Understanding Belt Tension Basics
When it comes to telescope mount performance, proper belt tension serves as the foundation for smooth and accurate tracking.
You'll need to understand that correct tension guarantees efficient power transmission while reducing wear on your mount's belts and pulleys.
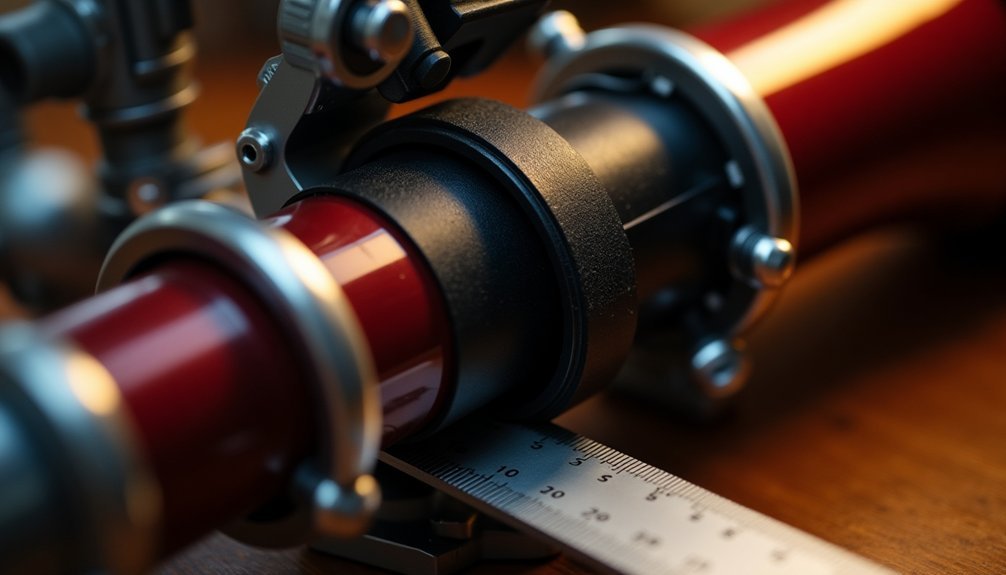
To check your belt's tension, you can use either a specialized belt tension tester or the simple deflection method.
With the deflection method, you'll press the belt at its midpoint – it should give about 3/8 to 1/2 inch.
Keep in mind that new belts require higher tension than used ones.
Using a straight edge tool for measurement helps ensure accurate tension readings.
Remember to inspect your belts regularly during maintenance checks.
If you notice issues like vibration or unusual sounds, it's likely time to adjust the tension.
Temperature changes can affect belt tension, so you'll want to check more frequently during seasonal shifts.
Preparing Your Mount for Adjustment
Before adjusting your mount's belt tension, proper preparation of the telescope mount system will guarantee accurate and reliable results.
Start by ensuring your mount is perfectly level using the built-in spirit levels. Adjust the tripod legs until you've achieved stability on your chosen surface. Make sure to rotate your level to be parallel to the North leg for precise leveling adjustments.
Next, set your mount's latitude to match your location and align it with the North Celestial Pole using either Polaris or alignment software.
Accurate polar alignment is essential – set your mount's latitude and align to the North Celestial Pole for optimal tracking performance.
You'll need to achieve proper balance in both Right Ascension and Declination axes. Adjust your counterweights and telescope position until there's no swinging when rotated 90 degrees from home position.
Check the balance repeatedly as you add cameras or other accessories. Finally, verify that all components are securely fastened and won't shift during the belt adjustment process.
Identifying Signs of Poor Belt Tension
To maintain ideal telescope performance, you'll need to recognize several key indicators of poor belt tension in your mount's drive system.
When you hear high-pitched squealing or notice excessive vibrations during operation, your belts likely need adjustment. Watch for visible signs like uneven wear patterns, fraying, or cracks on the belt surface.
You'll notice performance issues when belts aren't properly tensioned. Your mount may struggle with tracking accuracy, resulting in star trailing during astrophotography. Using a luggage scale to test for belt deflection force can help identify tension problems.
The telescope might feel difficult to balance, and you'll experience mechanical resistance during movement. Pay attention to unusual heat generation around the belt system and any slipping sounds during operation.
If you notice these symptoms, it's time to check and adjust your belt tension before more serious problems develop.
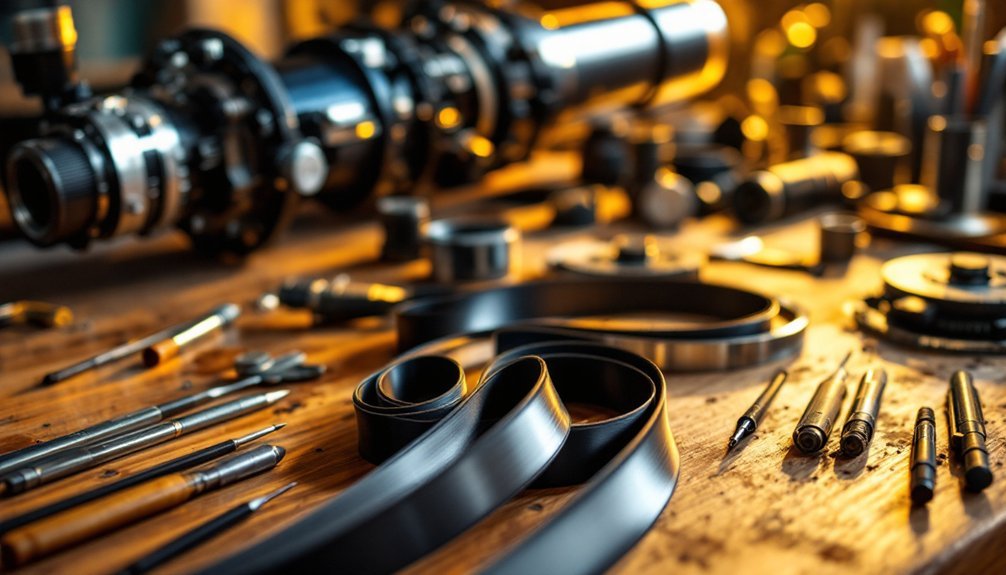
Tools Needed for Belt Adjustment
To properly adjust your telescope mount's drive belts, you'll need a core set of essential tools including a torque wrench, metric Allen keys, and Blue Loctite for securing fasteners.
Your belt tension testing tools should include a measuring device to verify proper tension and a rubber mallet for gentle adjustments without damaging components. The belt-mod kit from Rowan Astronomy includes specialized tools for optimal tension adjustment.
Depending on your specific mount model, you may also require specialized wrenches or tools designed for your particular drive system's housing and belt configuration.
Essential Tools and Equipment
Proper belt adjustment on a telescope mount requires five essential categories of tools: basic hand tools, specialized equipment, safety gear, measurement instruments, and maintenance accessories.
You'll need metric wrenches and Allen keys for basic adjustments, along with small pliers for tight spaces.
For specialized work, keep stepper motor tools and bearing spacers handy. Setting up on soft carpeting provides a safe work surface while making belt adjustments.
Don't forget safety equipment like protective gloves and anti-static straps to prevent damage to electronic components.
Precise measurements are critical, so you'll want calipers and angle measurement tools to guarantee proper alignment.
A level tool helps maintain horizontal positioning.
For maintenance, keep cleaning brushes and silicone spray ready.
A tension gauge and torque wrench are essential for achieving correct belt tension without damaging sensitive components.
Belt Tension Testing Devices
Two primary categories of belt tension testing devices help guarantee precise adjustment of telescope mount drives: optical meters and mechanical tools. You'll find optical tension meters offer high precision with features like variable resolution and data storage for up to 750 measurements. For basic needs, mechanical tools like fish scales work well when measuring deflection force. Regular monitoring is essential since belt tension changes during operation and affects performance.
| Device Type | Key Features | Best For |
|---|---|---|
| Optical Meters | ISO certified, ±1% accuracy | Professional setups |
| Fish Scales | Simple deflection testing | Basic maintenance |
| Digital Gauges | Data logging capability | Regular monitoring |
When selecting your testing device, consider that optical meters excel at precision measurement with frequency-based readings, while mechanical tools provide a practical solution for routine adjustments. Both types help you achieve the proper tension needed for smooth tracking and minimal backlash in your mount's performance.
Mount-Specific Adjustment Wrenches
When adjusting telescope mount drive belts, you'll need specific wrenches and tools designed for your mount's make and model. Most mounts require hex keys and Allen wrenches, with sizes varying based on your mount's fasteners.
If you've got an EQ6 or Atlas EQ-G mount, you'll find specialty tools often included with belt kits like those from Rowan Astronomy. For Paramount ME and Losmandy G11T mounts, you'll need different tools since they use gear systems rather than belts.
The timing belt system delivers silent, steady operation during astronomical imaging sessions.
Avalon Instruments mounts use timing belts that require their own specific adjustment tools.
Remember to keep your tools clean and handle them carefully to maintain their precision. Don't overtighten – follow the manufacturer's torque recommendations to prevent accelerated wear on your mount's components.
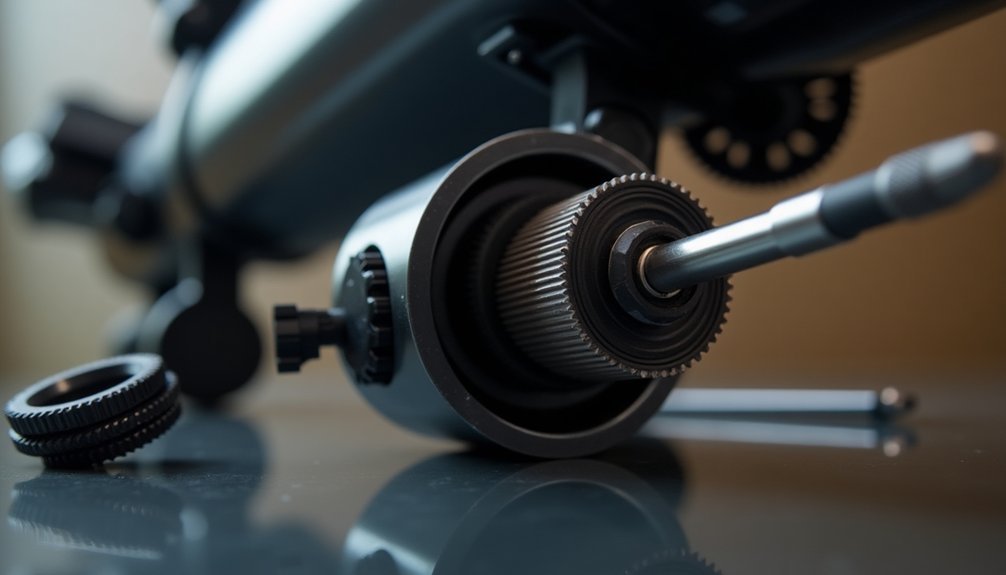
Step-by-Step Belt Tensioning Process
Achieving ideal belt tension in your telescope mount requires a systematic approach using either force-deflection measurements or sonic tension meters.
Start by ensuring your pulleys are perfectly aligned before installing the belt. If you're using the force-deflection method, measure your belt span and apply pressure to achieve a deflection of 1/64" per inch of span. For new belts, you'll need to set slightly higher tension to account for initial stretching.
Remember that belt drive systems have low stiffness compared to other drive technologies, so proper tensioning is especially critical for maintaining tracking accuracy. Test your mount under load after making adjustments, and listen for any unusual noises that might indicate problems. Don't over-tighten the belt, as this can stress your system components.
You'll want to check your belt tension periodically, especially when weather conditions change considerably. If you notice persistent vibrations or instability, fine-tune your adjustments until the mount operates smoothly.
Testing Drive Belt Performance
Testing your telescope mount's drive belt performance requires systematic evaluation across multiple metrics.
You'll want to check for smooth movement and proper tracking accuracy through bench testing, which lets you simulate real-world conditions without weather interference. Use slow motion controls to test the fine adjustments and responsiveness of the drive system.
Using autoguiding software, measure RMS errors – they should fall between 0.16-0.55 arc-seconds for ideal performance.
Pay attention to peak-to-peak period errors, which you can minimize through proper tuning.
- Monitor star shapes in your images – well-tracked systems produce perfectly round stars
- Listen for noise during operation – belt drives should run nearly silent
- Check your mount's response to electronic commands – it should be immediate and smooth
- Verify tracking performance at high focal lengths, where any issues become more apparent
Common Belt Adjustment Mistakes
You'll want to avoid over-tightening your telescope's drive belts during installation, as excessive tension can strain motors and cause premature wear on components.
Regular maintenance including worm gear adjustments helps ensure optimal belt performance and tracking accuracy over time.
It's essential to account for temperature fluctuations when adjusting belt tension, since thermal expansion and contraction can notably affect belt performance.
Your initial tension settings should allow for these environmental changes while maintaining proper tracking accuracy during operation.
Over-Tightening During Installation
While adjusting drive belts on telescope mounts might seem straightforward, over-tightening remains one of the most common and damaging mistakes during installation.
You'll want to avoid excessive tension that can cause premature wear on bearings, misalign your mount's tracking, and potentially damage the belt itself. When installing new belts, start with a looser tension and gradually adjust until you achieve the right feel.
- Use the finger test – press lightly on the belt; it should have slight give (about 1/64" deflection per inch)
- Listen for unusual sounds – grinding or scraping often indicates over-tightening
- Watch for visual cues like belt stretching or misalignment with pulleys
- Test the tension under your typical payload weight, not just an empty mount
Ignoring Temperature Effects
Temperature changes can markedly impact your telescope mount's drive belt performance, yet many astronomers overlook this essential factor when making adjustments.
As temperatures shift, your belt's material will expand or contract, affecting its tension and contact with the pulleys. This can lead to unexpected slippage or excessive wear.
You'll need to account for these thermal variations when adjusting your drive belt. In cold conditions, don't over-tighten the belt, as it will naturally contract and become tighter.
Similarly, avoid loose adjustments in warm weather, since the belt will expand and may slip. Keep an eye on your lubricant's viscosity too – it changes with temperature and affects belt operation.
Regular inspections during different weather conditions will help you maintain ideal tension and prevent premature wear.
Ensuring Proper Belt Alignment
Because telescope mount performance heavily depends on proper belt alignment, getting this step right is essential for achieving ideal tracking accuracy.
Precise belt alignment is the foundation of superior telescope mount performance, ensuring your scope maintains accurate tracking throughout observations.
You'll want to guarantee the belt runs smoothly over the arch pulleys, making contact with 50-90% of their circumference. When aligning your belt system, focus on maintaining proper tension to prevent play while avoiding over-tightening that could cause stress on components.
- Use high-quality pulleys with precise tooth counts to minimize tracking errors
- Check that belts remain properly tensioned under varying loads
- Listen for unusual noises during operation, as they often indicate alignment issues
- Consider custom-made pulleys if standard options don't provide the precision you need
Long-Term Belt Maintenance Tips
Proper belt maintenance extends beyond initial alignment to secure your telescope mount's longevity and precision. You'll need to regularly inspect your drive belts for wear, maintain proper tension, and keep detailed maintenance records. Store your mount in a clean, dry environment and protect it from extreme temperatures.
| Maintenance Task | Frequency | Key Action |
|---|---|---|
| Belt Inspection | Monthly | Check for cracks and wear |
| Tension Check | Quarterly | Use tension gauge |
| Pulley Cleaning | Bi-annually | Remove debris buildup |
Don't forget to lubricate moving parts near the belts to reduce friction and monitor for unusual noises that might indicate problems. When you notice signs of wear like glazing or rough patches, replace the belts immediately. Remember to clean pulley grooves before installing new belts to secure smooth operation.
Seasonal Belt Adjustment Guidelines
As changing seasons bring significant fluctuations in temperature and humidity, you'll need to adjust your telescope mount's drive belts to maintain ideal tracking performance.
Environmental changes can cause your belt material to expand or contract, affecting tension and tracking precision. Regular seasonal checks will help prevent issues like belt sag and unwanted vibrations that can impact your astrophotography sessions.
- Check belt tension at the start of each season, especially during extreme temperature shifts
- Monitor belt condition for signs of material degradation due to humidity exposure
- Adjust pulley positions or tensioning screws when you notice changes in tracking performance
- Test the mount's tracking accuracy after making adjustments to guarantee peak operation
Remember to make small, incremental adjustments and test the mount's performance after each change to maintain proper motor protection and prevent backlash issues.
Frequently Asked Questions
Can I Replace My Telescope Mount Belt With a Different Brand?
You can replace your telescope mount belt with a different brand if it matches the original's specifications for pitch, tooth count, and tension requirements. Just verify it's compatible with your mount's design.
How Often Should I Completely Replace My Drive Belts?
You'll need to replace your drive belts every 3-5 years, depending on your usage. Don't wait for failure – check them regularly for signs of wear like cracks or fading to maintain peak performance.
Will Belt Modifications Void My Telescope Mount Warranty?
Yes, adding belt modifications will typically void your telescope mount's warranty. However, some companies like Dark Frame Optics offer their own warranties on modified mounts, so you'll want to check specific policies.
What's the Maximum Weight Capacity for Belt-Driven Telescope Mounts?
You'll find that high-end belt-driven telescope mounts typically support up to 18-20 kg (40-44 lbs), while beginner models handle around 12 kg (25 lbs). It's crucial to stay within these limits.
Can Extreme Temperatures Affect Belt Performance During Nighttime Viewing Sessions?
Yes, you'll notice belt performance changes during cold nights. Your mount's belts can become stiffer in low temperatures and softer in high heat, potentially affecting tracking accuracy during your observation sessions.
In Summary
Properly tensioned drive belts are essential for your telescope's tracking accuracy. You'll notice immediate improvements in your mount's performance once you've mastered these adjustment techniques. Remember to check your belt tension regularly, especially before important imaging sessions. Don't overtighten – just maintain that sweet spot where there's no slippage but the motor isn't straining. With these tips, you'll enjoy smoother, more precise astronomical observations.


Leave a Reply