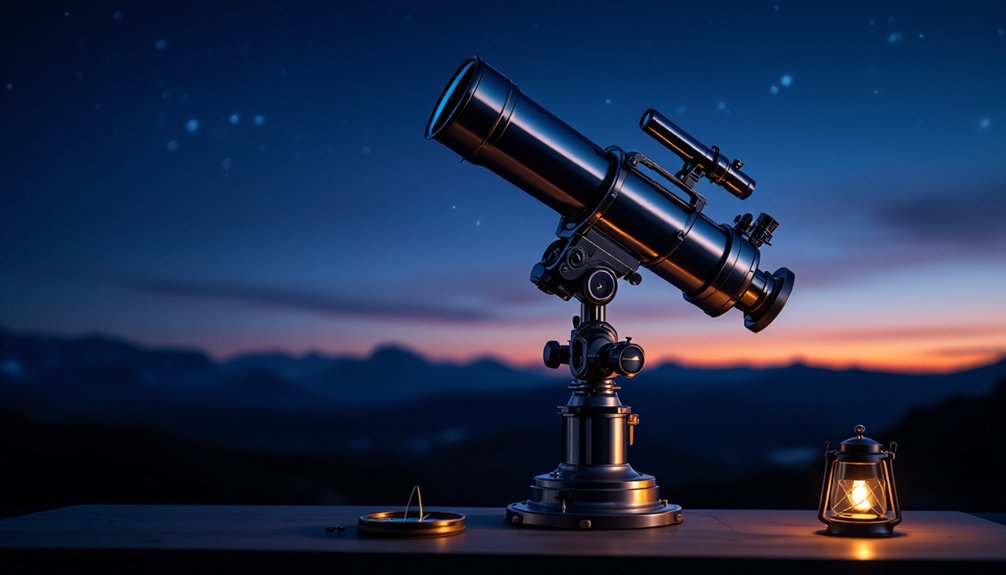
To balance your telescope, start by securing it on level ground and locking all clutches. Release the RA clutch and adjust counterweights until the telescope doesn't drift when parallel to the ground. Next, release the Dec clutch and fine-tune the optical tube's position in its mounting rings. Organize cables away from moving parts and verify stability in different positions. Proper balance leads to better tracking accuracy and sharper images – discover more essential techniques below.
Essential Tools and Equipment for Telescope Balancing
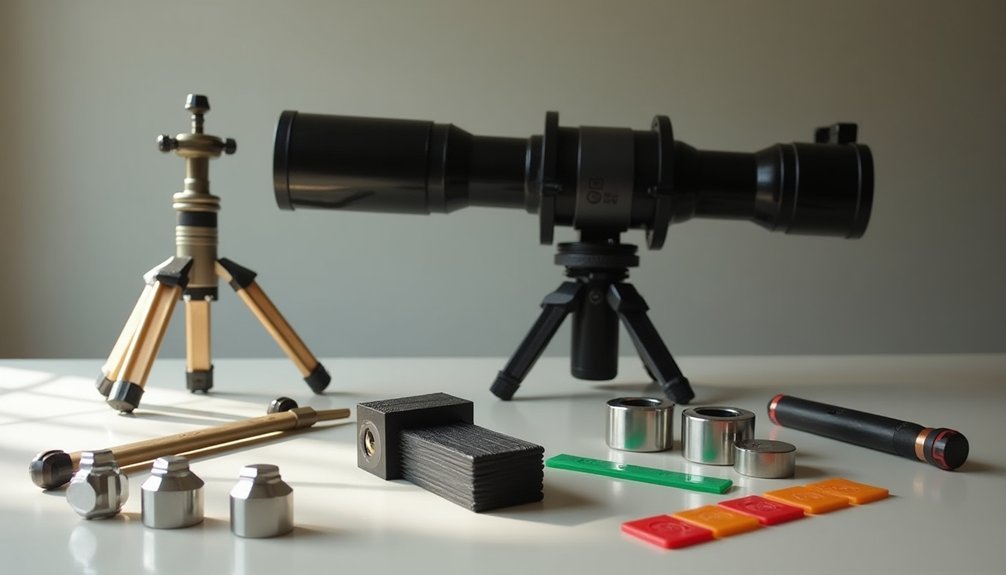
Three fundamental tools form the foundation of proper telescope balancing: counterweights, dovetail bars, and mounting rings.
You'll need counterweights to compensate for your telescope's mass and accessories, while dovetail bars and clamps guarantee secure mounting and adjustment capabilities. Mounting rings let you position your telescope tube for peak balance.
Don't forget to bring a red flashlight for making adjustments in the dark – it's vital for preserving your night vision. Taking time to achieve proper balance will significantly reduce tracking problems and improve your imaging results.
A red flashlight is an astronomer's essential companion, allowing equipment adjustments while protecting precious night vision adaptation.
You'll also want precise adjustment tools for fine-tuning the position of your counterweights and accessories. When you're working with specialized equipment like focal reducers or cameras, you might need additional counterweight solutions.
Keep your tools organized and readily accessible, as you'll be making incremental adjustments throughout your observation session.
Safety Precautions Before Starting
You'll need to start by ensuring your telescope's mount and base are firmly secured on level ground to prevent any unexpected shifts during the balancing process.
Lock all moving parts, including clutches and adjustment knobs, to maintain control over the telescope's position at all times.
It's essential to protect against sudden movements by double-checking that all accessories are tightly fastened and counterweights are properly attached before beginning any balance adjustments.
Use a red flashlight during nighttime setup to preserve your night vision while making necessary adjustments.
Secure Mount and Base
Before beginning the delicate process of telescope balancing, establishing a secure mount and base is critical for both safety and ideal performance.
Start by placing your mount on perfectly level ground to prevent weight distribution issues and tracking problems. Make sure your base or pier can support both the telescope and mount without shifting during operation. Always ensure the counter-balance weights are properly installed before mounting the telescope.
You'll need to manage any cables carefully to avoid tangling that could affect balance or cause equipment falls.
Create clear space around your setup to prevent collisions, and perform thorough safety checks of all components before proceeding.
If you're dealing with uneven terrain, use anti-vibration materials and anchor points to stabilize the mount against wind or environmental disturbances.
Don't forget to take into account ambient temperatures and weather conditions that might affect your equipment's stability.
Lock All Moving Parts
Locking all moving parts marks an essential safety step before balancing your telescope. Before you begin, carefully inspect all components to verify they're in proper working condition and secure any movable parts to prevent unexpected shifts during your setup process.
Follow these critical safety measures:
- Lock all telescope components, including the mount, tripod legs, and adjustment knobs.
- Install safety cables on larger telescopes to prevent unwanted movement when the system becomes unbalanced.
- Review your telescope's manual for model-specific safety guidelines and locking procedures.
- Work with a partner whenever possible, especially if you're new to telescope balancing.
Remember to wear appropriate clothing for extended observation periods and keep a red flashlight handy for nighttime adjustments while preserving your night vision. With telescope moving parts often weighing up to 25,000 pounds, proper locking mechanisms are crucial for preventing accidents and injuries.
Protect Against Sudden Movement
When balancing your telescope, protecting against sudden movement is critical for both equipment safety and personal protection. You'll need to secure your equipment on stable, level ground and attach safety cables to prevent unexpected shifts during instrument changes. Taking time to organize your workspace will ensure safer and more efficient telescope balancing procedures.
| Safety Measure | Purpose |
|---|---|
| Level Ground | Prevents telescope tilting |
| Safety Cables | Secures against unbalanced movement |
| Secure Components | Guarantees stable adjustments |
Before making any adjustments, verify that all components are firmly attached and the telescope is properly anchored. Handle counterweights with extra care, as they often contain hazardous materials like lead. When working in dark conditions, use a red flashlight to maintain night vision while guaranteeing you can see what you're doing. Remember to follow manufacturer guidelines and observatory protocols for your specific equipment setup.
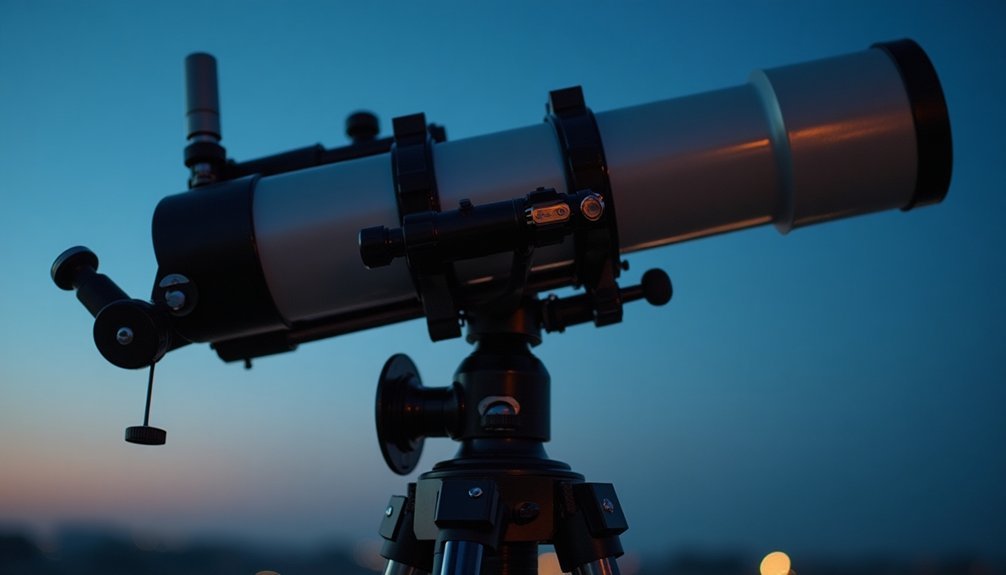
Initial Mount Position Setup
Setting up your telescope's initial mount position requires several careful steps to guarantee ideal viewing performance. You'll need to begin by selecting a firm, stable ground location away from excessive light pollution.
- Unfold your tripod legs and attach an accessory tray, ensuring the setup is on level ground with a spirit level to guide your adjustments.
- Align the mount with true north using a compass or built-in markings, then securely attach the mount to the tripod using azimuth screws.
- Set the mount's altitude to match your local latitude, using the adjustment screws provided.
- Install counterweights and check they're firmly fastened before proceeding with telescope attachment. Position the mount so the counterweight shaft points down for proper home position alignment.
Remember to allow your equipment to acclimate to outdoor temperatures and double-check all connections are tight before moving forward with the balancing process.
Right Ascension Axis Adjustment
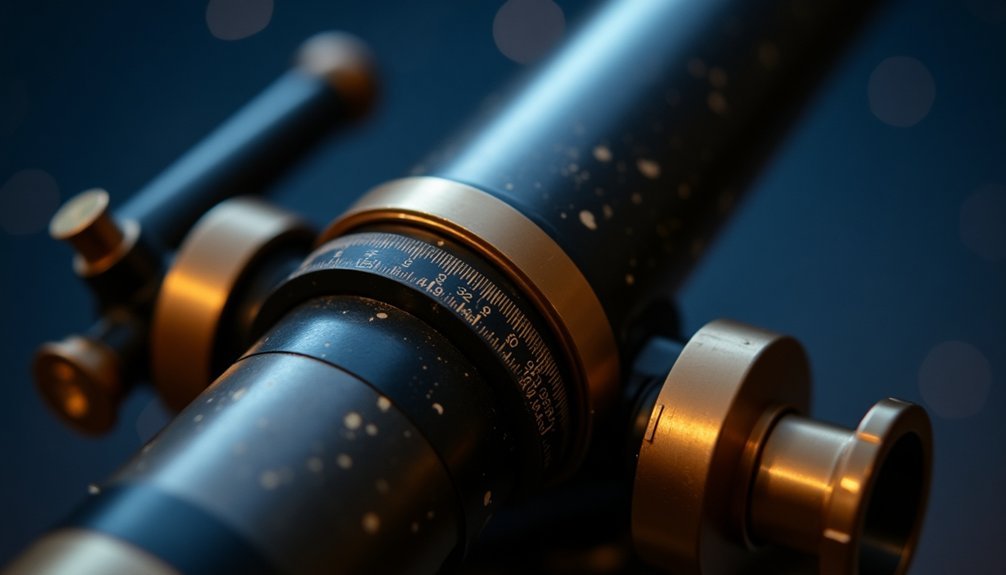
To begin balancing your telescope's Right Ascension axis, you'll need to locate and release the RA clutch, allowing the scope to move freely along this axis.
You can then position your counterweights by sliding them along the shaft until the telescope stays level when you let go. Starting with the counterweight shaft down ensures proper alignment during the balancing process.
Once you've achieved this balance point, where the scope doesn't drift east or west, secure the RA clutch to lock in your adjustments.
Understanding RA Clutch Release
The Right Ascension (RA) clutch release serves as your primary control for balancing the telescope's east-west rotation.
You'll need to loosen the clutch knob to allow free movement along the RA axis, which lets you position your telescope without engaging the drive system.
To properly use the RA clutch release:
- Loosen the RA clutch knob until you feel the telescope move freely.
- Carefully position your scope to the desired orientation while monitoring for any unwanted drift.
- Release the telescope briefly to check if it maintains position without drifting.
- Re-tighten the clutch once you've achieved proper balance.
Making slow, deliberate movements during this process helps prevent strain on your equipment while ensuring precise balance. The mounting bolts should be checked for tightness before making any adjustments to ensure safe operation.
Remember that proper RA clutch operation is essential for achieving smooth tracking and stable imaging results.
Counterweight Positioning Methods
Proper counterweight positioning forms the foundation of a well-balanced telescope system.
You'll need to start by placing your telescope in its home position, with the counterweight shaft pointing downward and the declination axis aligned north.
To achieve ideal balance, you'll want to move your telescope to a horizontal position and assess its weight distribution along the RA axis.
Watch for any east or west heaviness when you release the mount. Adjust the counterweight's position along the shaft gradually until you find the sweet spot where the telescope doesn't drift in either direction.
For heavier telescopes positioned close to the pivot point, you'll need to use smaller counterweights positioned at greater distances.
For the most accurate results, you should consider using the slide mechanism if your mount has one.
Don't forget to account for any accessories you've attached, as they'll affect the overall balance of your system.
Declination Axis Balance
Balancing your telescope's declination axis requires careful attention to detail and precise adjustments. You'll need to start by releasing the Dec clutch and positioning your telescope parallel to the ground to assess its initial balance point.
To achieve proper declination balance:
- Loosen the mounting rings slightly to allow the telescope to move within them.
- Monitor the telescope's movement when the clutch is released – any drift indicates imbalance.
- Make small adjustments to the telescope's position in the rings until it stays steady.
- Secure all components once balance is achieved.
Remember to manage your cables and consider the weight of additional accessories like finder scopes and cameras. Perfect balance is nearly impossible to achieve due to friction and asymmetric loading in most mounts.
If you're having trouble achieving stability, try making smaller, incremental adjustments while testing the balance at different rotational positions.
Fork Mount Balancing Techniques
You'll need to start balancing your fork mount telescope by checking its vertical weight distribution, ensuring the optical tube doesn't tilt forward or backward when the clutches are loose.
When positioning the telescope between the fork arms, make precise adjustments to achieve equal weight on both sides of the mount.
The proper fork position balance prevents uneven stress on the drive motors and helps maintain accurate tracking during long exposure photography.
Vertical Weight Distribution
Three key steps make up the vertical weight distribution process when balancing a fork-mounted telescope.
You'll need to point your telescope vertically and test its balance by gently pushing it in different directions to determine if it's top-heavy or bottom-heavy.
Then, adjust your counterweights accordingly to achieve proper balance.
For successful vertical weight distribution, follow these essential steps:
- Test with all accessories attached (cameras, eyepieces, finderscopes)
- Move counterweights up or down the bar until you find the perfect balance point
- Check balance at different positions to guarantee dynamic stability
- Verify tracking performance after adjustments
Fork Position Balance
While vertical balancing establishes a stable foundation, proper fork mount balancing requires attention to both the declination and right ascension axes.
You'll need to start with the declination axis, pointing your telescope vertically and carefully loosening the clutch to test the balance.
Add weights along the optical tube or rear cell until you've achieved perfect vertical balance.
Once that's done, move on to the right ascension axis by pointing your scope horizontally. You'll adjust the front-to-back balance using only the fork arms – never modify the weights on your optical tube assembly.
Remember to tighten all clutches after making adjustments, and always rebalance when adding new accessories.
Proper balancing will improve your tracking accuracy and protect your drive motors from unnecessary wear.
Weight Distribution and Counterweight Placement
Proper weight distribution plays a critical role in achieving ideal telescope performance, especially during long exposure astrophotography sessions.
Balanced weight distribution is essential for capturing clear, detailed astrophotography images during extended observation sessions.
When positioning your counterweights, keeping them closer to the axis will reduce angular inertia and improve your telescope's responsiveness.
For best weight distribution and stability, you'll want to:
- Mount multiple smaller weights instead of one large weight to achieve better balance control
- Avoid using counterweight extension bars, as they can introduce unwanted vibration
- Position weights higher on the mount when possible, though this may make fine-tuning more challenging
- Keep weights close to the axis to minimize oscillation amplitude
Remember to make incremental adjustments and maintain symmetrical weight distribution.
You'll need to rebalance your setup whenever you add or remove accessories from your telescope.
Cable Management During Balance
Beyond achieving perfect weight distribution, cable management presents its own unique balancing challenges for telescope operators. You'll need to organize your cables strategically to maintain proper balance while ensuring smooth movement of your telescope. Route cables away from moving parts and secure them with fasteners to prevent snagging. Create custom harnesses to keep multiple cables together, and use dowel rods to manage cable arcs during movement.
| Cable Type | Management Strategy |
|---|---|
| Power | Use distribution blocks, cut to length |
| USB/Data | Mount powered hubs near scope |
| Heavy Cables | Anchor to fixed points on mount |
| Custom Harnesses | Bundle by function, minimize slack |
When balancing, distribute cable weight evenly and employ rubber O-rings or supports to alleviate tension. Position power supplies and USB hubs strategically to maintain equilibrium and reduce strain on moving components.
Balance Testing and Verification
Accurate balance testing and verification form the foundation of reliable telescope operation.
Proper telescope balance testing isn't just good practice – it's essential for achieving reliable, precise astronomical observations.
You'll need to employ multiple methods to guarantee your telescope maintains proper balance across different sky positions and operating conditions.
Test your telescope's balance using these essential steps:
- Release the clutch and perform a gentle push test – the scope should move freely without tipping to either side.
- Monitor motor power consumption using contactless measurement tools to verify consistent power draw.
- Check balance with all imaging equipment attached, testing stability in various orientations.
- Verify tracking performance through extended operation, watching for any wobbling or stress indicators.
For best results, combine these verification techniques and recheck your balance periodically during long imaging sessions to maintain peak performance and protect your equipment.
Common Balance Issues and Solutions
Even with careful testing, telescopes can develop balance issues that affect their performance.
You'll often encounter incorrect weight distribution when adding accessories like cameras and finders, causing your telescope to drift during observations. This imbalance particularly affects trackability and stability.
To solve these issues, you'll need to adjust your counterweights or rotate the optical tube in its rings.
Pay special attention to off-center accessories, which can create lateral imbalance. You can mount them in line with the counterweight bar or use off-axis guiders to centralize weight.
For equatorial mounts, you'll need to balance both the RA axis (east-west) and DEC axis (north-south).
Loosen the clutches to check for free movement, and make adjustments until you achieve stability in all positions.
Maintaining Proper Balance Over Time
While initial telescope balancing is crucial, maintaining proper balance requires ongoing attention and adjustment over time.
You'll need to regularly monitor and adapt to changes in equipment configuration, environmental conditions, and general wear.
To maintain ideal balance throughout your observation sessions:
- Check weight distribution before each session and after adding or removing accessories
- Monitor and adjust for environmental factors like temperature changes that can affect equipment
- Keep detailed records of successful balance configurations for quick future reference
- Verify clutch tightness and counterweight positions regularly
Remember that proper balance directly impacts your telescope's performance, affecting everything from tracking accuracy to image quality.
Making small adjustments as needed and establishing a routine maintenance schedule will help guarantee consistent, reliable operation of your telescope setup.
Frequently Asked Questions
How Do Temperature Changes Affect Telescope Balance During Long Observation Sessions?
You'll notice your telescope's balance shifting as temperatures drop during night observations. Metal parts contract and expand, affecting the center of gravity, so you'll need periodic rebalancing to maintain peak performance.
Can Uneven Ground Surfaces Impact the Accuracy of Telescope Balancing?
Yes, uneven ground will considerably affect your telescope's balance. You'll experience mount shifting and tracking errors. Always set up on level ground or use leveling screws to guarantee stable, accurate telescope performance.
Should Balance Adjustments Differ Between Visual Observing and Astrophotography Setups?
Yes, you'll need more precise balancing for astrophotography than visual observing. Your astrophotography setup requires perfect balance to prevent star trailing during long exposures, while visual observing can tolerate slight imperfections.
How Does Atmospheric Humidity Affect the Weight Distribution of Telescope Components?
You'll notice humidity can add weight through moisture accumulation on your telescope's components. It's important to monitor this, as dew formation can throw off your carefully balanced setup during observations.
What Role Does Telescope Tube Rotation Play in Maintaining Balance?
When you rotate your telescope tube, you'll identify weight imbalances and make precise adjustments. It helps you check front or rear heaviness and determine where to position the tube in mounting rings for ideal balance.
In Summary
You've now learned the essential steps to properly balance your telescope, from gathering the right tools to maintaining balance over time. Remember, you'll need to recheck your balance when switching accessories or making equipment changes. By following these steps and staying attentive to both RA and Dec axis adjustments, you'll guarantee smooth tracking and better astrophotography results during your stargazing sessions.


Leave a Reply