To clean your telescope mirror safely, you'll need distilled water, mild dish soap, and lint-free materials. Start by inspecting the mirror for damage and marking alignment points. Remove the mirror carefully while wearing gloves, then use gentle circular motions with a damp lint-free cloth to clean. Rinse with distilled water and let air dry at an angle. Don't rush the cleaning process – proper technique and patience will protect your valuable optics equipment.
Essential Tools and Safety Precautions
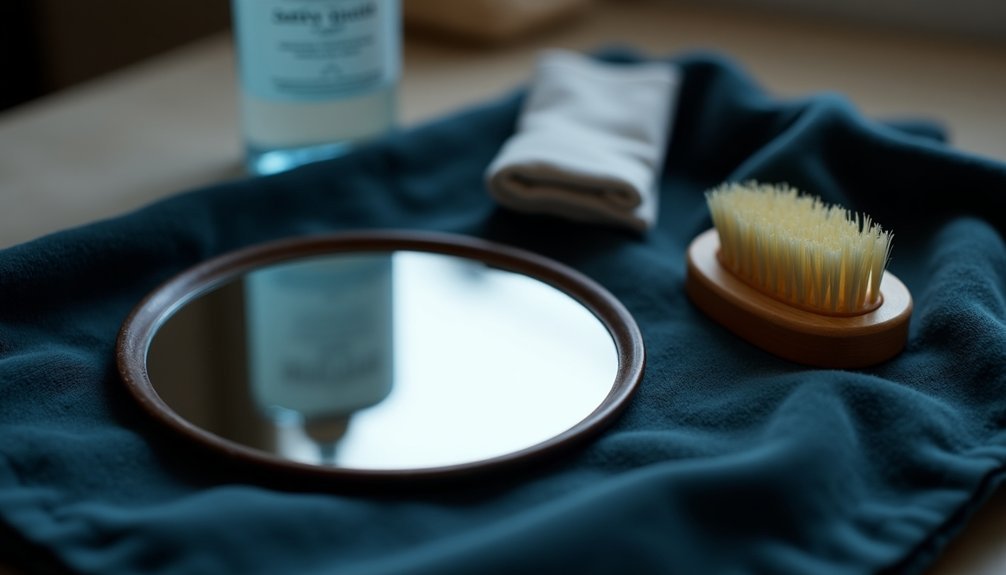
Three essential tools are required before you begin cleaning your telescope mirror: distilled water to prevent water spots, mild dish soap for creating a gentle cleaning solution, and lint-free materials like cotton balls and towels.
Proper mirror cleaning starts with the basics: distilled water, gentle dish soap, and lint-free materials to protect your telescope's delicate surface.
You'll also need a screwdriver to safely remove the mirror from your telescope.
When it comes to safety, you must avoid using any abrasive materials that could scratch your mirror's surface.
Don't use paper towels or brushes, as they can cause permanent damage.
Keep your skin's oils away from the mirror by minimizing direct contact.
Experts recommend cleaning your telescope mirror every 5-10 years unless environmental conditions require more frequent maintenance.
Before you start cleaning, verify your mirror is secure and stable to prevent accidents.
Remember that you'll need to properly collimate your telescope after cleaning to maintain peak performance.
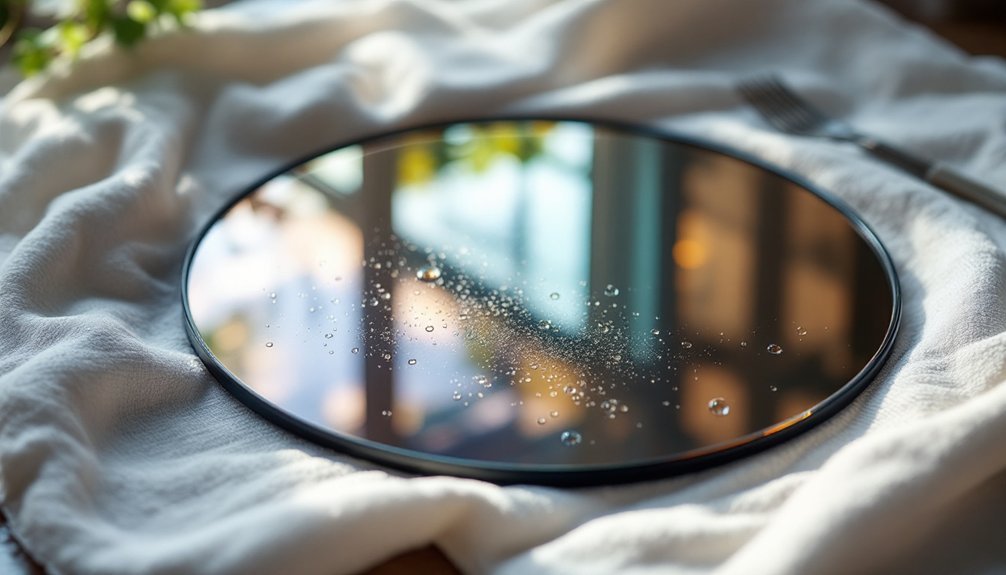
Pre-Cleaning Mirror Assessment
Before starting the cleaning process with your tools, you'll need to carefully examine your telescope's mirror to determine its condition and cleaning needs.
Pay close attention to dust accumulation, fungal growth, and any signs of coating deterioration. Keep distilled water ready for the cleaning process ahead.
Your pre-cleaning assessment should include:
- Run your flashlight beam across the mirror's surface at different angles to spot dust patterns, oil spots, and potential scratches.
- Check the aluminum coating's uniformity in good lighting – look for any flaking, pitting, or dull areas.
- Inspect the mirror's reflection quality by observing a bright light source – note any scattered or diffuse reflections.
- Document the mirror's current storage environment, including humidity levels and air quality, as these factors will influence your cleaning approach.
Don't proceed with cleaning until you've completed this thorough evaluation.
Mirror Removal and Handling Techniques
Safe mirror removal and handling are critical first steps in the cleaning process. First, mark alignment lines on both the mirror and cell with a permanent marker to guarantee proper repositioning later.
Before removing the secondary mirror, loosen the collimation screws carefully to prevent damage.
When handling the mirror, always wear surgical gloves and grip it by the edges to avoid leaving fingerprints or oils on the surface. Keep the mirror away from hard surfaces, and work in low light conditions for better visibility. Using a camel hair brush, gently whisk the mirror surface to remove any remaining dust particles.
Place a folded towel in your cleaned sink to provide cushioning during preparation. Support the mirror with one hand while removing mounting screws, and use your blower bulb to remove loose particles before any wet cleaning begins.
The Gentle Soap Solution Method
When cleaning your telescope mirror, selecting the right soap solution is essential for protecting its delicate coating.
Regular cleaning helps maintain optimal performance during stargazing sessions.
You'll need to mix a small amount of fragrance-free, mild dish soap with distilled water to create a gentle cleaning solution. Avoid using tap water, as its minerals can leave scratches on your mirror's surface.
Here's how to prepare and use your soap solution:
- Fill a clean container with distilled water at room temperature.
- Add just enough mild dish soap to create a light, barely visible foam.
- Dip a lint-free cloth into the solution and wring it until it's barely damp.
- Gently wipe the mirror's surface in circular motions, using minimal pressure.
After cleaning, rinse thoroughly with distilled water and let the mirror air dry in a dust-free environment before reassembly.
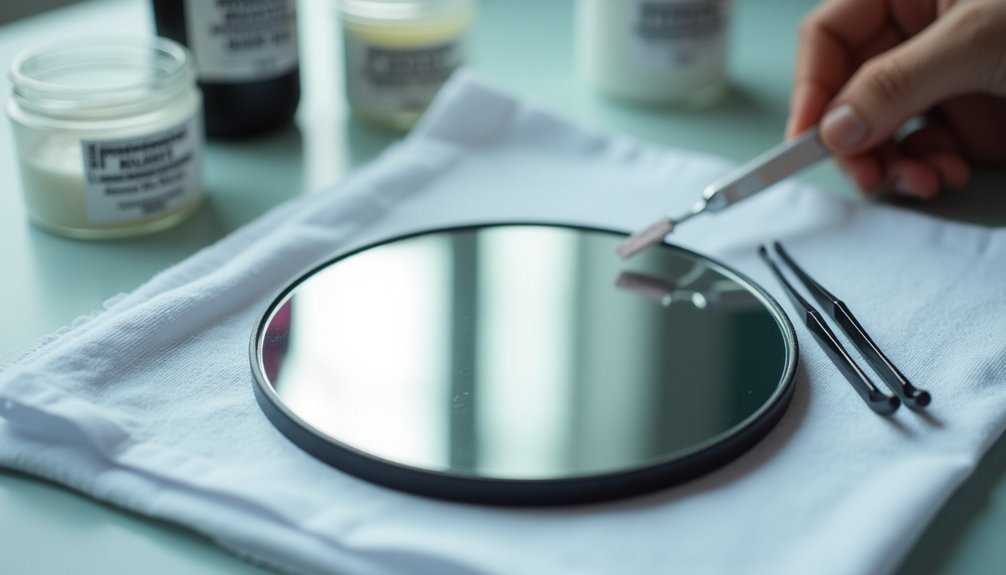
Cotton Ball Cleaning Technique
The cotton ball cleaning technique offers a safe and effective method for maintaining your telescope's mirror surface. You'll need 100% cotton balls and distilled water to prevent unwanted fibers or water spots on your mirror.
Keep your telescope's optics pristine with pure cotton balls and distilled water – a gentle, proven method for mirror maintenance.
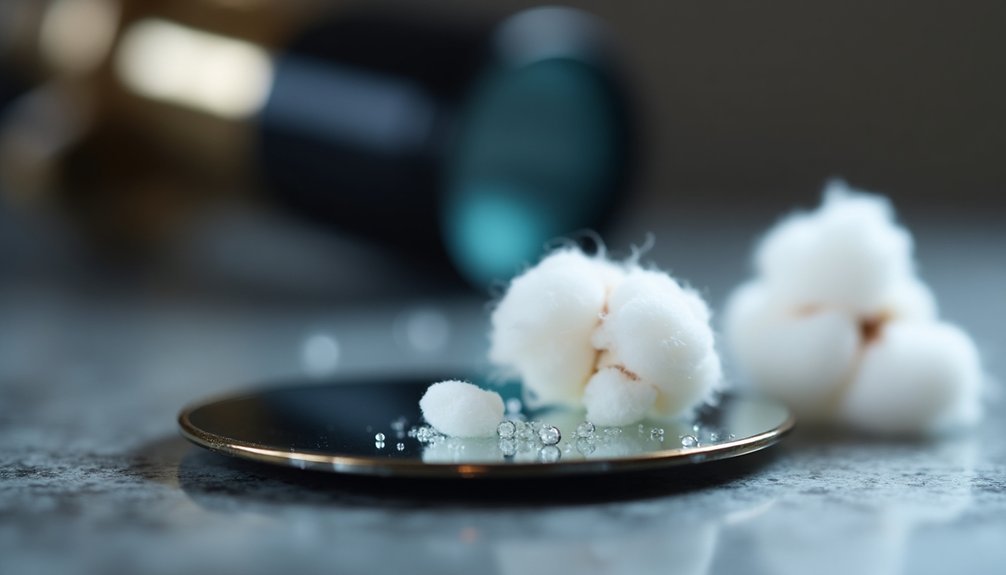
Begin by submerging the mirror in water, then use gentle strokes with fresh cotton balls, moving from the center to the edges. Don't apply pressure or reuse cotton balls, as this could scratch the surface. Keep changing to new cotton balls until you've cleaned the entire mirror. Let the soapy mixture soak for minutes to help loosen dirt and debris.
If you notice fungus, take extra precautions to avoid spreading it. Remember to handle the mirror carefully to prevent fingerprints, and never use paper towels as they can damage the surface.
Before starting, verify you've marked the mirror's orientation for proper reassembly later.
Proper Drying and Spot Prevention
You'll want to start with a blower to remove loose water droplets before moving to the final rinse with distilled water, which prevents mineral deposits from forming on your mirror's surface.
Position your mirror at a gentle angle on a folded towel, allowing gravity to naturally draw off excess moisture without pooling.
If any stubborn water spots remain, you can carefully dab them with the corner of a lint-free cloth, being mindful not to apply pressure to the mirror's surface. Using your clean cotton wads frequently will help ensure you're not reintroducing dirt during the drying process.
Using Blower Air Effectively
Properly using a blower on your telescope mirror requires careful attention to technique and safety.
You'll want to keep the nozzle from touching the surface while directing air flow across the mirror to remove loose particles. A rocket blower is particularly effective for removing surface debris.
- Hold your blower at a slight angle, keeping it several inches from the mirror's surface.
- Move the airflow in straight, overlapping lines from top to bottom.
- Watch as dust particles float away from the surface.
- Double-check for any remaining debris before proceeding with deeper cleaning.
Always work in a clean environment to prevent recontamination, and avoid circular motions that could create scratches.
Don't use the blower in direct sunlight, as thermal expansion might affect the mirror.
Distilled Water Final Rinse
After removing loose debris with your blower, a final rinse with distilled water becomes your next critical step.
Use only warm distilled water, not tap water, to prevent mineral deposits and streaks on your telescope mirror. You'll find distilled water at most grocery stores, but if it's unavailable, deionized water can work as a substitute. Ensure you understand that de-ionised water should never be consumed due to potential health risks.
Position your mirror at an angle for proper drainage and rinse gently to avoid surface damage.
Don't use paper towels or cotton balls; instead, opt for a microfiber cloth to blot away excess water. You can also use a hair dryer on low setting to speed up the drying process.
Remember to keep the mirror in a controlled environment afterward to prevent condensation and water spots. Always use protective covers when you're not using your telescope.
Gentle Angle Drying Technique
Once your mirror has been thoroughly rinsed, positioning it at the correct angle becomes essential for spot-free drying.
Place your mirror on a thick, padded towel in a dust-free environment at room temperature, ensuring it's tilted upward to let water drain naturally. A delicate aluminum coating lies beneath the surface that must be protected during the drying process.
Don't use heat sources or direct sunlight, as they can warp your mirror's surface.
For ideal drying results:
- Position the mirror at a 15-20 degree angle on a clean, soft towel
- Keep the area vibration-free and maintain consistent room temperature
- Allow deionized water to run off naturally without any rubbing
- Monitor the drying process periodically for any remaining moisture spots
You'll know it's completely dry when there's no visible moisture on the surface.
Once dry, you can proceed with reassembly and collimation checks.
Mirror Reinstallation and Testing
When reinstalling your telescope's mirror, it's crucial to follow a systematic approach that guarantees proper alignment and functionality.
Apply silicone adhesive to the mirror cell's support points, using spacers to maintain proper positioning while the adhesive sets. Don't rush this process – allow 24 hours for complete curing. Ensure the area is level and clean before starting any adhesive work.
Once installed, you'll need to conduct thorough testing. Start with collimation to verify proper optical alignment, then test the telescope's focus on distant objects.
Check for any visible distortions or imperfections under good lighting conditions. Make sure the mirror cell remains rigid and doesn't twist under the mirror's weight.
If you notice any issues during testing, address them immediately before regular use. Remember to store your telescope in a dry environment to prevent moisture damage.
Frequently Asked Questions
How Often Should I Clean My Telescope Mirror?
You'll typically need to clean your telescope mirror every 5-10 years under normal conditions. If you're in coastal or urban areas, or use it frequently, you'll need more regular cleaning to maintain performance.
Can I Use Compressed Air to Remove Dust From Mirrors?
You shouldn't use compressed air on telescope mirrors. It can blow contaminants and create micro-scratches. Instead, use a rubber blower or photo puffer bulb for dust removal—they're much gentler and safer alternatives.
Is Cleaning Necessary if I Only See Small Dust Particles?
No, you don't need to clean small dust particles from your mirror. They won't greatly impact your viewing quality, and unnecessary cleaning risks damaging the mirror. Just inspect regularly and clean only when truly needed.
What Temperature Water Is Best for Cleaning Telescope Mirrors?
You'll want to use room-temperature water to clean your telescope mirror. Don't use hot or cold water, as temperature extremes can cause thermal shock and potentially damage the mirror's delicate surface.
Should I Clean My Telescope Mirror Differently in Humid Climates?
Yes, you'll need to clean more frequently in humid climates as dust and pollen stick harder to mirrors. Use extra care when cleaning, thoroughly dry the mirror, and guarantee immediate rinsing to prevent water spots.
In Summary
You'll find that regular mirror cleaning extends your telescope's life and maintains peak viewing quality. Remember to document your cleaning process and check the mirror's performance after reinstallation. If you're ever unsure about cleaning your telescope's mirror yourself, don't hesitate to consult a professional. With proper care and these safe cleaning methods, you'll enjoy crystal-clear astronomical views for years to come.


Leave a Reply