
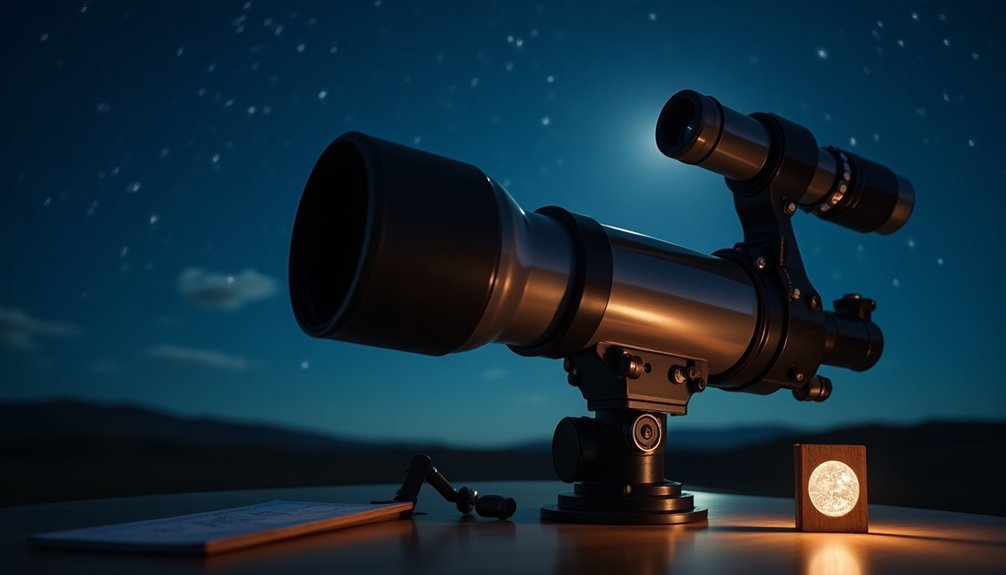
To align your finder scope, start by mounting your telescope on level ground with a stable tripod. Choose a distant stationary target like a telephone pole during daylight hours. Make sure your finder scope is firmly attached, then roughly align it parallel to the main telescope tube. Use the adjustment screws to fine-tune until both the finder scope and telescope show the same target. For precision alignment, test your setup on a bright star to perfect your stargazing experience.
Getting Your Telescope Ready for Alignment
Five essential steps will prepare your telescope for a successful alignment session.
Start by selecting a stable tripod and placing it on level ground away from heat-retaining surfaces and light pollution. Use the bubble level to guarantee perfect leveling and extend the legs evenly. Proper altitude and azimuth adjustments will be crucial for precise tracking of celestial objects.
Next, mount your telescope following the manufacturer's guidelines, securing all screws tightly. Release the clutch locks and add appropriate counterweights to achieve proper balance.
Test the telescope's movement by gently adjusting it horizontally and vertically until it moves smoothly without drifting.
Check that your optics are clean and properly aligned, selecting suitable eyepieces for the alignment process.
Let your telescope adjust to the outdoor temperature, and keep a red flashlight handy to preserve your night vision.
Picking the Perfect Daytime Target
When aligning your finder scope during daylight hours, selecting the right target makes all the difference.
You'll want to choose a stationary object that's easy to spot and a few hundred yards away. Telephone poles, street signs, and distant building features work exceptionally well due to their high contrast and stability. Right-angle finders provide more comfortable viewing positions when aligning with distant objects.
For the best results, consider these key target characteristics:
- High contrast against the background
- Clear visibility from your location
- Fixed position that won't move during alignment
Remember to avoid looking at the sun, and choose a time when the light isn't too harsh on your optics.
Pick a target that's far enough to test your telescope's field of view but close enough to see clearly. The clearer your target, the more accurate your alignment will be.
Making the Initial Finder Scope Adjustments
Start your finder scope alignment by ensuring the device is firmly mounted to your telescope's tube. Locate the adjustment screws and tighten them snugly without over-tightening. You'll need these accessible for the upcoming steps. Daylight conditions are ideal for performing the initial alignment for optimal visibility.
| Action | What to Check | Why It Matters |
|---|---|---|
| Secure Mount | No wobble | Prevents misalignment |
| Find Screws | Accessible location | Enables adjustments |
| Initial Tighten | Proper tension | Maintains stability |
| Rough Align | Parallel to tube | Starting position |
| Check System | Adjustment type | Method clarity |
Now position your telescope so it's completely stable and won't move during the adjustment process. If your model has a three-screw system, you'll adjust two screws simultaneously while keeping the third as a pivot point. For six-screw systems, work with opposing pairs to maintain balance during alignment.
Fine-Tuning Your Alignment With Precision
The precise alignment of your finder scope requires careful attention to detail and methodical adjustments. For best results, you'll need to make small, incremental changes while ensuring your telescope rests on a stable, level surface. Taking time to achieve proper polar alignment will significantly improve your tracking accuracy.
- Use visual feedback through your scope to guide adjustments, looking for clear alignment cues.
- Employ verification methods like star testing to confirm your alignment's accuracy.
- Maintain stability throughout the process to prevent unwanted movement.
As you fine-tune, focus on making controlled adjustments using the alignment screws. Watch how the image responds to each change, and don't rush the process.
If you're using a collimation eyepiece or laser alignment tools, these will help you achieve greater precision. Remember to document your successful alignment settings for future reference – it'll save you time during your next session.
Testing and Verifying Your Setup
Proper testing and verification guarantee your finder scope remains precisely aligned through regular use.
Start by selecting a bright, stable star as your reference point, and use your telescope's crosshair reticle to center it precisely. You'll want to employ a 2X or 3X focal extender for enhanced magnification during this process. Traditional alignment methods involving iterative processes can make this task more time-consuming and labor-intensive.
Monitor your alignment continuously while tracking the star's movement. If you notice any drift, make small adjustments to your finder scope's alignment screws.
Consider atmospheric conditions during testing – it's best to verify alignment when seeing conditions are stable. You can also use smart telescope features or automated tracking systems if your equipment includes them.
Document any adjustments you make for future reference, and repeat the verification process periodically to maintain ideal alignment.
Frequently Asked Questions
How Often Should I Realign My Finder Scope if I Don't Move It?
You'll need to check your finder scope's alignment monthly even if stationary, as temperature changes and minor vibrations can affect it. Don't forget to verify alignment before important observing sessions too.
Can Weather Conditions Affect the Alignment of My Finder Scope?
Yes, weather can affect your finderscope's alignment. Extreme temperatures can cause expansion or contraction of parts, while heavy rain or humidity might impact mounting stability. You'll want to check alignment after severe weather.
Should I Align My Finder Scope Before or After Collimating My Telescope?
You'll achieve better results by collimating your telescope first, then aligning your finder scope. This guarantees ideal optical performance and prevents misalignment issues that could arise from doing the alignment before collimation.
What's the Minimum Distance Needed Between Multiple Alignment Targets?
You'll want your alignment targets separated by at least 45-60 degrees in the sky. This distance helps you avoid confusion and guarantees accurate alignment, especially when you're using a typical finder scope's resolution.
Is Alignment Different for Right-Angle Finders Versus Straight-Through Finders?
The alignment process isn't fundamentally different between right-angle and straight-through finders. You'll use the same basic techniques, though right-angle finders offer more comfortable viewing and upright images for easier target identification.
In Summary
Now that you've completed these five steps, you'll have a properly aligned finder scope ready for your next stargazing session. You've learned to select targets, make adjustments, and fine-tune your alignment with confidence. Remember to check your alignment periodically during your observation sessions, and you'll always be prepared to locate celestial objects quickly and accurately.


Leave a Reply