To align your telescope properly, start by setting up on firm, level ground away from light pollution. Let your equipment acclimate to outdoor temperature for 30 minutes, then verify all components are secure. Use a laser collimator or Cheshire eyepiece to align your primary and secondary mirrors, making careful adjustments to both. Test your alignment on a bright star to verify proper collimation. The journey to perfect telescope alignment has only just begun.
Essential Equipment for Telescope Alignment
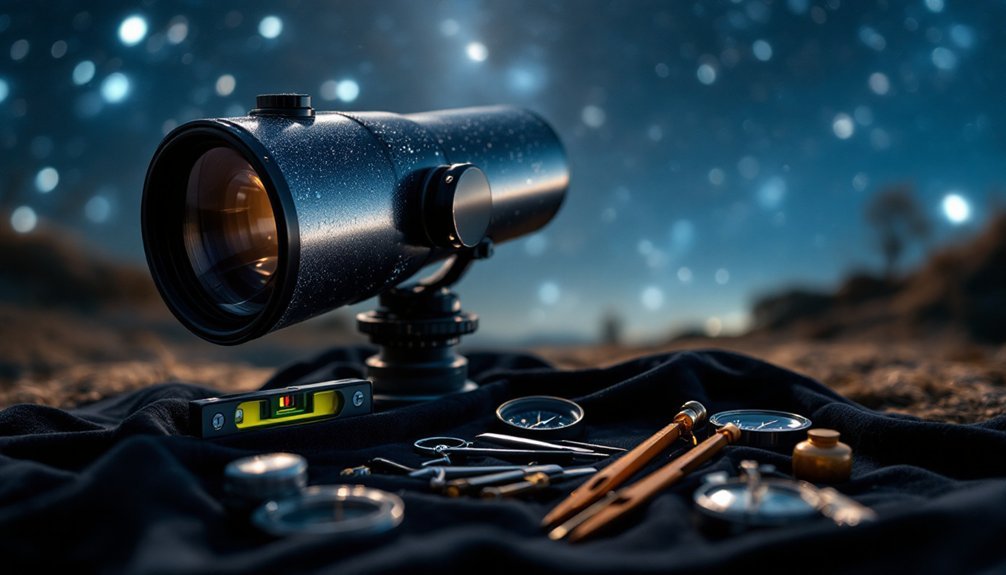
Successful telescope alignment begins with having the right equipment at your disposal.
Proper telescope alignment requires careful selection of tools and accessories to achieve optimal viewing results.
You'll need basic collimation tools like laser collimators, Cheshire eyepieces, and collimation caps to properly align your telescope's mirrors and enhance image quality. With 11 laser models available, you can find the perfect collimator for your specific telescope type.
A finder scope is vital for initially locating celestial objects before switching to your main eyepiece.
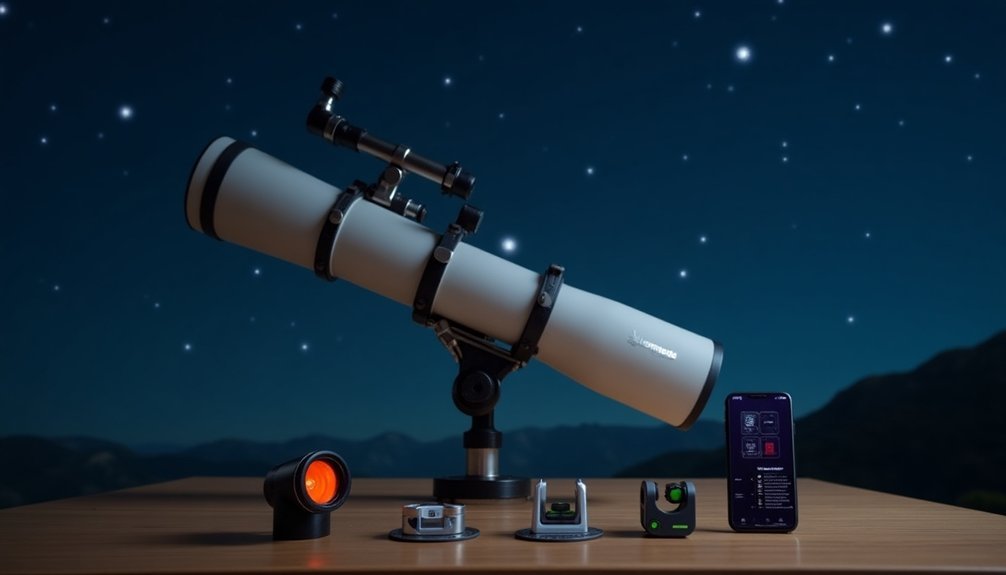
If you're planning serious observations or astrophotography, an equatorial mount with proper counterweights will provide the stability and tracking capabilities you need.
Don't forget essential adapters and focusers to accommodate various accessories and guarantee setup flexibility.
For precise alignment, you'll want tools that assist with polar alignment, such as All-Star Polar Alignment software or dedicated alignment tools.
Remember to include mount stabilizers to minimize vibrations and maintain steady viewing conditions.
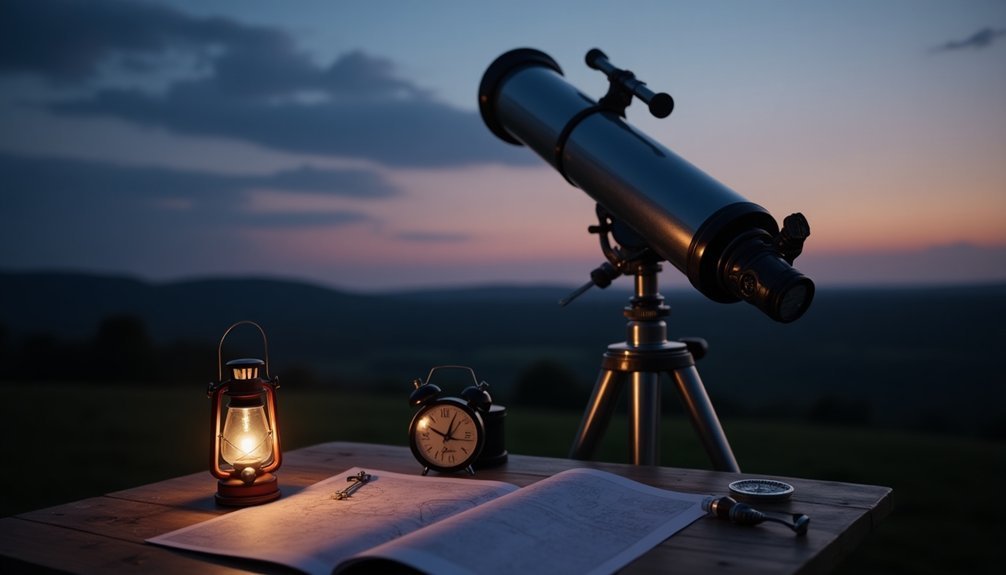
Selecting the Perfect Location for Setup
Your telescope's stability relies heavily on finding solid, level ground that isn't prone to vibration or shifting.
You'll want to avoid setting up on concrete or deck surfaces that can transfer vibrations, opting instead for packed dirt or grass that provides natural dampening.
To maximize your viewing experience, position yourself as far as possible from street lights, buildings, and other sources of light pollution that can wash out the night sky. Consider asking your neighbors to minimize lighting during your observing sessions to further reduce unwanted glare.
Stable Ground Fundamentals
The foundation of proper telescope alignment begins with selecting an ideal location for setup. You'll need to find a flat, level surface that provides vital stability for your telescope's precise movements and tracking capabilities.
Choose a spot with an unobstructed view of the sky, away from tall obstacles that could block your celestial observations. The ground should be firm, not soft or uneven, to prevent any unwanted movement during your viewing session.
Before setting up, check the weather forecast to guarantee clear skies and minimal wind that could disrupt your alignment. Vibration suppression pads can significantly reduce unwanted movement when placed under your tripod legs.
When positioning your tripod, spread the legs equally and adjust them until you achieve perfect levelness. It's essential to avoid areas where animals might disturb your equipment or where moisture could accumulate and damage your optics.
Light Pollution Control Points
While finding a stable location is essential, managing light pollution plays an equally important role in achieving clear astronomical observations. Consider communicating with neighbors about using shielded light fixtures to reduce interference with your viewing sessions.
You'll get the best results by setting up your telescope in remote areas away from city lights. If you can't travel far, look for natural barriers like trees or hills to block street lamps and car headlights.
For ideal viewing conditions, consider these key setup points:
- Position yourself near bodies of water like lakes, which often provide more stable atmospheric conditions
- Utilize dark sky reserves or officially designated observation areas when possible
- Create temporary barriers using portable panels or screens to block unwanted light
- Choose higher ground locations that minimize exposure to nearby artificial lighting
Remember to avoid moonlit nights unless you're specifically targeting lunar observations, and always prioritize targets that are high in the sky during your session.
Preparing Your Telescope for Alignment
You'll want to set up your telescope on solid, level ground to guarantee maximum stability during the alignment process.
Before beginning any alignment procedures, double-check that all components are properly secured and tightened, including the mount, optical tube, and accessories.
Let your telescope adjust to the outdoor temperature for at least 30 minutes to prevent thermal distortion from affecting your viewing quality. For those in the Northern Hemisphere, ensure you have a clear view of Polaris in Ursa Minor.
Choose Stable Ground Location
Selecting an appropriate ground location serves as the foundation for successful telescope alignment.
You'll want to find firm, level ground that provides stability while minimizing vibrations. A lawn or grassy area typically offers the ideal balance, as it cushions your equipment while maintaining solid support. Your best option is to avoid concrete or asphalt surfaces that can transfer unwanted movement to your telescope.
Key considerations for choosing your observation spot:
- Look for higher ground with an unobstructed view of the celestial pole
- Avoid areas with nearby light sources that could interfere with visibility
- Select a location away from hard surfaces that might cause wobbling
- Choose terrain that allows your tripod legs to grip securely
Position your telescope where you'll have a clear view of the sky, particularly toward the North Celestial Pole (or South Celestial Pole in the Southern Hemisphere).
Check Equipment Security First
Begin your alignment process by thoroughly inspecting and securing all telescope components. Check that every part is firmly attached, as loose components can disrupt the precise alignment needed for ideal performance.
Clean any dust or debris from the optical surfaces, as these can interfere with image quality. Pay special attention to your optical system's security, ensuring mirrors and lenses are properly fastened in their positions. Even minor shifts can greatly degrade image quality. For high-precision systems, computer-generated holograms can serve as calibrated standards to verify proper alignment.
Don't forget to verify that your finder scope is securely mounted, as it's essential for locating celestial objects. Make sure your mount is firmly attached to the tripod, with all locking mechanisms tightened.
Keep your alignment tools within easy reach – you'll need wrenches, Allen keys, and any specialized equipment specific to your telescope model.
Allow Temperature Adjustment Time
With your equipment secured, the next major consideration is thermal acclimation of your telescope.
You'll need to allow your telescope to adjust to the ambient temperature to prevent dew formation and minimize convection currents that can distort your views.
For ideal performance, place your telescope outside about 30 minutes before you plan to start viewing.
During this time:
- Store your telescope in a cool area before use to reduce temperature differences
- Use dew heaters or cooling fans to maintain proper thermal conditions
- Keep a red flashlight handy to preserve your night vision during setup
- Consider your location's atmospheric conditions and light pollution levels
Make sure to select a dark, open area for optimal viewing conditions and thermal stability.
This adjustment period is vital for achieving thermal equilibrium, which will greatly improve your viewing experience by reducing optical distortions and preventing moisture-related issues.
Primary Mirror Alignment Techniques
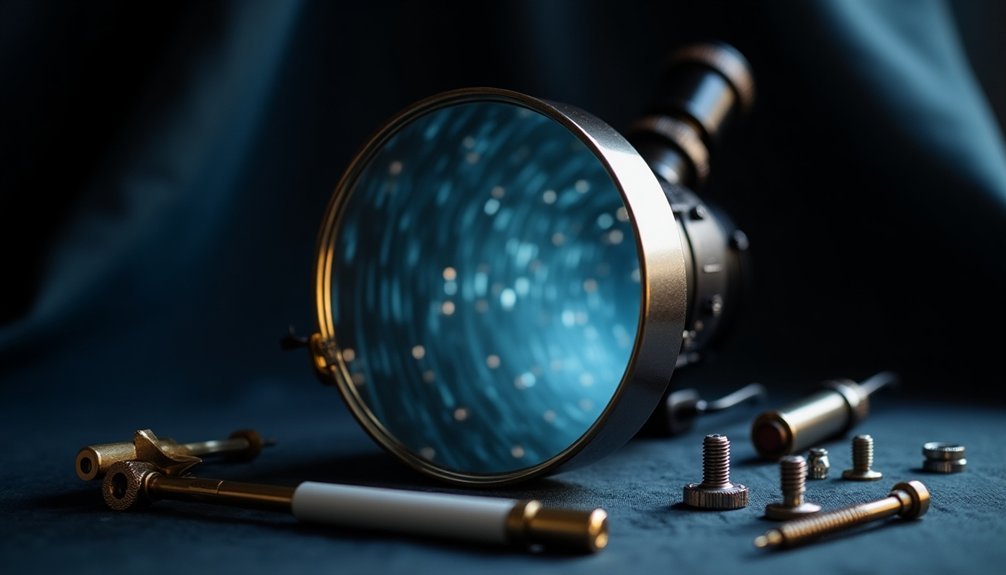
Accurate primary mirror alignment stands at the heart of telescope performance. You'll need either laser collimation tools or manual methods to achieve precise alignment. When using a laser collimator, avoid looking directly at the beam while following the reflected light to make adjustments. Proper mechanical stability is essential before beginning the collimation process.
| Tool Type | Key Benefits |
|---|---|
| Laser Collimator | Quick, precise alignment |
| Cheshire Eyepiece | Accurate center positioning |
| Collimation Cap | Budget-friendly option |
| Star Test | Final verification |
| Marking Tools | Easy reference points |
Use the three adjustment screws positioned 120 degrees apart to fine-tune your primary mirror's tilt. Mark the mirror's center with tape for easier reference. Remember to check your collimation regularly, especially after moving your telescope or experiencing significant temperature changes. For best results, perform a star test to verify your alignment's accuracy.
Secondary Mirror Adjustment Steps
While primary mirror alignment sets the foundation, proper secondary mirror adjustment guarantees your telescope's best light path.
Contrasting colors of paper placed behind and between the mirrors can help you better identify the secondary mirror's position during the alignment process. You'll need a collimation cap, tape measure, and adjustment tools to get started. Begin by ensuring your secondary mirror is centered directly under the focus tube, then adjust its position using the central bolt and surrounding screws.
Key steps for secondary mirror adjustment:
- Measure the distance from the tube's top to the secondary mirror, matching it with the focuser's center
- Rotate the mirror's face to align perfectly with the focuser
- Loosen and tighten adjustment screws in balanced pairs to achieve proper tilt
- Verify alignment using your collimation cap, ensuring symmetrical views
Remember to check your alignment every 12-18 months or after any significant movement of your telescope to maintain best performance.
Testing and Verifying Collimation
Proper collimation testing requires three essential verification methods: star testing, laser alignment, and collimation cap checks.
During star testing, you'll observe diffraction rings around a bright star – if they're perfectly concentric, your collimation is spot-on.
To use a laser collimator, you'll shine the beam through your telescope's focuser. The laser should hit the center of your primary mirror and reflect back through the same path. If it doesn't, you'll need to make adjustments.
For a basic check, use a collimation cap to observe the reflection of your mirrors. You'll want to guarantee all optical surfaces appear centered and aligned.
Remember to perform these tests when your optics have cooled down, as temperature changes can affect alignment accuracy.
Common Alignment Troubleshooting
Successfully aligning your telescope requires understanding common issues that can arise during setup. You'll want to focus on proper finder scope alignment during daylight hours using distant objects as reference points.
When dealing with polar alignment, watch for equipment flexure and make certain all cables are securely tightened.
Common alignment challenges you might encounter include:
- Finder scope misalignment causing targets to appear off-center
- Red dot finder accuracy issues requiring daytime calibration
- Camera positioning problems affecting software-assisted alignments
- Environmental factors like vibration and temperature affecting stability
To troubleshoot effectively, start by choosing a stable location and letting your telescope acclimate to outdoor conditions.
Use Polaris or the Moon as reference points to verify your alignment's accuracy, and don't hesitate to repeat alignment routines from different starting positions if problems persist.
Maintaining Proper Telescope Alignment
Once you've achieved initial alignment, maintaining your telescope's precision requires regular checks and adjustments.
Keep your optics clean using lens tissue and isopropyl alcohol to prevent alignment issues from dust buildup.
You'll need to inspect your mount frequently for loose screws or signs of wear that could affect stability.
Store your telescope in a dry place and use padded cases during transport to protect the alignment.
If you're using a computerized mount, don't forget to update its firmware regularly for peak performance.
Check collimation periodically to verify your optical elements are properly aligned.
For equatorial mounts, verify polar alignment before each viewing session.
When you're dealing with altazimuth mounts, make sure they're level and stable before each use.
Frequently Asked Questions
How Often Should I Realign My Telescope if I Keep It Stationary?
You'll need minimal realignment if your telescope stays on a permanent mount. Check alignment monthly, but you should realign if you notice any drift, experience temperature changes, or adjust your equipment.
Can Extreme Weather Conditions Permanently Affect My Telescope's Alignment?
Yes, extreme weather can permanently damage your telescope's alignment if it's not properly protected. You'll need to shield it from strong winds, temperature extremes, and moisture to prevent warping and mechanical failures.
Is Telescope Alignment Different for Astrophotography Compared to Visual Observation?
Yes, you'll need much more precise polar alignment for astrophotography than visual observation. While visual viewing tolerates rough alignment, you must achieve precise alignment for astrophotography to prevent star trails in long exposures.
What Causes Sudden Misalignment During a Viewing Session?
Your telescope can suddenly misalign due to thermal changes, mechanical stress, wind vibrations, or accidental bumping. You'll also notice problems if your mount's loose or your drive system has excessive backlash during tracking.
Should Alignment Procedures Differ Between Refractor and Reflector Telescopes?
Yes, you'll need different alignment procedures. Your refractor rarely needs collimation due to its fixed lens design, while your reflector requires regular mirror alignment to maintain peak performance. Follow manufacturer-specific guidelines for best results.
In Summary
Now you're equipped with the knowledge to properly align your telescope and enjoy crisp, clear views of celestial objects. Remember to regularly check your alignment, especially after moving your telescope, and don't hesitate to make small adjustments when needed. With practice, you'll become more efficient at the alignment process and spend less time adjusting and more time stargazing.


Leave a Reply