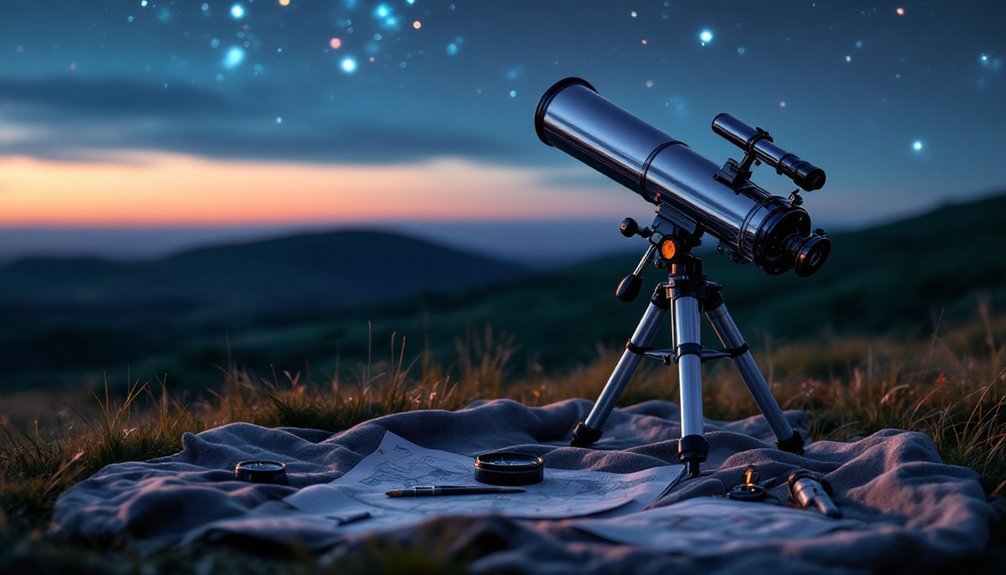
Set up your first telescope by following these essential steps: Read the manual and lay out components in a clean, well-lit area. Create a safe assembly space away from pets and children. Build a stable mount foundation using proper concrete techniques. Mount your optical tube assembly carefully, then align your finder scope. Choose an ideal viewing location with clear sightlines. Practice basic controls, and you'll be ready to reveal the mysteries of the night sky.
Read and Prepare Your Telescope Components
Three essential telescope types await first-time astronomers: refractors, reflectors, and catadioptric models.
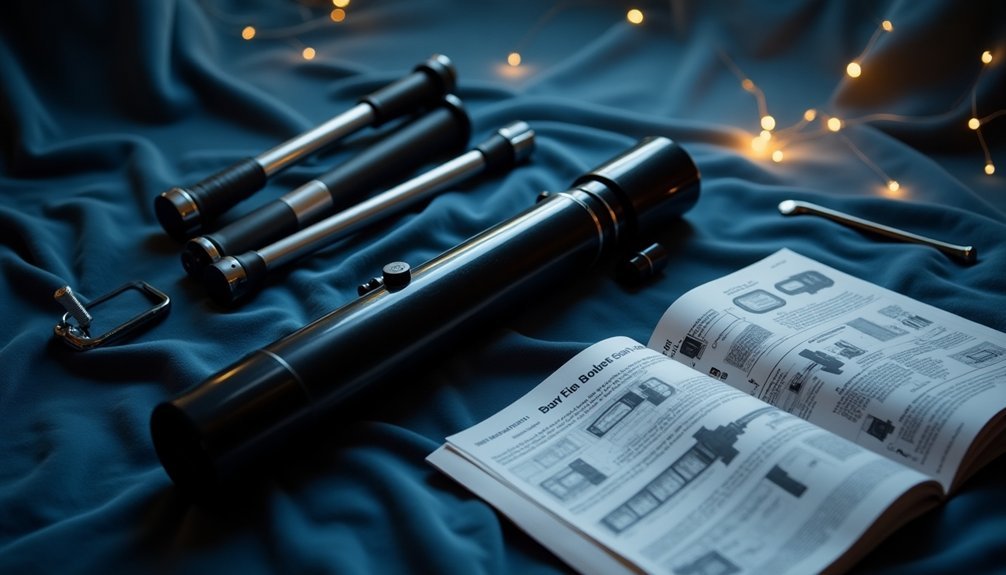
Before you begin assembly, take time to identify your telescope's key components, including the mount, finder scope, and eyepieces. Each piece plays a crucial role in your viewing experience.
Start by laying out all parts in a well-lit, clean area and confirm you've got everything listed in your manual. You'll need the included specialty tools and mounting hardware specific to your model.
Pay special attention to the finder scope bracket, eyepiece collection, and any moisture-prevention accessories like dew shields. Your mount may be either alt-azimuth or equatorial depending on your telescope model.
Don't rush this preparation phase. Understanding each component's function will make assembly smoother and help you avoid common setup mistakes.
Keep your manual handy – it's your roadmap to proper telescope assembly.
Create a Safe Assembly Space
Now that you've identified your telescope's components, let's set up a proper workspace for assembly.
Choose a spacious area with soft carpeting to protect parts from accidental drops. The initial setup process is considered the most complex part of telescope ownership, so take your time and be methodical. Make sure you've got bright lighting to read instructions and examine components clearly.
Set up on a large, flat surface where parts won't roll away, and keep pets and children away from your workspace to avoid distractions.
Designate specific spots for your tools and components, using small containers for tiny pieces. You'll want to protect electronic parts from dust and moisture during setup.
Don't forget to arrange comfortable seating to prevent fatigue, and keep your phone handy for customer support if needed.
Consider playing some background music to help you stay focused while you work.
Build a Stable Mount Foundation
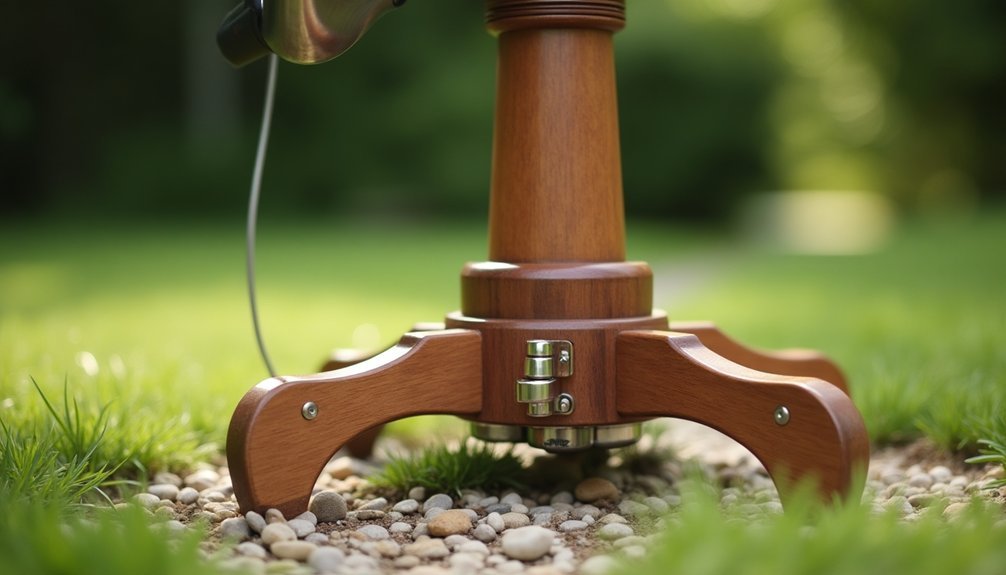
Building a stable mount foundation is the most critical step in your telescope setup. You'll need to isolate the foundation from other structures to prevent unwanted vibrations from affecting your observations.
A rock-solid mount foundation forms the backbone of great astronomy, keeping your telescope steady and vibration-free for clear observations.
Start by excavating a hole at least 54 inches deep using a post hole shovel. Make sure the soil is undisturbed and stable. The foundation hole should be approximately 24 inches in diameter near the bottom for proper support.
Install Sonotubes to shape the above-ground portion, then add rebar and J-bolts for structural support. Pour reinforced concrete directly into the hole, ensuring there aren't any air pockets. Use alignment tools and templates to position the bolts precisely with true North.
Let the concrete cure for two weeks before mounting your pier. Once it's set, seal any gaps between the pier and observatory foundations to maintain proper isolation.
Mount Your Optical Tube Assembly
Before attaching your optical tube assembly (OTA), you'll need to fully secure all mount components and tighten every locking mechanism.
You should carefully place your OTA into the mounting rings or dovetail system, following your manufacturer's specific instructions for attachment. The inside of mounting rings includes soft protective padding to prevent scratches on your telescope tube.
Once mounted, check that your telescope is properly balanced by gently releasing the axis locks and adjusting the OTA's position until it remains level without drifting.
Secure Mount First
Three critical steps form the foundation of telescope setup: identifying your mount type, preparing a level surface, and proper assembly.
You'll need to determine if you're working with an alt-azimuth or equatorial mount, as each requires different setup procedures. Quality mounts like the EQ6-R Pro SynScan are popular choices for serious astronomers.
Start by finding a stable, level surface for your tripod. Unfold the legs, extend them evenly, and attach the accessory tray.
Once you've positioned the tripod, secure the mount using the azimuth screws and central mounting bolt. Don't skip using a bubble level to guarantee perfect horizontal alignment.
If you're using an equatorial mount, you'll need to align it toward true north. Use a compass or the mount's built-in markers for initial positioning.
Remember to tighten all bolts and check stability before moving to the next step.
Optical Balance Check
With your mount securely in place, mounting the optical tube assembly marks your next major setup milestone. Follow your manufacturer's specific instructions to attach the tube, being mindful of the delicate optics inside.
Start by positioning the tube rings or direct mount attachment points, ensuring they're firmly secured. You'll need to achieve proper balance in both vertical and horizontal axes – this is essential for smooth tracking and protection of your equipment. Handle with care to prevent damage to internal lenses or mirrors during the mounting process.
If you're using a German equatorial mount, balance the declination axis first, then adjust the right ascension using counterweights.
Check the balance by gently releasing the locks – your telescope should remain stable in any position.
Don't forget to account for all accessories you'll use, including eyepieces and cameras, as these will affect the overall balance.
Set Up and Align Your Finder Scope

Position your finder scope's bracket on your telescope's optical tube assembly, ensuring it's snug but not overly tight.
During daylight hours, center a distant stationary object like a chimney or streetlight in your telescope's eyepiece at high magnification.
Once your target is centered in the main scope, adjust your finder scope's alignment knobs until the crosshairs perfectly match the same object's position.
A proper alignment setup will give you a wide field of view to easily locate celestial objects before using your main telescope.
Initial Finder Scope Positioning
Proper alignment of your finder scope is essential for an enjoyable stargazing experience. First, mount your finder scope securely using the provided rings or brackets. Choose a stable location away from direct sunlight, and select a stationary target like a distant utility pole or chimney for your initial alignment.
Start with a low-power eyepiece in your main telescope and center your chosen target in the field of view. Next, adjust the finder scope's alignment screws until the target appears centered in its crosshair or red dot. If you're using a red dot finder, be sure to pull the plastic tab to activate the battery for first-time use.
Make small, incremental adjustments to achieve precise alignment, and don't forget to tighten all screws securely afterward. Remember to verify your alignment by checking that the target remains centered in both the main telescope and finder scope views.
Perfect Finder Alignment Check
A perfect finder alignment check requires methodical testing to confirm reliable stargazing. Start by selecting a distant stationary target during daylight, like a chimney or power pole. Center this object in your telescope's low-power eyepiece, then verify it appears correctly in your finder scope.
Once you've made initial adjustments, switch to a higher-power eyepiece to fine-tune your alignment. The target should remain centered as you alternate between the finder and eyepiece views. If you're using a red dot finder, confirm your battery connection is solid and the dot appears bright against your target. Always aim for targets at ½ mile or more away to achieve the most precise alignment possible.
Before nightfall, test your alignment on a bright celestial object like the Moon or a prominent star. You'll know your finder is perfectly aligned when objects consistently appear centered in both views.
Choose Your Perfect Viewing Location
Finding the perfect spot for your telescope makes all the difference between a frustrating or rewarding stargazing experience.
Location is everything in astronomy – choose your viewing spot wisely to transform stargazing from frustrating to phenomenal.
You'll want to set up away from city centers where light pollution can obscure your view. Setting up near large water bodies can create excellent viewing conditions. Look for stable, grassy areas that won't transmit vibrations to your equipment, and guarantee you're protected from strong winds.
Choose a location with clear sightlines to the sky, free from trees and buildings. If possible, seek out high-altitude spots with dry air and stable temperatures, as these conditions improve image quality.
Don't forget about comfort and safety – you'll need easy access to your site and basic amenities nearby. Consider joining other astronomers at established viewing locations where you can share resources and expertise while guaranteeing you're complying with local regulations.
Practice Basic Telescope Controls
Three essential controls form the foundation of successful telescope operation: movement, focusing, and alignment.
Start by practicing with your mount's basic movements – if you've got a manual mount, familiarize yourself with the lock knobs and slow-motion controls. For computerized "GoTo" systems, learn your hand controller's functions.
Next, master your finder scope – it's your key to locating objects quickly. Align it during daylight using a distant landmark for best results. You can choose between red dot finders for simplicity or telescopic finders for more precision.
Finally, practice focusing using the adjustment knobs. Start with low-power eyepieces, which offer a wider field of view and make it easier to find objects.
As you track celestial bodies, you'll need to make periodic adjustments to compensate for Earth's rotation.
Frequently Asked Questions
How Long Should I Let My Telescope Adjust to Outdoor Temperature?
You'll need to let your telescope adjust for at least 30 minutes, though larger scopes may require up to 2 hours. Check that it's within 1 degree of ambient temperature for best viewing.
Can I Use My Telescope Through a Window When Weather's Bad?
You shouldn't use your telescope through windows as they'll cause glare, distortion, and poor image quality. If weather's bad, it's better to wait for clearer conditions or use astronomy apps instead.
What Should I Do if My Telescope's Mirrors Get Dusty?
Don't panic about dusty mirrors – a little dust won't hurt. If cleaning's necessary, use distilled water and gentle soap solution. Avoid touching the mirrors directly, and be extra careful when removing and reinstalling them.
How Often Should I Realign My Finder Scope?
You'll need to realign your finder scope mainly when you move your telescope to a new location. If you keep it stationary, you won't need frequent realignment unless you bump or adjust it considerably.
Should I Disassemble My Telescope After Each Viewing Session?
You don't need to disassemble your telescope after each viewing. Just remove accessories like eyepieces and finderscopes, clean the exterior with a soft cloth, and store it covered in a dry place.
In Summary
Setting up your first telescope doesn't have to be overwhelming. You'll find that taking these seven methodical steps will help you avoid common beginner mistakes and get you stargazing faster. By following proper assembly procedures and practicing basic controls, you'll be ready to explore the night sky with confidence. Remember, patience during setup leads to better viewing experiences and long-term telescope enjoyment.


Leave a Reply