To capture stunning night stars with your smartphone, find a dark location away from city lights and use a tripod for stability. Set manual mode with ISO 800-3200, the lowest aperture, and 10-30 second exposures. Shoot in RAW format, use specialized apps like NightCap, and avoid digital zoom. Focus manually on bright stars and use the timer to prevent camera shake. The right post-processing can transform your celestial images into breathtaking cosmic showcases.
10 Best Smartphone Camera Tips For Night Stars
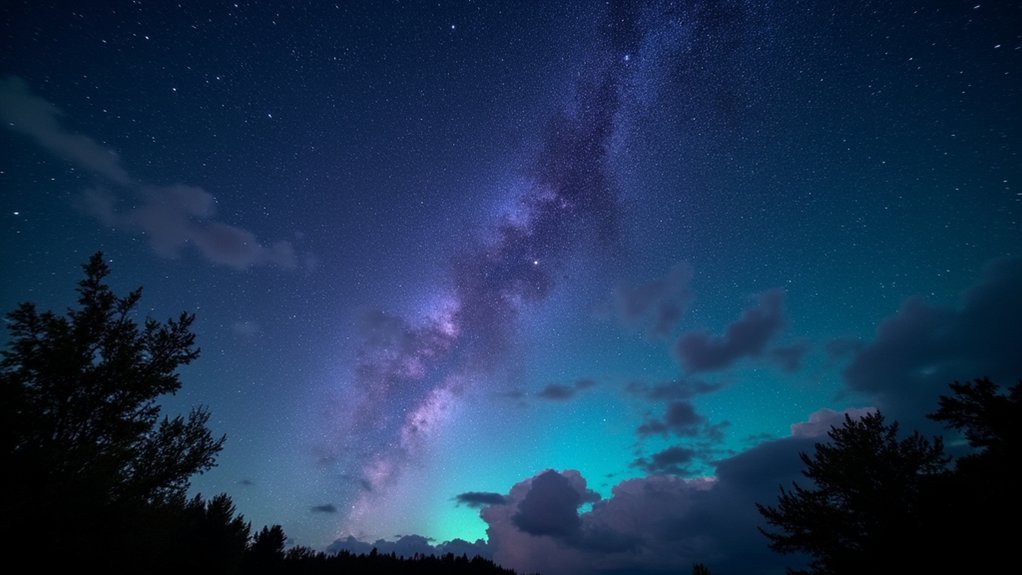
Although capturing the night sky once required professional equipment, today’s smartphones can photograph stars with surprising clarity when properly configured.
To maximize your night-sky photos, always stabilize your device with a tripod to eliminate camera shake during long exposures.
For best results, set your ISO between 800-3200 and use the lowest aperture your phone allows (preferably f/1.8 or lower). Instead of digital zoom, which degrades quality, capture at full resolution and crop later.
Specialized apps like Slow Shutter Cam give you manual control over shutter speed, with 10-15 second exposures typically yielding the best star visibility.
After shooting, enhance your images with editing software to bring out stellar details, but maintain natural-looking results by avoiding excessive adjustments to brightness and contrast.
Finding Dark Sky Locations for Clearer Star Visibility
You’ll capture more stars with your smartphone by using dark sky maps and light pollution tracking apps to pinpoint ideal viewing locations away from city glow.
The Dark Sky Finder and International Dark-Sky Association resources highlight protected areas where celestial details shine through clearest for your night photography.
Planning your visits around seasonal celestial events and new moon phases will dramatically improve your smartphone astrophotography results.
Map Dark Skies
The foundation of impressive night sky photography begins with finding the darkest possible location. Light pollution is the enemy of stellar visibility, so you’ll need tools to help you escape it.
Start by consulting the International Dark-Sky Association’s map, which highlights officially designated areas where light pollution is minimized. For more localized options, download apps like Dark Sky Finder or Light Pollution Map that can guide you to nearby dark spots perfect for smartphone astrophotography.
Time your outings around the new moon phase when the night sky is naturally darkest. Consider exploring national parks, rural landscapes, or remote locations far from city lights.
Local astronomy clubs often host stargazing events in prime dark sky locations, giving you both photography opportunities and expert guidance on capturing the cosmos with your smartphone.
Track Light Pollution
Everyone faces the challenge of light pollution when attempting night sky photography. Your smartphone’s Night Camera mode works best when artificial light is minimal, allowing the sensor to capture more stars.
To find dark sky locations:
- Use light pollution maps online to identify areas with minimal artificial glow before planning your astrophotography trip.
- Seek rural or remote locations away from urban centers where light pollution considerably diminishes star visibility.
- Check for seasonal celestial events that might be visible even in moderately light-polluted areas.
If traveling to dark sky locations isn’t possible, you can still improve your results by turning off nearby lights around your property.
Remember that even reducing local light pollution by a small amount can dramatically improve what your smartphone camera can capture in the night sky.
Plan Seasonal Visits
Timing your stargazing adventures strategically throughout the year can dramatically enhance what your smartphone captures. Use apps like PhotoPills or The Photographers Ephemeris to identify prime periods for capturing the night sky, especially during new moon phases when star visibility peaks.
Different seasons reveal unique celestial events—summer exposes the Milky Way’s core, while winter showcases brilliant constellations requiring shorter exposure time.
Check light pollution maps to locate genuinely dark locations within driving distance, or plan trips to national parks and designated dark sky areas.
Connect with local astronomy clubs who can recommend seasonal viewing spots suited to smartphone photography.
Many communities organize star parties during meteor showers or planetary alignments, providing perfect opportunities to practice your techniques alongside experienced astrophotographers.
Essential Tripod Setup for Long Exposure Stability
When capturing the mesmerizing twinkle of stars with your smartphone, a sturdy tripod becomes your most essential ally. Without proper stabilization, even the slightest movement will blur your long exposure shots, rendering those celestial wonders unrecognizable.
Choose a lightweight, portable tripod that won’t become a burden when trekking to remote locations with minimal light pollution. Ascertain it’s properly secured on whatever terrain you’re shooting from, adjusting the legs to create a level platform even on uneven ground.
- Always use your phone’s timer or a remote shutter release to prevent camera shake when triggering the exposure.
- Look for tripods with adjustable height and angle features for creative composition options.
- Test your setup’s stability before shooting by gently tapping it—any wobble means you need to reinforce.
Manual Camera Mode Settings for Starlight Capture
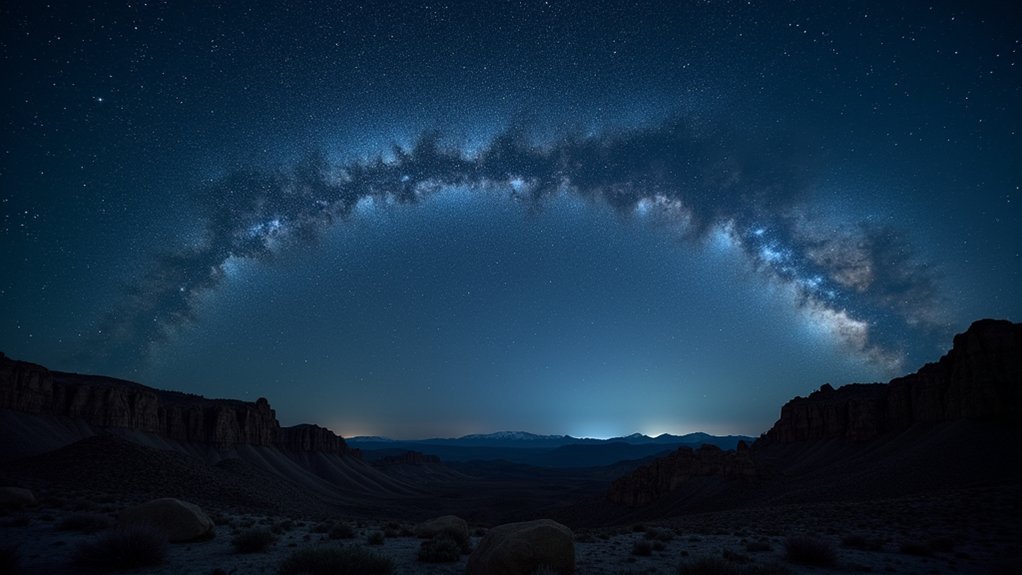
Despite their small sensors, modern smartphones can capture breathtaking images of the night sky if you properly configure their manual settings.
Start by setting your ISO between 800 and 3200—high enough to detect starlight while keeping noise manageable.
Select your camera’s lowest aperture setting (f/1.8 or lower) to maximize light collection. This dramatically improves star visibility in your final image.
Adjust your shutter speed to 10-25 seconds; longer exposure times reveal fainter stars, though too long will create star trails.
Remember to turn off HDR mode for better camera responsiveness in low light.
Finally, switch to manual focus instead of auto, preventing your camera from “hunting” in the darkness. This guarantees your stars remain crisp and defined rather than blurry points of light.
Night Mode and Specialized Astrophotography Apps
While manual mode offers precise control, your smartphone’s dedicated Night Mode feature provides a streamlined approach to capturing stars. This mode automatically extends exposure times, allowing you to photograph faint celestial objects without motion blur.
For even better results, consider specialized astrophotography apps that enhance your night sky photography capabilities.
- NightCap and Slow Shutter Cam offer fine-tuned control over ISO settings, shutter speed, and focus—critical parameters for clear star images.
- Google Pixel’s NightSight mode combines multiple exposures to create stunning astrophotography shots with minimal noise.
- Companion apps like Star Walk 2 help you identify constellations and plan your shooting sessions for ideal results.
Don’t forget to utilize the post-processing tools within these apps to adjust brightness and contrast, bringing out details that might otherwise remain hidden in your stellar captures.
Focusing Techniques for Crisp Star Definition
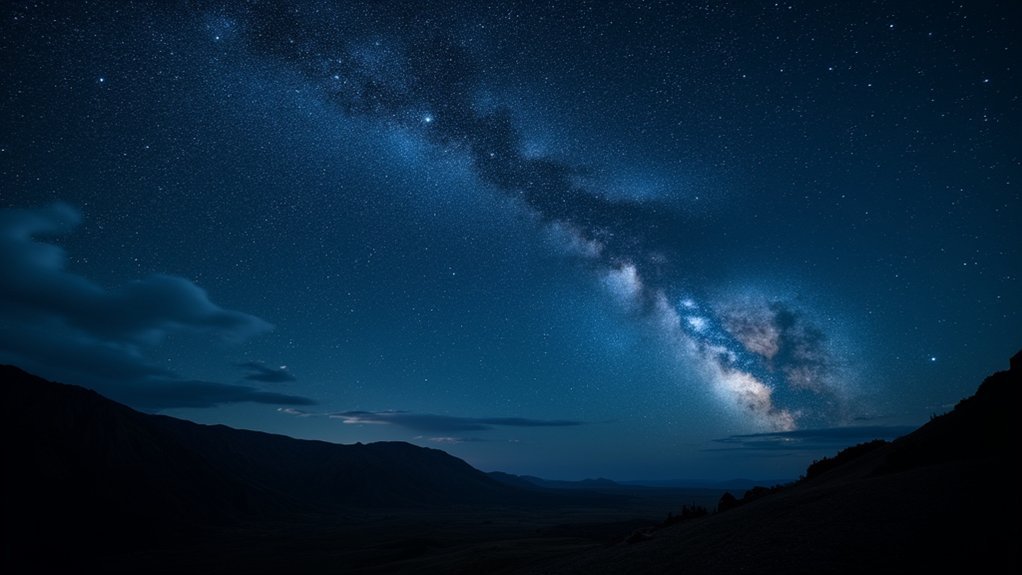
Because stars appear as tiny points of light in the vast darkness, achieving sharp focus presents one of the biggest challenges in smartphone astrophotography.
Switch your camera app to manual focus settings, as autofocus typically struggles in low-light conditions.
When using focusing techniques with smartphone cameras, try tapping on a bright star or planet on your screen to set your focus point.
You can temporarily use digital zoom to help achieve precise focus, but revert to standard view for the actual shot to maintain quality.
The “tap to focus” feature becomes your ally – use it deliberately to pinpoint your celestial subject.
For even better results, consider specialized astrophotography apps with focus assistance overlays that help you fine-tune focus in challenging nighttime conditions.
Optimal ISO and Exposure Time Balance
Finding the right ISO and exposure time balance means weighing higher ISO’s light sensitivity against increased noise in your night sky images.
You’ll want to start with ISO 800-3200 and keep your exposure between 10-25 seconds, adjusting based on your phone camera’s aperture capabilities.
Manual mode lets you fine-tune these settings, allowing you to capture stars clearly while minimizing unwanted light trails and digital grain.
Noise vs. Light Capture
When capturing the night sky with your smartphone, balancing ISO settings and exposure time creates the difference between a grainy, unusable image and a clear, star-filled masterpiece. Aim for ISO values between 800-3200 to minimize noise while still capturing enough light for stars to appear.
- Experiment with shutter speeds between 10-25 seconds to capture sufficient starlight without introducing trailing or excessive noise in your exposure.
- Choose the widest aperture your phone allows (ideally f/1.8-f/2.8) to maximize light capture while keeping ISO lower.
- Don’t shy away from post-processing noise reduction tools to clean up your final image.
For faint celestial objects, you might push to 30-second exposures, but be prepared to manage the additional noise through editing software later. This balance is vital for smartphone astrophotography success.
Manual Mode Settings
Although many smartphone users rely on automatic settings, mastering manual mode is essential for capturing the night sky effectively. Your smartphone’s manual camera controls are key to balancing light sensitivity with noise reduction.
Set your ISO between 800-3200—lower values reduce noise but capture less light, while higher settings increase sensitivity but add grain. Pair this with a wide aperture (f/1.8 or lower) to maximize light collection for those distant stars.
For exposure time, aim for 10-30 seconds. Remember, longer exposures reveal more celestial details but might create star trails without proper stabilization.
Often, a lower ISO combined with longer exposure produces cleaner images than the reverse.
Always shoot in RAW format when available—this preserves crucial information that you’ll appreciate during post-processing adjustments.
Long Exposure Trade-offs
Because smartphone astrophotography involves significant compromises, you’ll need to master the delicate balance between ISO and exposure time. While higher ISO settings (800-3200) increase light sensitivity, they also introduce noise. Keep your exposure between 10-15 seconds to prevent star trails caused by Earth’s rotation.
- Set your aperture as wide as possible (lowest f-number) to capture more starlight without needing a longer exposure.
- If stars appear blurry, reduce your exposure time—even a 30-second exposure can create unwanted trails.
- When using higher ISO settings, adjust the exposure downward to maintain image clarity and reduce noise.
Remember that smartphone limitations mean you’ll need to experiment with these settings. Each phone’s capabilities differ, so test various combinations to find your device’s sweet spot for capturing the night sky.
Avoiding Digital Zoom for Maximum Image Quality
Despite its convenience, digital zoom remains one of the biggest enemies of quality astrophotography on smartphones. When you zoom digitally, you’re fundamentally cropping the image in real-time, greatly reducing clarity and detail—especially problematic when capturing tiny stars in the night sky.
Instead of compromising your shot quality, capture the full frame at your camera’s native resolution and crop during post-processing. This approach maintains original image clarity while still allowing you to focus on specific celestial objects.
You’ll notice that small stars remain more defined and crisp compared to digitally zoomed captures.
For better results, physically move closer to your subject when possible or invest in optical zoom accessories. Remember, preserving your photo’s original resolution is vital for astrophotography where every pixel of starlight matters.
RAW Format Shooting for Enhanced Editing Control
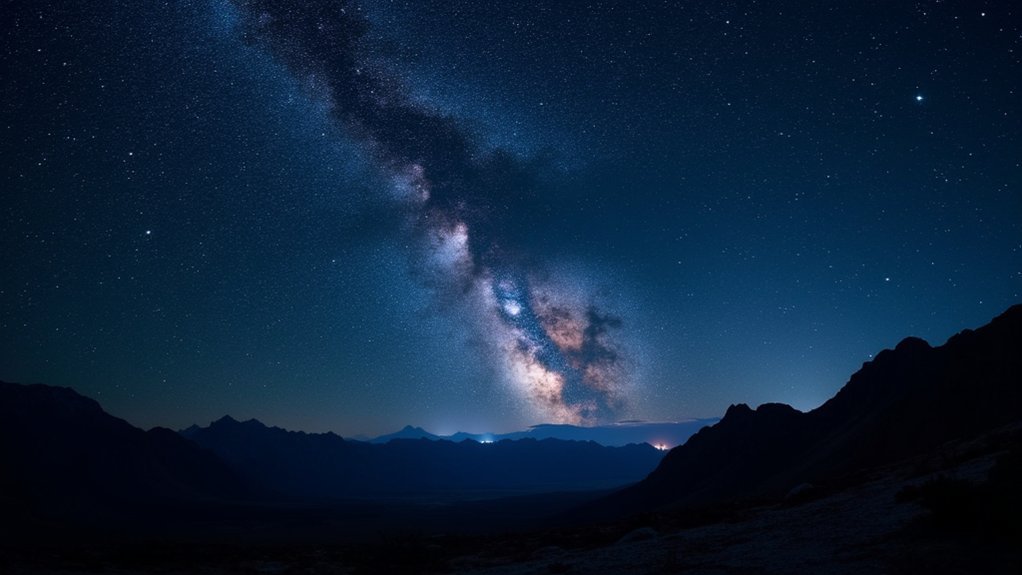
When capturing the night sky with your smartphone, switching to RAW format gives you tremendous advantages over standard JPEG shooting. Unlike JPEGs which compress and discard valuable image data, RAW files preserve all the detail your camera sensor captures, especially in the dark shadows and bright highlights of astrophotography.
- Look for RAW or DNG options in your phone’s camera settings—most modern smartphones now offer this capability.
- Consider using DNG format if storage space is limited, as it provides similar editing benefits with smaller file sizes.
- Import your RAW files into editing software like Lightroom to gain precise control over exposure, contrast, and color temperature.
To access RAW shooting, you’ll need to familiarize yourself with your specific phone’s camera app settings, as the option isn’t always enabled by default.
Effective Post-Processing to Enhance Star Visibility
After capturing your starry night shots, the real magic happens during post-processing where you’ll transform what might look like faint dots into a vibrant cosmic display.
Working with files shot in RAW format gives you tremendous flexibility to adjust exposure and contrast without degrading image quality.
Start by applying noise reduction to clean up the digital artifacts that high ISO settings introduce. This step is essential for revealing stars that might otherwise be lost in grainy backgrounds.
Next, fine-tune tonal adjustments to bring out stellar details—slightly increasing contrast while carefully boosting brightness in the highlights.
Don’t hesitate to crop your image strategically to emphasize celestial elements while removing distractions.
Adding subtle enhancements to foreground elements creates depth, connecting the earth to the heavens above.
Frequently Asked Questions
What Are the Best Phone Settings for Astrophotography?
For best phone astrophotography settings, use ISO 800-3200, aperture f/1.8 or lower, and shutter speed of 10-30 seconds. Disable HDR and shoot in RAW format for ideal results capturing night stars.
How to Set Phone Camera for Night Sky?
Set your phone camera to low ISO (800-3200), wide aperture (f/1.8 or lower), and 10-30 second shutter speed. Turn off HDR and use manual camera apps for better control when shooting the night sky.
How to Get Phone Camera to Pick up Stars?
You’ll need to use manual camera apps, set high ISO (800-3200), enable long exposure (10-30 seconds), use a tripod, disable flash/HDR, and focus to infinity to capture stars with your phone.
How to Take a Good Picture of the Stars With Your Phone?
Use a tripod to stabilize your phone, activate night mode, set ISO between 800-3200, and keep aperture low. Don’t use digital zoom. Find a dark location away from light pollution for clearer star shots.
In Summary
You’ve now got everything you need to capture stunning starscapes with your smartphone. Remember, it’s all about finding dark skies, stabilizing your phone, and mastering those manual settings. Don’t rush the process—experimentation is key. With the right apps, proper technique, and some thoughtful editing, you’ll transform ordinary night shots into extraordinary cosmic portraits. The universe is waiting for you to capture its brilliance!


Leave a Reply