A polar alignment scope transforms your stargazing from guesswork to precision by accurately aligning your telescope mount with the North Celestial Pole. You’ll save time with setup taking under 10 minutes while guaranteeing accurate tracking of celestial objects. It’s essential for crisp astrophotography, preventing field rotation and blurry star trails during long exposures. With practice, you’ll center Polaris perfectly using the illuminated reticle. The right alignment techniques can dramatically enhance your entire observation experience.
Polar Alignment Scope: Master Accurate Night Sky Setup
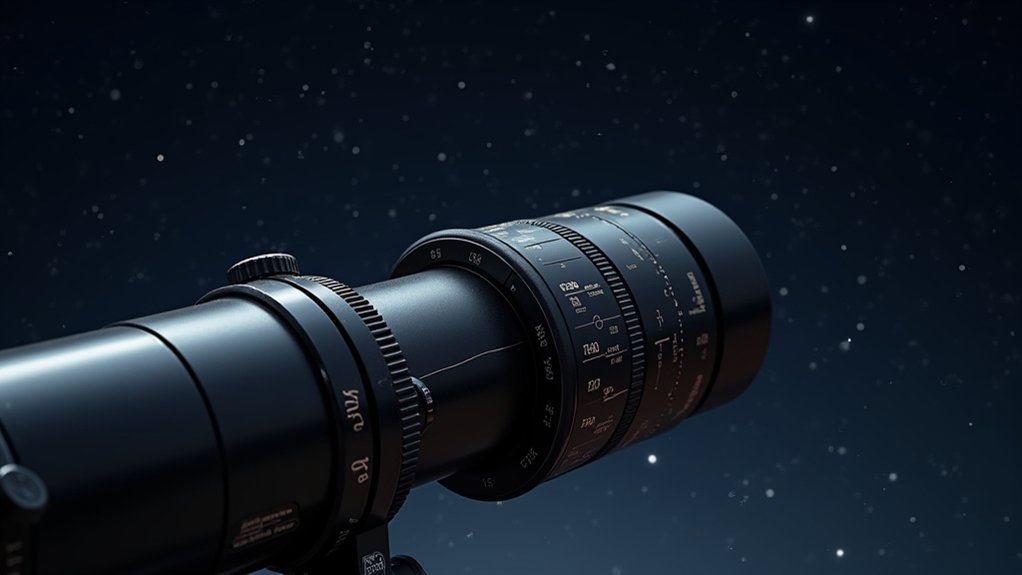
A polar alignment scope transforms your stargazing setup process from frustrating guesswork to precise science. This specialized tool features a reticle with markings for Polaris and reference stars, enabling you to align your telescope mount directly with the North Celestial Pole (NCP) with remarkable precision.
You’ll save significant time with a polar alignment scope—completing accurate polar alignment in under 10 minutes compared to lengthier traditional methods. Most German equatorial mounts accommodate these scopes, making your setup considerably more straightforward.
For astrophotography enthusiasts, proper alignment is non-negotiable. When you’re capturing long exposures of distant galaxies or nebulae, even minor tracking errors cause star trails and blurry images.
With precise alignment through your polar scope, you’ll achieve the sharp, detailed astrophotography results you’re aiming for.
Understanding the Basics of Polar Alignment
When you’re setting up your telescope, polar alignment guarantees your instrument accurately tracks celestial objects by positioning it parallel to Earth’s axis of rotation pointing toward the North Celestial Pole.
Your ability to capture crisp, detailed images during long-exposure astrophotography depends directly on how precisely you’ve aligned your mount with the celestial pole.
Without proper alignment, your telescope’s tracking mechanism will struggle to compensate for Earth’s rotation, resulting in star trails and blurred images rather than the clear, pinpoint stars you’re aiming to capture.
Why Polar Alignment Matters
Stargazers and astrophotographers understand that precise polar alignment forms the foundation of successful celestial observation. Your polar alignment routine directly impacts the quality of your imaging sessions, particularly when attempting longer exposures.
With accurate PA, you’ll track celestial objects precisely as they move across the night sky.
The importance of polar alignment becomes evident when you consider:
- It prevents field rotation, eliminating blurry star trails in your astrophotographs
- A properly aligned polar scope allows for exposure times that capture faint deep-sky objects
- Drift alignment software and apps streamline the process, reducing setup time to under 10 minutes
When you invest those few minutes in achieving proper alignment, you’re rewarded with sharper images and more enjoyable observation sessions, especially during long imaging sequences.
North Celestial Pole
The North Celestial Pole (NCP) forms the invisible pivot point around which the entire northern sky appears to rotate. When you align your telescope’s equatorial mount with this celestial anchor, you’re synchronizing your equipment with Earth’s rotation axis.
Polaris, the North Star, sits approximately 0.7 degrees from the NCP, making it your most valuable reference point for accurate polar alignment. You won’t see the NCP directly, but finding Polaris using the Big Dipper constellation provides an excellent starting position.
Proper alignment with the NCP eliminates field rotation and minimizes tracking errors, allowing you to capture longer exposures without star trails in your astrophotography.
Remember that precise polar alignment is essential—the more accurate your alignment, the better your telescope will track celestial objects throughout the night.
Alignment Vs Tracking
Many amateur astronomers confuse polar alignment with star tracking, but they serve distinct purposes in your astronomical setup.
Polar alignment aligns your mount with Earth’s rotational axis, while tracking follows celestial objects as they move across the sky.
When you properly align your telescope using a polar scope:
- You’ll achieve longer exposure times in astrophotography without star trails or motion blur
- Your mount can theoretically track objects without declination adjustments
- You’ll spend less time making corrections and more time observing
The ten minutes you’ll invest in precise polar alignment pays dividends throughout your observing session.
While star alignment helps compensate for some errors, prioritizing accurate polar alignment guarantees excellent tracking performance, especially critical when capturing deep-sky objects that require extended exposure times.
Essential Equipment for Precise Alignment
Achieving celestial precision begins with proper polar alignment equipment. Your primary tool is a polar alignment scope, which enables accurate positioning relative to the North Celestial Pole.
Many quality mounts like Sky-Watcher HEQ5 and Celestron CGEM feature built-in polar scopes that markedly streamline the alignment process.
For enhanced accuracy, add an illuminated reticle eyepiece to your setup. This accessory improves star centering capabilities, directly contributing to better tracking performance.
Modern smartphone apps like PolarFinder complement your physical equipment by providing real-time positioning data for accurately locating Polaris or the celestial pole.
With these essential tools working together, you’ll reduce alignment time dramatically—achieving near-perfect alignment in under 10 minutes instead of struggling through lengthy manual procedures.
Locating Polaris in the Night Sky

You’ll find it easier to spot Polaris when you’ve properly oriented yourself toward the northern sky and identified key constellations like the Big Dipper.
Nearby landmarks such as buildings, trees, or mountains can serve as reference points to help you consistently locate the North Star on different nights.
Modern smartphone astronomy apps can instantly identify Polaris for you, showing its precise location through your device’s camera when pointed at the night sky.
Northern Sky Orientation
One fundamental skill for successful polar alignment involves accurately locating Polaris in the night sky. This bright star (magnitude 1.98) serves as your reliable reference point for finding the North Celestial Pole (NCP).
When setting up your equipment, you’ll need to:
- Use the Big Dipper as a pointer—draw an imaginary line through the two stars forming the bowl’s edge and extend it about five times that distance
- Look for a distinctly brighter star at the end of the Little Dipper’s handle
- Utilize planetarium software like Stellarium for a clear view of celestial objects when practicing identification
If you’re in a location where Polaris isn’t visible, don’t worry. The Drift Align method offers an alternative approach by monitoring star movement over time, ensuring accurate polar alignment regardless of your position.
Using Landmark References
When your observing site becomes familiar over multiple sessions, establishing permanent landmark references can dramatically improve your polar alignment efficiency. By using visual markers from your location, you’ll quickly find Polaris without starting from scratch each time.
| Landmark Type | Alignment Technique |
|---|---|
| Trees/Buildings | Align scope with known object pointing to true north |
| Compass Reading | Use magnetic declination adjustment for true north |
| Daytime Markers | Note where sun sets to approximate north position |
| Landscape Features | Use ridgelines or distant peaks as alignment guides |
| Permanent Markers | Place stakes or markers at your regular observing spot |
For precision alignment, first use these landmarks to roughly point your mount northward, then fine-tune by locating the Big Dipper and following its pointer stars to Polaris. This two-step approach saves valuable observing time.
Smartphone Apps Help
Modern astronomical technology has transformed polar alignment through specialized smartphone applications that serve as virtual assistants during setup.
Apps like PolarFinder, Stellarium, and SkySafari provide real-time star maps customized to your location, making locating Polaris remarkably straightforward.
These digital tools enhance your polar alignment process in several ways:
- Augmented reality features allow you to point your phone at the night sky and instantly identify celestial objects
- Built-in alignment tools help you adjust your telescope’s mount position with precision and confidence
- Educational resources teach you about celestial navigation while you’re setting up
You’ll find these apps particularly valuable for reducing alignment time to under 10 minutes—a significant advantage whether you’re engaging in casual visual observation or detailed astrophotography sessions.
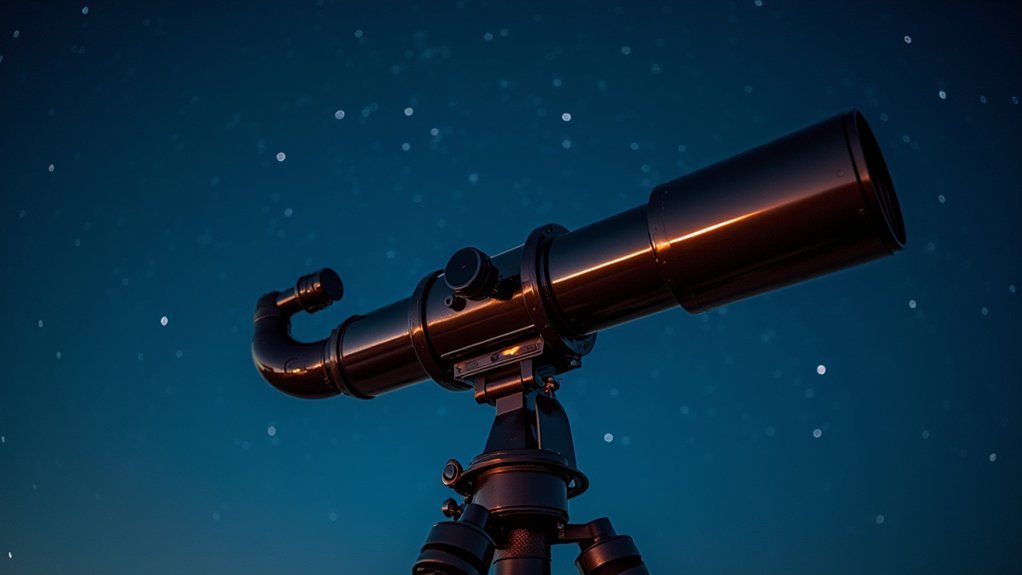
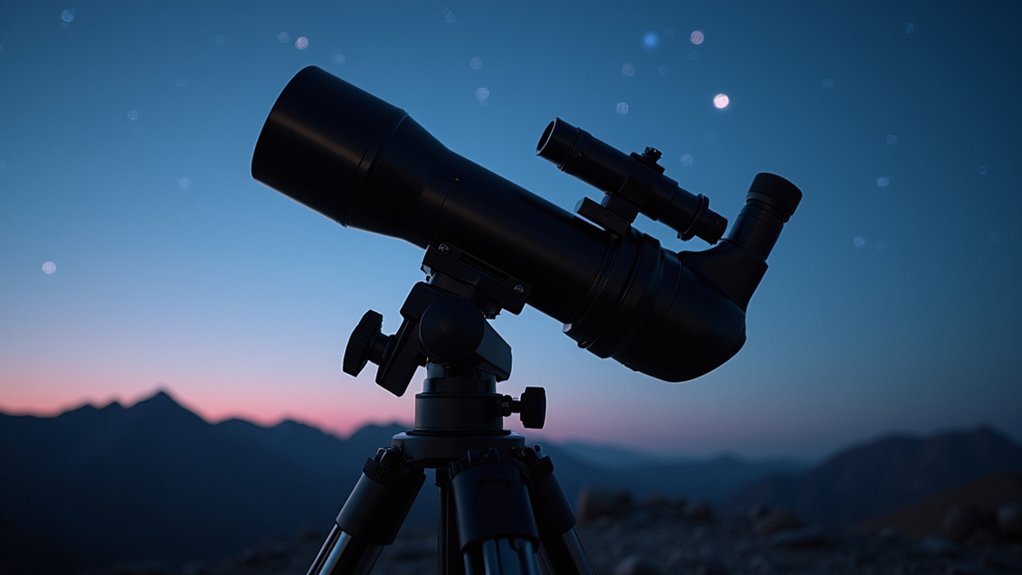
Setting Up Your Tripod and Mount
Proper tripod setup forms the foundation of successful polar alignment with your scope.
Begin by positioning your tripod roughly facing true North, which is essential for accurate polar alignment. Before mounting your equipment, confirm your tripod is perfectly level using the built-in bubble levels or a separate spirit level.
Once leveled, adjust your mount’s altitude setting according to your latitude coordinates to align with the celestial pole. You’ll need these coordinates to achieve precise positioning relative to Earth’s rotation axis. If you’re unsure about direction, use a compass or identify visual landmarks for a rough alignment before fine-tuning.
Throughout this process, verify your tripod remains stable and secure. Any movement during alignment will compromise your tracking accuracy and ultimately affect your observing or imaging results.
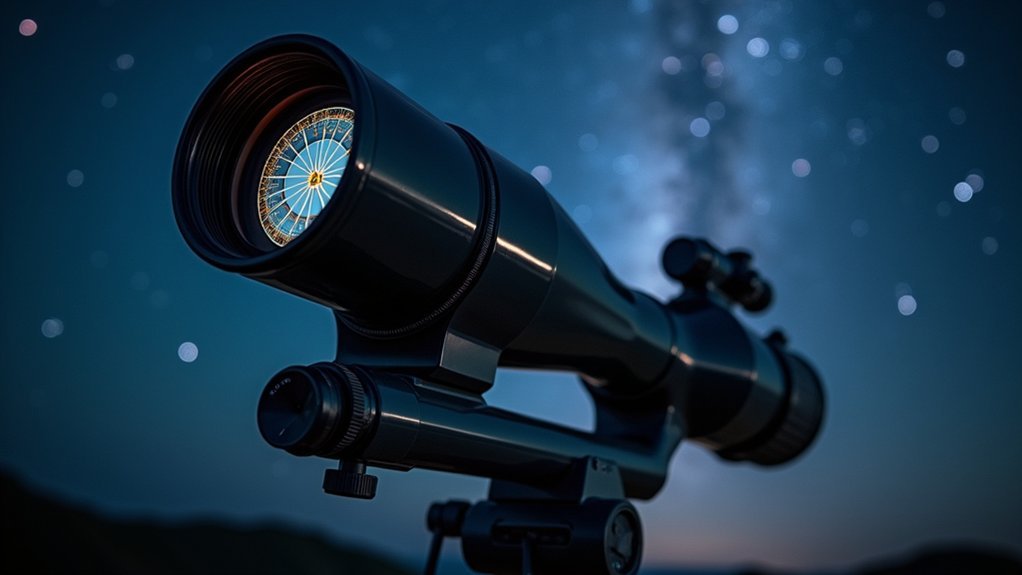
Using the Polar Alignment Scope Effectively
To achieve precise tracking of celestial objects, you’ll need to master your polar alignment scope, a specialized optical tool that aligns your mount with Earth’s rotation axis.
With proper technique, you’ll align your polar axis with the North Celestial Pole in under 10 minutes—essential for astrophotography with CCD cameras and visual observing alike.
Proper polar alignment is your gateway to stellar tracking and crystal-clear astrophotography in just minutes.
- Center Polaris within the illuminated reticle, making careful adjustments to both azimuth and altitude until perfect alignment.
- Practice regularly to develop muscle memory for the process, improving your accuracy without needing drift aligning techniques.
- Take advantage of the illuminated reticle in dark conditions for clearer visibility when centering reference stars.
Your alignment accuracy directly impacts tracking performance, especially during longer exposures.
With consistent practice, you’ll quickly develop confidence in this essential astronomical skill.
Fine-Tuning Your Alignment for Astrophotography
While basic polar alignment might suffice for visual observing, astrophotography demands precision that eliminates even minute tracking errors.
Start by ensuring your tripod is perfectly level and oriented northward before making any adjustments.
Use tools like PolarFinder apps or dedicated polar alignment scopes to position Polaris according to your latitude.
Then carefully fine-tune both azimuth adjustments and altitude using your mount’s knobs until Polaris aligns precisely with the indicated reticle position.
When Polaris isn’t visible, employ drift alignment techniques to verify your setup by monitoring star movement.
Regular practice with software assistants like SharpCap or AlignMaster will greatly improve your results.
The reward for your precision? Tracking accuracy that delivers sharp images throughout long exposures—making your astrophotography sessions considerably more productive and satisfying.
Troubleshooting Common Alignment Problems
Even experienced astronomers encounter polar alignment challenges that can frustrate an otherwise perfect night of stargazing.
Polar alignment challenges can transform ideal stargazing nights into exercises in astronomical patience.
When your telescope isn’t tracking properly, check these common issues:
- Mount leveling problems – An unlevel base creates misalignment that compound throughout your setup. Always verify your mount is perfectly level before attempting polar alignment.
- Initial orientation errors – If you’re struggling with adjustments, recheck your compass heading. Even small deviations from the North Celestial Pole can cause significant tracking issues during long exposures.
- Calibration inconsistencies – When Polaris isn’t visible, try the drift alignment method to identify and correct positioning errors.
Watch a star’s movement over time and make small, incremental adjustments to altitude and azimuth until tracking stabilizes.
Remember that patience during troubleshooting saves frustration later in your observation session.
Frequently Asked Questions
How Close Does Polar Alignment Need to Be?
For visual observing, you’ll need alignment within 1 degree of true north. For astrophotography, aim for under 0.5 degrees. Longer focal lengths require greater precision to prevent field rotation during exposures.
What Is the King Method of Polar Alignment?
The King Method involves positioning Polaris in your polar scope’s reticle, then making precise azimuth and altitude adjustments as you watch for star drift over several minutes to perfect your mount’s polar alignment.
How to Polar Align When Polaris Is Not Visible?
When Polaris isn’t visible, you’ll need to use drift alignment by monitoring star movement over time, or utilize tools like SharpCap or PolarFinder apps. Setting up facing true north initially will simplify the process.
Is Polar Alignment Necessary?
Yes, polar alignment is necessary if you’re tracking celestial objects or doing astrophotography. Without it, you’ll experience field rotation and star trailing as Earth rotates, especially during longer observations or exposures.
In Summary
You’ve now mastered the essentials of polar alignment with your scope. By carefully positioning your mount’s axis parallel to Earth’s rotation, you’ll enjoy smooth tracking and sharp astrophotography. Remember, practice makes perfect—don’t get frustrated if your first attempts aren’t spot-on. Keep refining your technique, and you’ll soon achieve the precision needed for stunning night sky images every time you set up.


Leave a Reply