For perfect moon photography settings, start with manual mode, set aperture to f/8, ISO 100-200, and shutter speed 1/200s to 1/320s. Use spot metering and intentionally underexpose by one stop to preserve details. Mount your camera on a sturdy tripod and employ manual focus, preferably with Live View magnification. During moonrise or moonset, open your aperture to f/4-f/5.6. These fundamentals will illuminate your path to capturing the moon’s mesmerizing details.
Moon Photography: Perfect Camera Settings Every Time
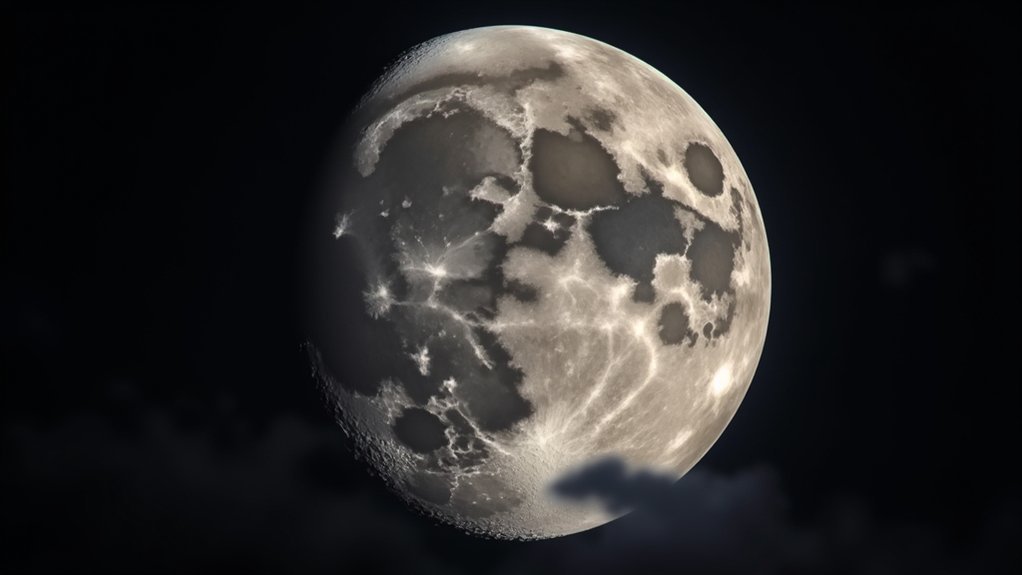
Although capturing the moon might seem challenging, you’ll get stunning results every time with the right camera setup.
Start by switching to manual mode on your camera, which gives you complete control over moon photography settings.
Manual mode is your secret weapon for moon photography, unlocking full control over every crucial setting.
Set your aperture to f/8, ISO to 100, and shutter speed to at least 1/180s to freeze motion and capture crisp lunar details.
When shooting during moonrise or moonset, open your aperture to f/4 or f/5.6 as light diminishes.
A telephoto lens (200mm+) is essential to bring the moon closer in your frame.
For proper exposure, slightly underexpose by one stop and use spot metering to preserve the moon’s surface features.
Always shoot in RAW format for maximum flexibility during post-processing, allowing you to enhance contrast and details later.
Understanding the Moon’s Unique Lighting Conditions
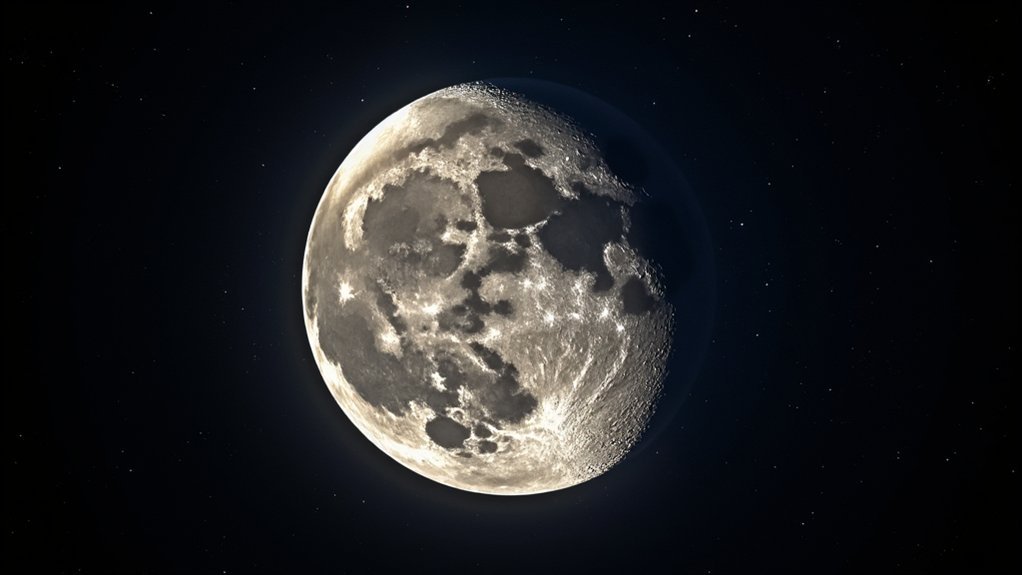
The Moon presents a unique photographic challenge unlike any other subject in night photography. Despite the dark night sky surrounding it, the Moon reflects intense sunlight, making it surprisingly bright.
When photographing the Moon, you’ll need to adjust your exposure settings accordingly—particularly during a full moon when reflection is strongest. Your camera’s automatic settings will typically overexpose the Moon, washing out surface details.
Instead, use spot metering focused directly on the lunar surface for accurate readings. Faster shutter speeds (1/125-1/250) and lower ISO settings will capture crisp details rather than a glowing white disc.
Remember that atmospheric conditions greatly affect brightness. Humidity, pollution, and the Moon’s position on the horizon all require real-time adjustments to your camera settings for that perfect lunar photograph.
Essential Camera Equipment for Lunar Photography
You’ll need a telephoto lens (200-400mm) to capture the moon’s surface details effectively, making it appear larger and more prominent in your frame.
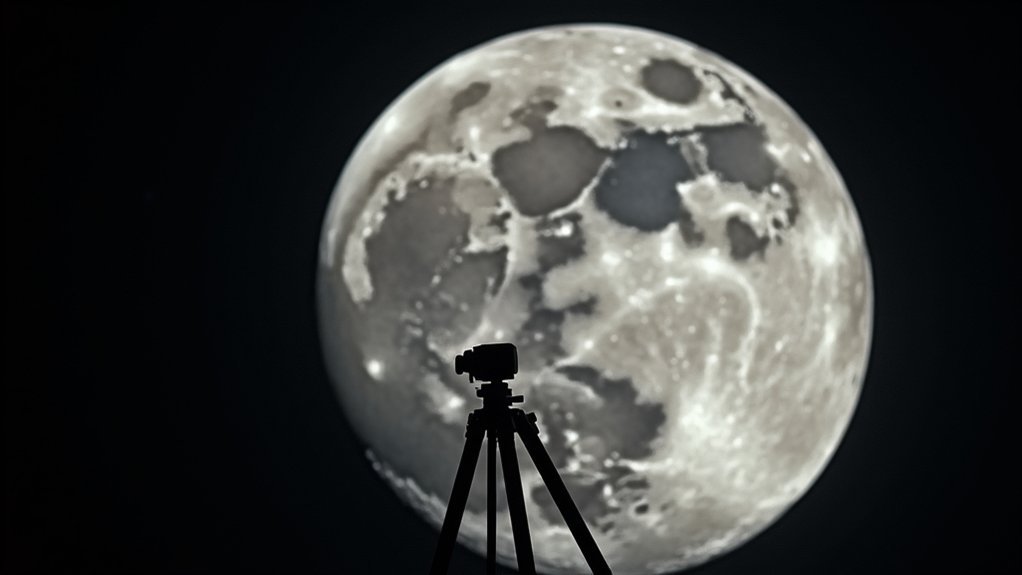
Pair your lens with a sturdy tripod to eliminate camera shake during longer exposures, ensuring your lunar images remain tack-sharp.
A remote shutter release will further minimize vibrations when you take the shot, allowing you to achieve the clearest possible photographs of our celestial neighbor.
Telephoto Lens Selection
When capturing the moon’s magnificent details, a telephoto lens becomes your most vital piece of equipment.
You’ll need at least 200mm focal length to reveal the moon’s craters and surface features in your frame. Lenses between 200-400mm offer an ideal balance of size, weight, and magnification for moon photography.
Choose a lens with a maximum aperture of f/4 or faster for quality results during moonrise or moonset when light is limited.
Image stabilization technology is essential if you’re shooting handheld with slow shutter speeds, effectively minimizing camera shake.
For ultimate sharpness and clarity, consider prime telephoto lenses, which typically outperform zoom alternatives, especially at wider apertures.
Their superior image quality and precise focus ring control will help you capture lunar details that might otherwise be lost with lesser equipment.
Tripods and Stabilization
Three critical components form the foundation of successful moon photography: your camera, lens, and a rock-solid tripod system. When capturing lunar details, even the slightest movement can ruin your shot, making proper stabilization non-negotiable for long exposures.
Your ideal tripod should include:
- Adjustable legs with a ball head for precise positioning and flexible framing
- Adequate weight support rated specifically for your camera and telephoto lens combination
- Quick-release plate system for efficient setup during rapidly changing lighting conditions
- Remote shutter release capability or timer function to eliminate vibrations when triggering the shot
Don’t underestimate how critical stabilization is to prevent blurriness. Even with perfect settings, camera shake during long exposures will destroy detail—the difference between capturing crisp lunar craters and ending up with a fuzzy, disappointing blob.
The Exposure Triangle Optimized for Moon Shots
Capturing the moon’s ethereal glow requires a specialized approach to the exposure triangle. Balance your aperture, shutter speed, and ISO to reveal lunar details that often elude casual photographers. Start with f/8 aperture to achieve ideal sharpness while maintaining sufficient depth of field for crisp crater definition.
| Setting | Recommendation | Why It Matters |
|---|---|---|
| Aperture | f/8 | Balances sharpness and depth |
| Shutter Speed | 1/200s – 1/320s | Prevents motion blur |
| ISO | 100-200 | Minimizes noise |
| Light Conditions | Varies | Affects all settings |
| Quick Method | Looney f/11 rule | Sets shutter at 1/ISO |
For proper exposure in moon photography settings, employ a fast shutter speed between 1/200s and 1/320s to freeze the moon’s movement. The Looney f/11 rule provides a reliable starting point, especially when you’re adjusting to changing conditions.
Manual Mode Mastery for Lunar Detail Capture
The full control offered by Manual mode represents the cornerstone of exceptional moon photography. You’ll need to experiment and figure out the perfect manual exposure for crisp moon shots.
Begin with the Sunny 16 rule, setting your aperture to f/16 and adjusting shutter speed to match your ISO setting.
- Underexpose by 1-2 stops to preserve lunar detail, preventing the bright surface from washing out.
- Use a fast shutter speed (minimum 1/180s) to freeze the moon’s movement across the sky.
- Check your histogram in Live View to verify the moon is properly exposed within the frame.
- Isolate the moon when metering to get accurate readings, as the dark sky can trick your camera’s meter.
Focusing Techniques for Tack-Sharp Moon Images
While mastering manual exposure settings delivers proper lunar brightness, even perfectly exposed moon photos fail without proper focus.
Switch your camera to manual focus rather than relying on autofocus, which typically struggles to lock onto the distant lunar surface.
Begin by setting your lens to infinity focus, then use your camera’s LCD magnifier to fine-tune until the moon’s craters appear crisp.
A sturdy tripod is essential for maintaining sharpness during longer shutter speeds, eliminating camera shake that ruins detail.
For best results, engage your camera’s Live View mode to magnify the moon on-screen while adjusting focus.
This technique provides immediate visual feedback on sharpness. Regular practice with manual focusing will steadily improve your lunar images, ensuring your exposure settings aren’t wasted on blurry results.
Creative Composition Strategies for Moon Photography
Beyond technical settings and focus, successful moon photography demands thoughtful composition to transform ordinary lunar shots into compelling visual stories.
To make your lunar images stand out, use these proven creative approaches:
- Incorporate foreground elements like trees or buildings to create depth and tell a more interesting story while providing scale to the Moon.
- Capture the Moon during different lunar phases to take advantage of unique textures and lighting conditions that highlight various crater details.
- Use golden or blue hour for richer colors in your sky that complement the Moon’s glow and create dramatic atmosphere.
- Try different focal lengths and creative framing techniques, placing the Moon off-center using the rule of thirds or capturing it during moonrise when it appears larger on the horizon.
Working With Different Lunar Phases and Conditions
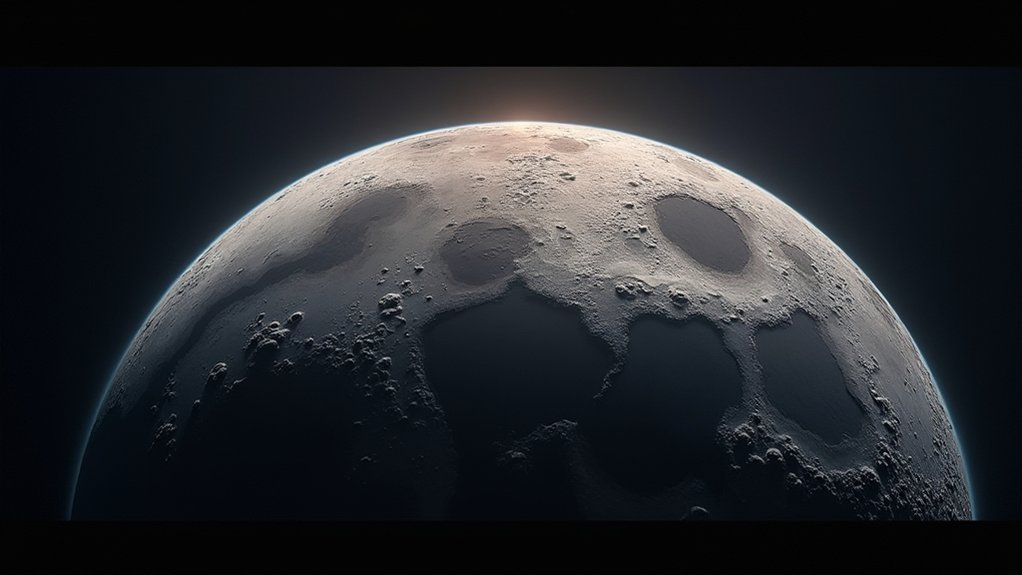
Understanding lunar phases dramatically affects your ability to capture compelling moon photographs, as each phase presents distinct photographic opportunities and challenges.
For the crescent moon, shoot shortly after sunset or before sunrise when it’s low on the horizon, allowing you to incorporate interesting foreground elements and rich colors.
When photographing a waxing gibbous or full moon, you’ll need to underexpose by 1-2 stops to preserve surface details and prevent blown highlights.
Take advantage of the golden hour for ideal lighting conditions, enhancing colors and contrasts when capturing the moon with landscapes.
Consider atmospheric conditions and the moon’s altitude—lower angles create a more colorful, larger appearance, while higher positions may require faster shutter speed adjustments due to increased brightness.
Different lunar phases offer unique textures and lighting effects worth exploring.
Post-Processing Techniques to Enhance Moon Details
Three key post-processing techniques can transform an ordinary moon photo into a spectacular celestial portrait.
When working with RAW images, you’ll reveal tremendous potential to enhance moon details that weren’t initially visible.
- Adjust the exposure carefully to recover highlights and shadows, revealing hidden textures and features like craters.
- Apply sharpness tools with restraint to bring out fine surface details without introducing noise in darker areas.
- Correct white balance by adjusting temperature and tint for a more natural lunar appearance.
- Refine contrast adjustments to make features pop while improving the overall dynamic range.
Don’t forget that thoughtful cropping can dramatically improve composition by eliminating distractions and placing focus directly on your lunar subject.
These post-processing techniques will elevate your moon photography from basic snapshots to breathtaking celestial portraits.
Frequently Asked Questions
What Camera Settings Are Best for Moon Shots?
You’ll get best moon shots using Manual mode with f/8 aperture, ISO 100, and shutter speed of 1/250s. Slightly underexpose by one stop and use spot metering to capture detailed lunar surface features.
What Is the 11 Rule in Moon Photography?
The 11 rule states you should set your aperture to f/11 and shutter speed to 1/ISO. For example, with ISO 100, use 1/100s. It’s a simple formula to properly expose the moon without overexposure.
What ISO Setting for Moon Photography?
Start with ISO 100 to minimize noise when photographing the moon. You’ll get the best image quality this way. You can increase to 200-400 if needed for faster shutter speeds in changing light conditions.
What Camera Settings Are Best for Super Moon?
For a Super Moon, use a fast shutter speed (1/250s), f/8 aperture, and ISO 100-400. You’ll need a telephoto lens (200mm+) and RAW format to capture the best details. Don’t forget your tripod!
In Summary
You’re now equipped to capture stunning lunar images! Remember, it’s all about balancing your exposure triangle, mastering manual mode, and focusing with precision. Don’t forget to experiment with different compositions as the moon’s phases change. With these settings and techniques in your toolkit, you’ll consistently produce sharp, detailed moon photographs that showcase this celestial wonder in all its glory.


Leave a Reply