For perfect moon shots tonight, set your camera to manual mode with aperture f/8, ISO 100, and shutter speed around 1/125s. Use a telephoto lens (200mm+) mounted on a sturdy tripod. Switch to manual focus using Live View’s digital zoom for precise focusing. Apply the Looney f/11 rule as a starting point, then adjust settings as needed based on the moon’s phase. These fundamentals will help capture the lunar details, but mastering exposure adjustments makes all the difference.
Camera Settings For Perfect Moon Shots Tonight
When attempting to capture the moon’s beauty, switching your camera to manual mode gives you essential control over every aspect of your shot.
Start with an aperture of f/8 and ISO 100 for ideal exposure. For a full moon, follow the Looney f/11 rule by setting your shutter speed to 1/ISO (1/100s with ISO 100) to prevent overexposure.
For full moon photography, dial in f/8, ISO 100, and apply the Looney f/11 rule to retain surface details without washout.
Photographing crescent or half moons? Open your aperture to f/4 or f/5.6 while keeping shutter speed under 1/400s to avoid motion blur.
A telephoto lens with at least 200mm focal length will reveal lunar details that wider lenses miss.
After each shot, check your histogram for proper exposure—you want a balanced graph without blown highlights to preserve the moon’s texture and detail.
Understanding the Moon’s Brightness for Exposure Control
The moon’s luminosity presents unique challenges for photographers, requiring specific exposure adjustments for each phase. Did you know a full moon is about 14 times brighter than a half moon? This dramatic difference demands careful attention to exposure settings.
The “Looney f/11 rule” offers reliable guidance: set your aperture to f/11 and shutter speed to 1/ISO when shooting a full moon. Alternatively, apply the sunny 16 rule with appropriate adjustments.
Start with f/8 if you’re unsure, then fine-tune based on results. This approach helps capture lunar details without blowing out highlights.
Remember that brightness changes as the moon rises or sets due to atmospheric conditions, so continuously monitor and adjust your settings throughout your session for ideal results.
Essential Camera Gear for Capturing Lunar Details
You’ll need a telephoto lens of at least 200mm to fill your frame with the moon’s cratered surface, revealing details invisible to the naked eye.
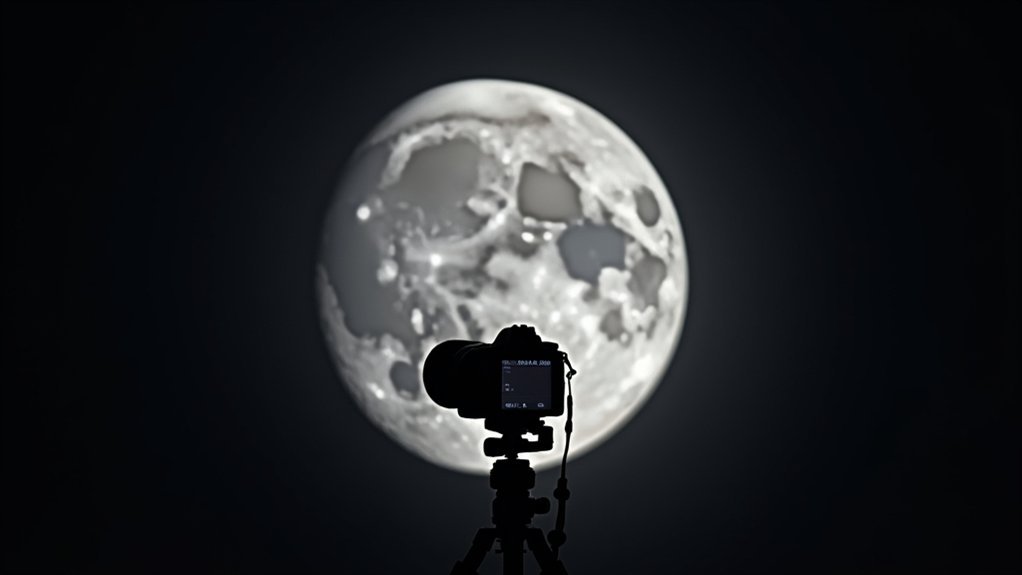
A sturdy tripod forms your foundation against the slightest vibrations that can blur fine lunar features, especially during longer exposures.
Consider investing in a remote shutter release to eliminate camera shake when pressing the button, ensuring your moon shots remain tack-sharp even at extreme focal lengths.
Telephoto Lens Selection
Choosing the right telephoto lens stands as your gateway to capturing stunning lunar details. For ideal moon photography, look for lenses in the 200-400mm focal length range, which provide enough magnification to reveal craters and maria clearly. A high-quality telephoto lens will minimize chromatic aberration and vignetting, ensuring crisp lunar images.
Consider using a teleconverter to extend your reach, though be aware these accessories reduce light entering your camera. When you focus on the moon, maintain a fast shutter speed (at least 1/125s) to counteract lunar movement and prevent blur. This becomes increasingly important at longer focal lengths.
Always verify compatibility between your lens and camera body to preserve autofocus capability and image stabilization—features that greatly enhance your chances of capturing that perfect moon shot.
Tripod Stability Matters
While handheld photography might work for daytime shots, capturing the moon demands absolute stability that only a quality tripod can provide.
In moon photography, even the slightest movement can blur those precious lunar details you’re trying to capture.
A sturdy tripod allows you to use slower shutter speeds without introducing motion blur, revealing the moon’s craters and textures in stunning clarity.
For maximum stability, pair your tripod with a remote shutter release or timer function to eliminate camera shake when pressing the button.
Consider investing in a lightweight yet durable model like the Benro Tortoise 24C for easy transport to your shooting location.
Remote Shutter Options
With your camera securely mounted on that steady tripod, the next challenge comes from your own hands.
Even the slightest touch can introduce camera shake, ruining those crisp lunar details you’re after. A remote shutter release is your solution for long exposure moon photography.
Consider these four options:
- Wired cables – Affordable, reliable, and never need battery changes
- Wireless remote controls – Offer flexibility in positioning without physical connection
- Built-in intervalometer – Many cameras include this feature for timed shots and tracking lunar movement
- Smartphone apps – Turn your phone into a remote trigger with manufacturer or third-party apps
Whichever option you choose, you’ll eliminate vibrations caused by manually pressing the shutter button, resulting in sharper images with better defined lunar details.
The Exposure Triangle for Clear Lunar Photography
To capture breathtaking moon shots, you’ll need to master the exposure triangle—the relationship between aperture, shutter speed, and ISO that determines your final image quality.
Start with an aperture of f/8 to balance sharpness and adequate light for good exposure in moon photography.
When shooting a full moon, apply the Looney f/11 rule: set your aperture to f/11 and your shutter speed to 1/ISO. For example, at ISO 100, use a shutter speed of 1/100s.
Keep your shutter speed under 1 second to prevent the moon’s movement from causing blur.
For ISO settings, stay between 100-400 to minimize noise while maintaining brightness.
If you’re using a high-end camera, you can push to ISO 800-1600 without introducing significant grain into your lunar images.
Manual Mode: Your Key to Moon Photography Success
Successful moon photography demands manual mode, as automatic settings typically struggle with the stark contrast between the bright lunar surface and the dark night sky.
When you take control of your camera’s exposure triangle, you’ll capture the moon’s details with remarkable clarity.
To master manual mode for moon photography:
- Set your aperture to f/8 initially for best sharpness, adjusting based on lighting conditions.
- Choose a low ISO between 100-200 to minimize noise and maintain image quality.
- Begin with a shutter speed around 1/200s, then fine-tune according to the moon’s phase and brightness.
- Adjust these settings in relation to each other—when you change one element of the exposure triangle, consider how it affects the others.
Don’t let automatic modes ruin your lunar shots—manual control is your pathway to stunning results.
Finding the Sweet Spot: Optimal Aperture Settings
Three key factors make aperture selection essential for stunning moon photography: light management, detail preservation, and atmospheric conditions.
When photographing the moon, start with f/8 as your baseline aperture—this delivers excellent sharpness while maintaining ideal exposure for the full moon’s bright surface.
If you’re shooting handheld, open up to f/5.6 to allow faster shutter speeds that combat camera shake.
During moonrise, begin at f/8 and gradually widen to f/5.6 or f/4 as light diminishes, capturing both lunar details and landscape elements.
For moonset, reverse this approach: start at f/4 and stop down to f/8 as brightness increases.
The sunny 16 rule offers another approach—set your aperture to f/11 and adjust your shutter speed to match your ISO for well-balanced moon shots without excessive depth of field.
Selecting the Right Shutter Speed to Freeze Lunar Motion
Why does the moon appear blurry in so many amateur photographs? The culprit is often an insufficient shutter speed to freeze lunar motion. The moon actually moves quite quickly through your viewfinder, especially when using telephoto lenses.
The moon’s apparent motion through your lens deceives many photographers, resulting in frustrating blur instead of crisp detail.
To capture crisp, detailed moon shots:
- Start with a minimum shutter speed of 1/125 second, but aim for 1/400 or faster when using telephoto lenses.
- Apply the 500 rule (500 ÷ focal length) to determine your maximum shutter speed without star trails.
- Adjust for the moon’s phase – a bright full moon requires faster speeds than a crescent.
- Take test shots and check your histogram for proper exposure accuracy without losing details.
ISO Settings to Balance Detail and Noise
When capturing the moon’s subtle details, your ISO selection becomes a critical balancing act between sufficient light sensitivity and unwanted digital noise. Start with ISO 100 for minimal noise, which preserves the fine textures and craters that make moon photography compelling.
During brighter phases, maintain low ISO settings (100-200) to maximize detail clarity. For darker conditions, you might need to increase to 400-800, but always choose the lowest value that allows proper exposure.
High-end cameras can handle up to ISO 1600 effectively, giving you more flexibility in challenging light conditions.
While shooting, monitor your histogram to prevent highlight clipping, adjusting your ISO as needed. Remember that higher sensitivity captures more light but potentially sacrifices image quality—your camera’s noise performance will determine the best compromise.
Focus Techniques for Sharp Lunar Surface Details
Achieving tack-sharp focus on the moon’s intricate surface details requires manual control and methodical technique.
Switch from autofocus to manual focus, as your camera might struggle to lock onto the moon’s distant features. Rotate the focus ring slowly while watching through Live View for immediate feedback.
- Utilize your camera’s digital zoom magnifier in Live View mode to examine lunar craters and edges for precise focus adjustments.
- Apply the hyperfocal distance technique when including foreground elements to guarantee both landscape and moon remain crisp.
- Check your focus periodically throughout your shoot as the moon’s movement can subtly affect sharpness.
- Balance your manual focus adjustments with correct exposure settings—even sharp images will suffer if paired with higher ISO noise.
Composition and Framing for Dramatic Moon Images
When shooting the moon, try placing it off-center using the rule of thirds rather than defaulting to a centered composition, which creates more visual intrigue and balance.
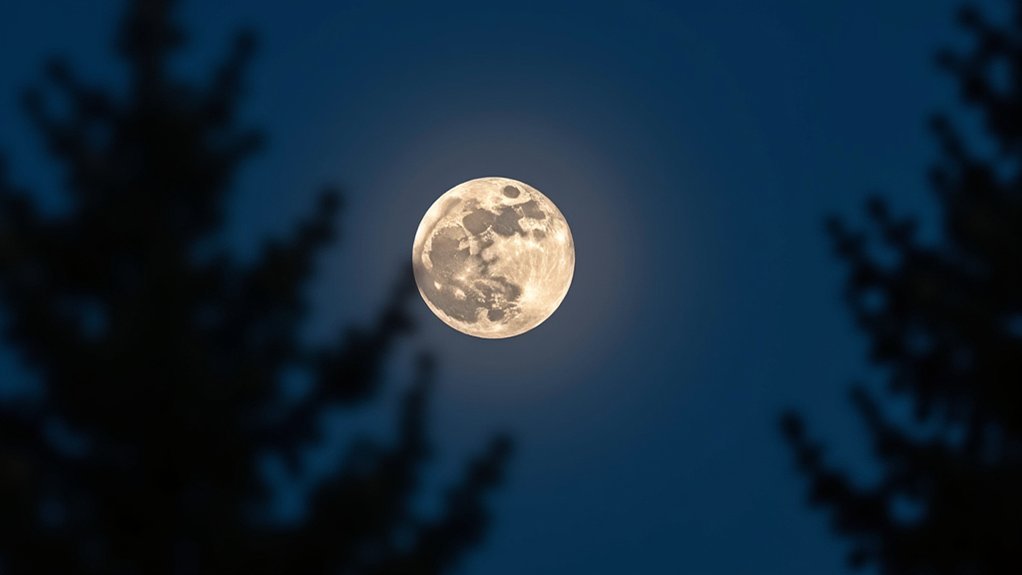
Incorporate foreground elements like silhouetted trees or mountain ranges to provide a sense of scale and context that transforms an ordinary moon shot into a compelling landscape.
Beyond basic placement, you’ll find that framing the moon alongside architectural features or natural formations establishes a relationship between earth and sky, adding narrative depth to your lunar photography.
Framing With Foreground Elements
The most compelling moon photographs often balance celestial drama with earthly context. By incorporating foreground elements like trees or buildings, you’ll create depth that transforms a flat moon shot into an enchanting scene.
Position your subject using the rule of thirds to achieve a naturally balanced composition that draws viewers in.
For effective foreground framing:
- Experiment with different focal lengths, particularly around 100mm, to capture the moon prominently alongside interesting foreground features.
- Shoot during twilight when foreground details remain visible while the moon’s features still shine through.
- Use leading lines from elements like paths or rivers to guide the viewer’s eye toward the moon.
- Consider silhouettes of distinctive shapes against the moon’s brightness for dramatic contrast.
Create Sense of Scale
Scale transforms ordinary moon shots into breathtaking visual stories. To create sense of scale in your images, position foreground elements like trees, buildings, or landscape features that provide context for the moon’s size.
Try different focal lengths to achieve your desired effect—longer lenses (200mm+) bring the moon closer and make it appear larger, creating a dramatic effect when juxtaposed against your foreground.
Position the moon off-center using the rule of thirds for more dynamic compositions that guide viewers through your image.
Shooting during twilight or golden hour lets you capture the moon against colorful skies while still retaining detail in your foreground elements.
Don’t settle for your first composition—experiment with varying distances and angles to produce stunning images where the moon’s perceived size dramatically changes in relation to your scene.
Beyond Center Placement
Positioning your moon away from the center of your frame releases compositional power that static, centered shots simply can’t achieve.
When capturing the moon, your shooting mode matters less than thoughtful placement. Even without a full-frame sensor, you can create compelling lunar photography by employing these principles:
- Apply the rule of thirds to position the moon at intersection points, creating visual tension that draws viewers deeper into your image.
- Include foreground elements like silhouetted trees or architecture to establish scale and context.
- Use leading lines (roads, rivers, fences) to guide the viewer’s eye toward the moon.
- Balance negative space with your lunar subject—sometimes placing the moon in the upper corner creates more dramatic impact than traditional compositions.
Frequently Asked Questions
How to Get a Perfect Picture of the Moon?
You’ll need a tripod, telephoto lens, and manual settings. Use f/8, ISO 200, and 1/200s shutter speed. Experiment with moon phases for texture. A remote release prevents camera shake for crisp details.
What Camera Settings Are Best for Moon Shots?
For moon shots, you’ll want to use f/8 initially, ISO 100-400, and shutter speed around 1/200s. Try the Looney f/11 rule for full moons. Don’t forget manual focus and a tripod for stability.
How Do You Photograph the Moon Tonight?
You’ll need a telephoto lens, sturdy tripod, and manual settings (f/8, ISO 100, shutter speed 1/200s). Focus manually using Live View, check your histogram, and consider shooting during partial phases for better texture.
What ISO Setting for Moon Photography?
Start with ISO 100 for cleaner images. You’ll want to increase to 200-400 as light changes. If you’re using a high-end camera, you can go up to 800-1600 while maintaining quality.
In Summary
You’re now armed with all the essentials for capturing tonight’s moon. Remember, it’s brighter than you think—use manual mode, keep your ISO low, and dial in that f/8-f/11 aperture with a fast shutter speed. Focus carefully, stabilize your camera, and experiment with compositions. Don’t be discouraged by initial results—review, adjust, and shoot again. Clear skies and happy shooting!


Leave a Reply