For ultimate meteor viewing, you’ll need a DSLR camera with wide-angle lens, sturdy tripod, and extra batteries. Choose locations at least 20 miles from cities, preferably at higher elevations. Check weather forecasts for clear, low-humidity nights during new moon phases. Bring reclining chairs, layered clothing, and snacks for comfort. Use a red flashlight to preserve night vision and inform someone of your location. Our complete field guide reveals everything you need for spectacular celestial experiences.
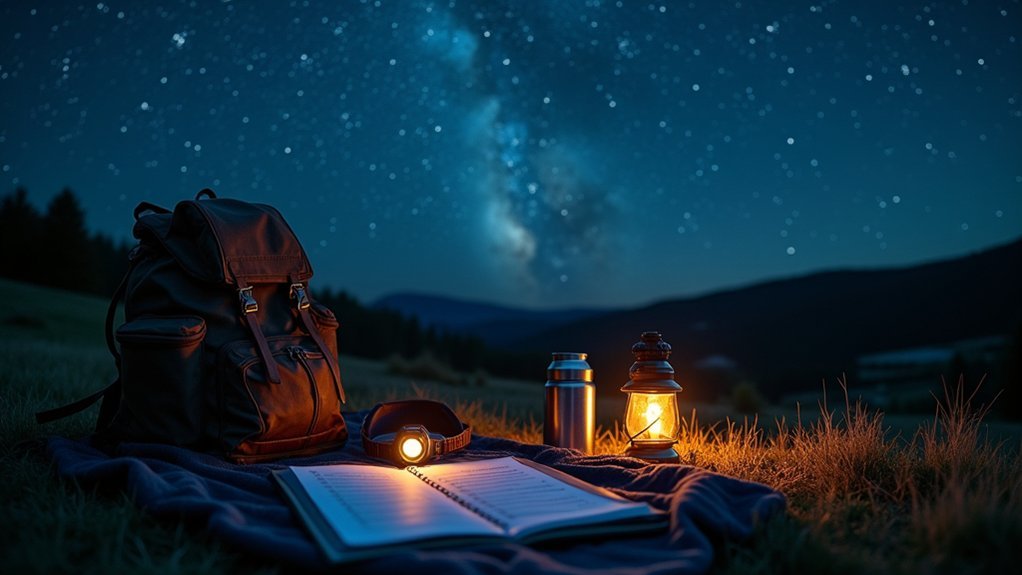
Essential Gear for Nighttime Meteor Observing
While you can enjoy meteor showers with just your eyes and a comfortable chair, capturing these celestial events requires specific equipment. A sturdy tripod is non-negotiable for long exposure photography, preventing camera shake that would blur those fleeting shooting stars.
Witnessing cosmic magic requires nothing, but preserving it demands the right tools and steady hands.
Bring a DSLR or mirrorless camera with manual mode capabilities to control settings precisely. Pair it with a wide-angle lens (14-35mm) to maximize your view of clear skies and increase your chances of framing meteors.
Don’t forget extra batteries and memory cards—meteor showers often peak during the coldest hours and require hours of continuous shooting.
Finally, use a red flashlight rather than white light to preserve your night vision while adjusting equipment under the stars.
Finding the Perfect Dark Sky Viewing Location
Now that you’ve gathered your equipment, the success of your meteor-watching experience ultimately depends on where you set up. The darker your viewing location, the better your meteor visibility will be.
| Location Type | Benefits | Considerations |
|---|---|---|
| National/State Parks | Minimal light pollution, ideal spots for observation | Check closing hours and permit requirements |
| Higher Elevation Sites | Clearer skies, less atmospheric distortion | Temperature drops; bring extra layers |
| Remote Rural Areas | Unobstructed views, truly dark skies | Plan for limited facilities and longer travel time |
Use the Light Pollution Map tool to identify areas at least 20 miles from urban centers. Scout potential locations in advance to guarantee they offer unobstructed views without tall trees or buildings blocking your perspective. Higher elevation sites often provide superior viewing conditions when accessible.
Weather Conditions and Timing Considerations
You’ll need to hunt for clear, low-humidity nights with minimal cloud cover to maximize your meteor shower experience.
Check weather forecasts a few days ahead and prioritize viewing during the new moon phase when skies are darkest.
The ideal viewing window typically begins after midnight and extends through the last dark hour before dawn, when the radiant point reaches its highest position in the sky.
Clear Sky Hunting
Finding the perfect conditions for meteor shower viewing depends largely on making smart weather and timing choices. Check local forecasts several days before the event to identify clear sky opportunities, as meteor showers occur regardless of weather but are only visible without cloud cover.
For best viewing, plan to be out after midnight and during the last dark hour before dawn when the radiant point is highest. Monitor the moon phase—a new or waning moon creates an ideal dark sky environment with minimal light interference.
If peak viewing hours coincide with poor weather, don’t despair—the night before or after can still offer spectacular displays.
Remember to escape city lights and give your eyes 20-30 minutes to adjust to the dark for best meteor spotting.
Moon Phase Impact
Three essential factors determine your meteor-viewing success: the Moon’s phase, local weather, and timing. The Moon’s brightness greatly affects meteor shower visibility, with darker skies dramatically improving your chances of spotting even fainter meteors.
- Plan around the lunar calendar – Schedule your viewing during new phase or crescent Moon periods when lunar illumination is minimal.
- Avoid full Moon periods – A bright Moon washes out all but the brightest meteors, reducing your overall experience.
- Combine ideal Moon phase with clear weather conditions – Dark skies won’t help if cloud cover blocks your view.
- Check both weather and lunar forecasts – For ideal viewing, aim for nights with both a favorable moon phase and clear skies during peak meteor shower activity.
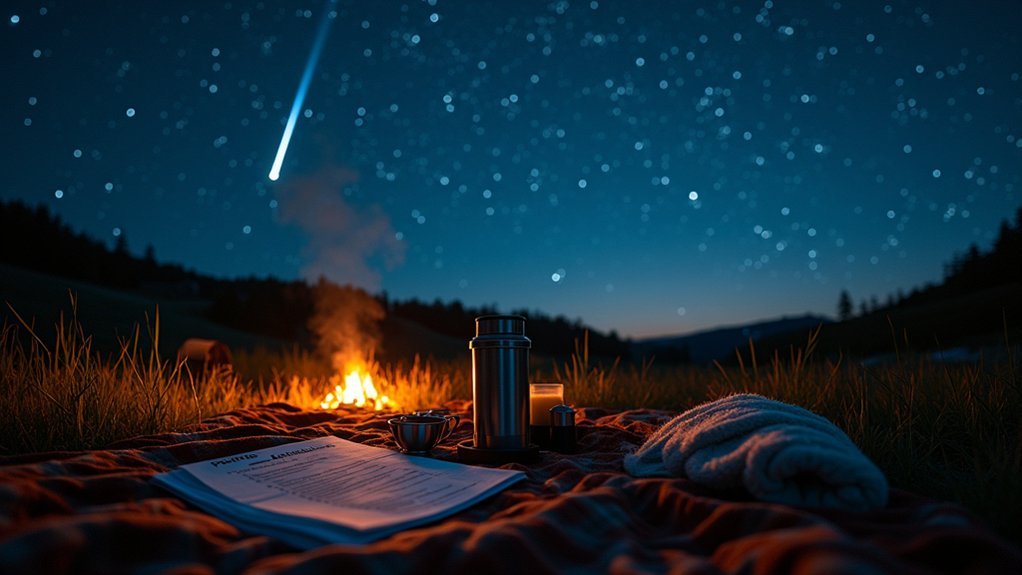
Comfort Items for Extended Stargazing Sessions
For comfortable meteor shower viewing that can last hours, you’ll need proper seating like blankets or reclining chairs that support your neck and back while looking up.
Bundle up with layers, jackets, and possibly a sleeping bag to manage the dropping nighttime temperatures that often surprise first-time stargazers.
Don’t forget to pack easy-to-eat snacks and drinks to maintain your energy and enjoyment throughout the celestial show.
Seating and Support Solutions
Comfortable seating can transform your meteor shower experience from a neck-straining ordeal into hours of celestial enjoyment. Proper support allows you to focus on the celestial spectacle rather than physical discomfort.
- Reclining chairs offer ideal positioning for meteor viewing, eliminating neck strain while providing full sky visibility.
- Sleeping bags serve dual purposes—insulation against the cool night air and cushioning against hard ground.
- Portable cushions provide essential lumbar support during extended stargazing sessions, preventing backaches that can cut your viewing time short.
- Footrests or ottomans improve circulation during lengthy observation periods, ensuring you’ll stay comfortable long enough to catch those rare meteor streaks.
Don’t forget your thermos of warm drink to complete your comfort setup—it’ll keep you cozy throughout your celestial adventure.
Temperature Management Essentials
While proper seating positions your body for ideal sky viewing, staying warm keeps you outdoors long enough to witness the full spectacle.
Temperature management is essential for extended stargazing sessions, especially as nighttime temperatures drop considerably after sunset.
Dress in layers to adapt to changing conditions throughout your meteor-watching experience.
Bring a warm blanket or sleeping bag to insulate yourself from the ground while lying back.
Don’t underestimate how quickly your extremities can cool—pack insulated gloves, a hat, and thermal socks to retain body heat during long observation periods.
Complete your comfort kit with a thermos of hot chocolate or tea.
This warm beverage isn’t just comforting—it helps maintain your core temperature, allowing you to stay comfortable and focused on the celestial show overhead rather than distracting shivers.
Food and Hydration
Sustaining your energy proves just as essential as staying warm during extended meteor shower viewings.
When you’re focused on the night sky, proper nourishment prevents discomfort and helps maintain your concentration for those magical moments when meteors streak across the darkness.
- Pack a thermos of hot beverages – Tea or coffee will keep you warm and alert during chilly nights, enhancing your stargazing experience.
- Bring grab-and-go snacks – Trail mix, granola bars, and fruit require no preparation but deliver quick energy when needed.
- Stay properly hydrated – Carry a water bottle to prevent dehydration, which can lead to fatigue and decreased enjoyment.
- Prepare for longer sessions – Consider a small cooler with sandwiches if you’re planning an overnight viewing, ensuring you won’t need to cut your experience short due to hunger.
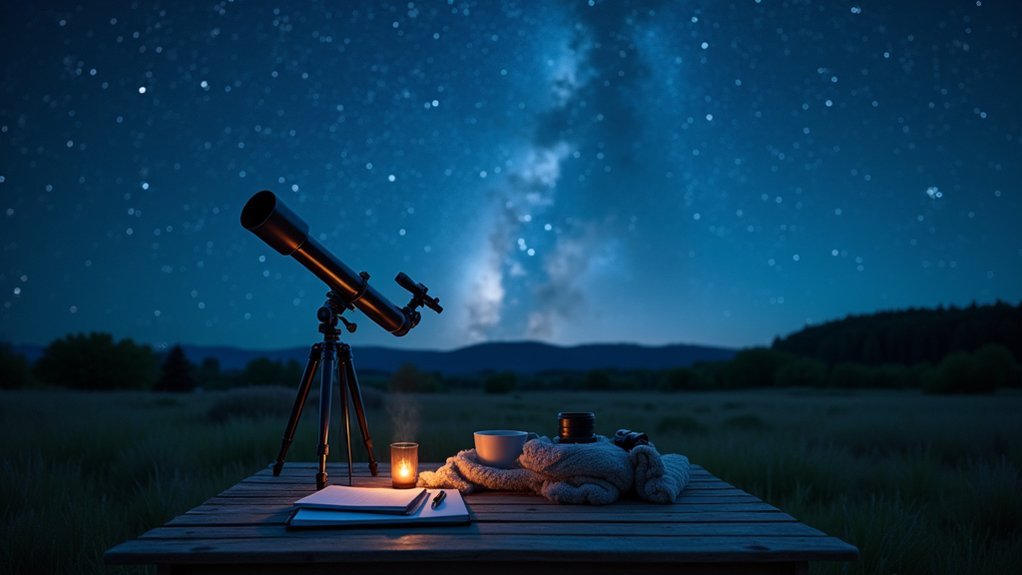
Photography Equipment and Setup Guidelines
Capturing the fleeting magic of meteor showers requires specific equipment and proper setup techniques.
You’ll need a DSLR or mirrorless camera with manual settings to control exposure parameters essential for photographing meteors. Pair it with a wide-angle lens (14-35mm) to maximize your view of the night sky and increase your chances of recording those brilliant streaks.
A sturdy tripod is non-negotiable for stabilizing your camera during the 15-30 second long exposure shots needed to capture meteor trails. To prevent camera shake, use a remote shutter release for hands-free operation.
Don’t forget to pack extra batteries and memory cards—meteor showers often peak during the coldest hours of night when batteries drain quickly, and you’ll want to shoot continuously without interruption throughout the event.
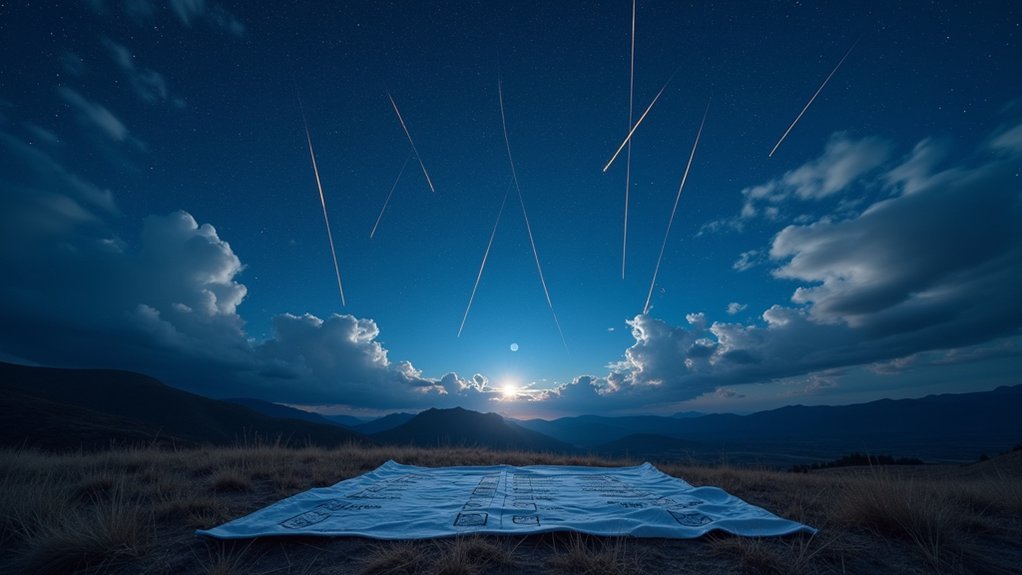
Recording and Documenting Your Meteor Observations
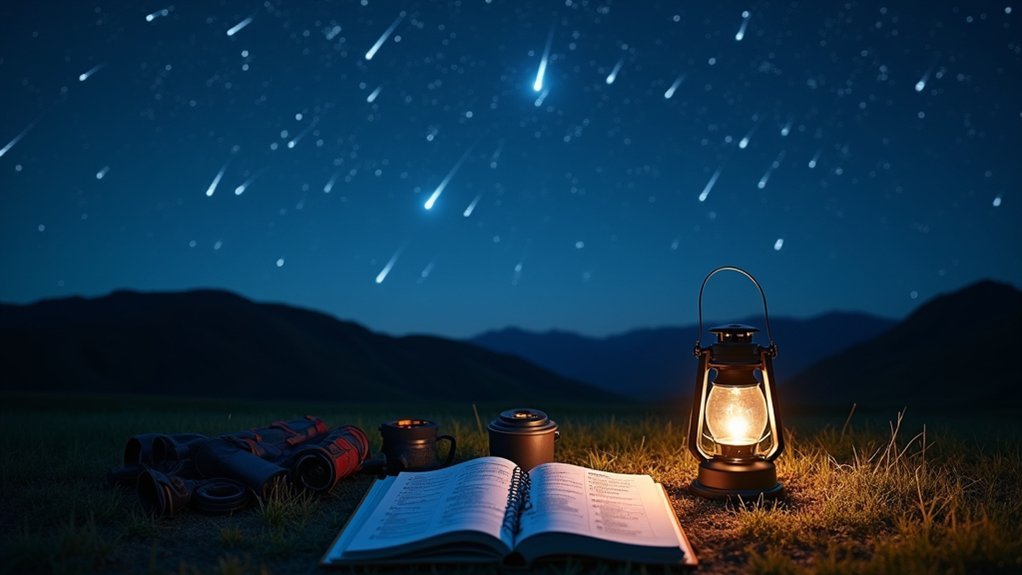
Once you’ve set up your equipment, the next step is to methodically record what you witness. Documenting your observations creates valuable data that contributes to citizen science while helping you track patterns for future viewing.
Patience and careful recording transform casual stargazing into valuable scientific contribution.
- Create a detailed log – Note date, time, location, and number of meteors per hour, including brightness and color observations.
- Use smartphone apps – Identify constellations and radiant points with star chart applications to enhance your observational accuracy.
- Capture visual evidence – Take photos using long exposure settings to document meteor streaks effectively against the night sky.
- Share your findings – Connect with astronomy clubs and online forums to contribute your documented observations, helping scientists better understand meteor shower patterns and characteristics.
Understanding Radiant Points for Major Meteor Showers
To properly identify and maximize your meteor shower experience, you’ll need to understand radiant points—the specific celestial locations from which meteor streams appear to originate. Each meteor shower is named after the constellation containing its radiant point, which helps you determine where to look in the night sky.
| Shower | Radiant Point | Viewing Tip |
|---|---|---|
| Perseids | Perseus | Face northeast; best in August |
| Orionids | Orion | Look southeast in October as meteoroids from Halley’s Comet burn up |
| Leonids | Leo | Position yourself facing east to catch these fast-moving meteors |
When observing Geminids, you’ll find their bright meteors radiating from Gemini, while the Quadrantids appear to stream from Boötes. For ideal viewing, face toward the radiant constellation but look slightly away to catch the meteors’ full paths.
Safety Measures for Remote Nighttime Viewing
While identifying radiant points helps you locate meteors, proper safety precautions guarantee your nighttime adventure remains enjoyable. When heading to remote viewing locations, prioritize your well-being with these essential measures:
- Tell someone your viewing location and expected return time—this creates a safety net if anything unexpected occurs.
- Carry a fully charged cell phone for emergency communication, but conserve battery by limiting use.
- Pack a compact first aid kit to address minor injuries that might happen during nighttime outings.
- Use a red flashlight to maintain your night vision while maneuvering through dark areas.
Whenever possible, bring a buddy along—shared experiences are more enjoyable, and having someone with you greatly enhances safety during remote meteor shower viewing.
Frequently Asked Questions
What Do You Need to Watch a Meteor Shower?
You’ll need a comfortable blanket or chair, warm clothing, a red-filtered flashlight, a dark location away from light pollution, and optionally a camera for capturing meteors during your stargazing session.
What You Actually See During a Meteor Shower?
You’ll see bright streaks of light zooming across the sky as meteoroids burn up in our atmosphere. They’ll appear in various colors, from green to red, and seem to radiate from a specific point.
How to See the Orionid Meteor Shower Tonight?
To see the Orionid meteor shower tonight, head to a dark location away from city lights after midnight. Face the southeastern sky toward Orion constellation. You’ll spot 20-25 meteors per hour under clear conditions.
What Time Should I Go Outside to See the Meteor Shower?
Go outside after midnight when the radiant point is highest. For ideal viewing, stay until the last dark hour before dawn. You’ll see more meteors during this peak time period.
In Summary
You’re now equipped for an unforgettable meteor shower experience! With your gear packed, location scouted, and timing planned perfectly, you’ll witness nature’s light show in comfort and safety. Don’t forget to document your observations and capture stunning photos. Remember, each meteor streaking across the sky represents a cosmic moment that’s uniquely yours. Happy stargazing—the universe awaits your watchful eyes!


Leave a Reply