
To measure dark sky quality tonight, wait until astronomical darkness and allow 20-30 minutes for your eyes to adapt. Use a sky quality meter pointed at the zenith to take multiple readings, or download a night sky measurement app. Observe the Milky Way’s visibility and count visible stars in constellations to estimate quality. Record conditions like humidity and cloud cover that might affect results. The following techniques will equip you with both scientific and visual methods to quantify darkness.
6 Second-Level Headings for “How To Measure Dark Sky Quality Tonight”
When you’re ready to assess the darkness of your night sky, you’ll need both the right tools and proper techniques to obtain accurate measurements. The most effective way to conduct a night sky assessment involves using a sky quality meter at the zenith during astronomical darkness when the sun is 18° below the horizon.
Your body requires dark adaptation before you measure light accurately, so avoid artificial light sources for at least 20 minutes beforehand.
To properly document light pollution requires measuring multiple readings—take at least six for consistency.
The Bortle scale helps categorize your results, ranging from Class 1 (exceptional darkness) to Class 9 (severely light-polluted).
For thorough astronomical observations, supplement your readings with mobile apps like Dark Sky Meter, and capture photographic evidence with exposure details to validate your night sky quality findings.
Understanding the Bortle Scale and Magnitude Limits
The Bortle Scale offers a systematic framework for interpreting the sky quality measurements you’ve collected.
This nine-class system ranges from pristine Class 1 dark sites to severely light-polluted Class 9 urban environments.
You’ll find each Bortle class corresponds to specific limiting magnitude values and visibility limitations.
In Class 1 or 2 areas, you can spot stars up to magnitude 7.6 with your naked eye and view the Andromeda Galaxy without optical aids.
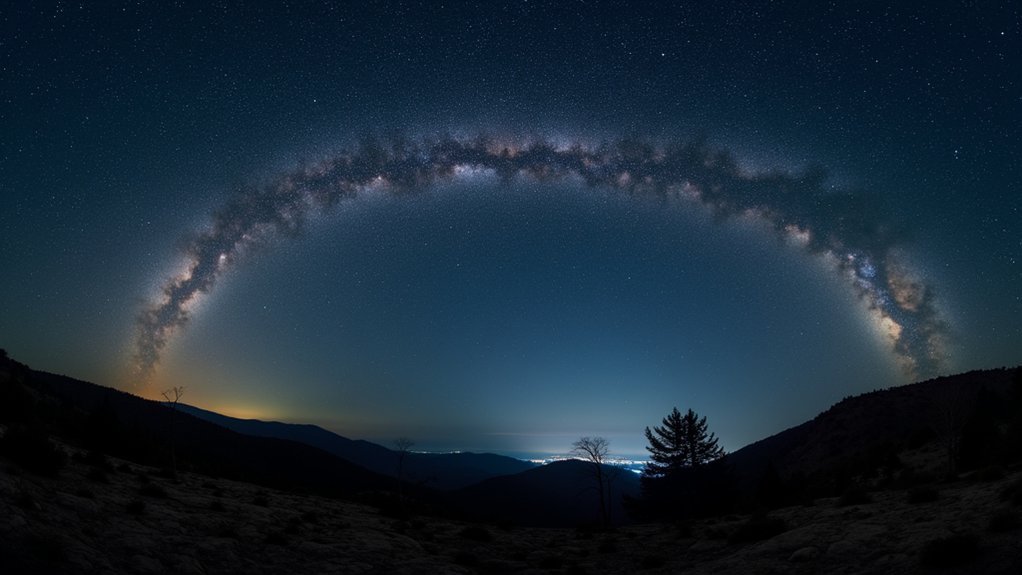
As light pollution increases to Class 6 and beyond, the Milky Way fades from sight, and sky brightness dramatically reduces what you can observe.
Using Sky Quality Meters (SQM) for Precise Measurement
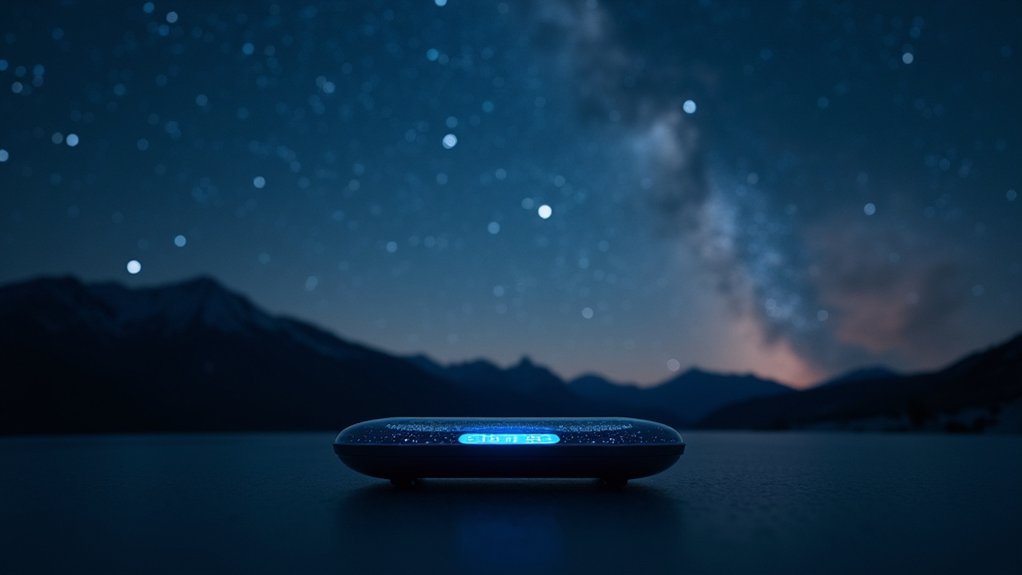
For astronomers serious about quantifying darkness, Sky Quality Meters (SQM) provide the gold standard in precision measurement.
These handheld devices measure the brightness of the night sky in magnitudes per square arcsecond, with higher values indicating darker conditions.
To collect accurate data, hold your SQM above your head pointing at the zenith, and take at least six measurements during astronomical darkness when the sun is 18° below the horizon.
Confirm you’re under a clear sky away from direct light sources. For meaningful results, average your readings over time to account for atmospheric variations.
Your measurements can contribute to science by uploading them to platforms like Globe at Night, helping researchers track light pollution trends worldwide.
This citizen science approach supports Dark Sky conservation efforts through quantifiable data.
Visual Assessment Techniques for Celestial Features
Visual assessment techniques complement instrumental measurements by allowing amateur astronomers to gauge sky quality through direct observation. To evaluate sky darkness properly, give your eyes 20-30 minutes to dark-adapt without exposure to artificial light.
| Celestial Feature | Visibility | Sky Quality Indication |
|---|---|---|
| Milky Way | Bright and detailed | Excellent dark sky (Bortle 1-2) |
| Zodiacal band | Clearly visible | Very good transparency |
| Horizon | Minimal light domes | Low light pollution |
When observing, note the color and crispness of stars—they should appear white and sharp in dark skies, not yellowish or washed out. The presence of light pollution affects brightness and contrast of celestial features. For ideal observing conditions, check for the gegenschein, which is only visible under exceptionally dark skies.
Photographic Methods to Document Sky Brightness
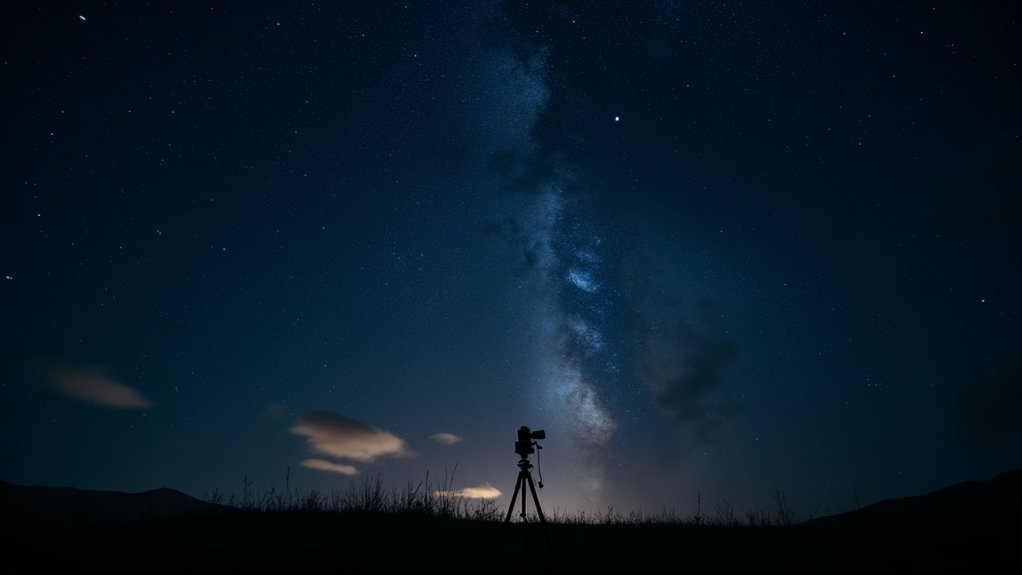
While visual observations provide immediate feedback, photography offers permanent documentation of sky quality that you can analyze later.
Set up your camera with adjustable settings to capture night sky glow measurements effectively. Record exposure time (15-30 seconds works best), ISO speed, focal length, and local time for thorough photographic evidence.
Include recognizable celestial features like the Milky Way or light domes in your images to visually demonstrate light pollution levels. When shooting in urban areas, longer exposures help reveal faint features despite sky glow.
Many amateur astronomers combine their photos with Sky Quality Meter readings for more credible documentation.
When submitting your images for assessment, note your camera model and any filters used. This technical information helps others interpret your results and compare sky conditions across different locations.
Environmental Factors Affecting Night Sky Observations
Even at remote sites with minimal artificial lighting, various environmental conditions can dramatically alter your night sky viewing experience. When measuring the brightness of a seemingly truly dark location, you must account for several environmental factors beyond artificial light.
| Factor | Impact | Mitigation |
|---|---|---|
| Humidity/Fog | Poor transparency, diffuses light sources | Choose low humidity nights |
| Cloud Cover | Reflects artificial light, blocks stars | Monitor weather forecasts |
| Local Geography | Creates light domes in different directions | Compare measurements from different locations |
High cirrus clouds can be particularly deceptive, as they scatter light while remaining nearly invisible. Wind speed and temperature affect dewing on optics, compromising your observations. Remember that a site with minimal artificial light but high humidity may provide worse viewing conditions than a slightly brighter location with excellent transparency.
Frequently Asked Questions
How to Measure Darksky?
To measure darksky, you’ll need a Sky Quality Meter pointed at the zenith. Take multiple readings during astronomical darkness when the sun’s 18° below horizon. Avoid moonlight for accurate magnitudes per square arcsecond measurements.
How to Measure the Night Sky?
To measure the night sky, you’ll need an SQM device. Point it at the zenith during astronomical darkness, take six readings, and average them. Record your results in magnitudes per square arcsecond.
What Is the Night Sky Clarity Scale?
The Night Sky Clarity Scale helps you assess visibility of celestial objects, ranging from excellent (faint objects visible) to poor (significant interference). It’s affected by humidity, air quality, and light pollution.
How Do You Know if a Light Is Darksky Compliant?
You’ll know a light is Dark Sky compliant by checking for full cut-off designs, IDA certification labels, color temperatures below 3000K, downward-directed illumination, and features like dimmable controls or motion sensors.
In Summary
You’ve now learned several ways to measure the darkness of your night sky. Whether you’re using the Bortle Scale, an SQM device, visual assessment, or photography, you’ll gather valuable data about your local conditions. Don’t forget that weather, moon phase, and light pollution all affect your results. By consistently tracking sky quality, you’re contributing to important astronomical data while finding the best spots for your stargazing adventures.


Leave a Reply