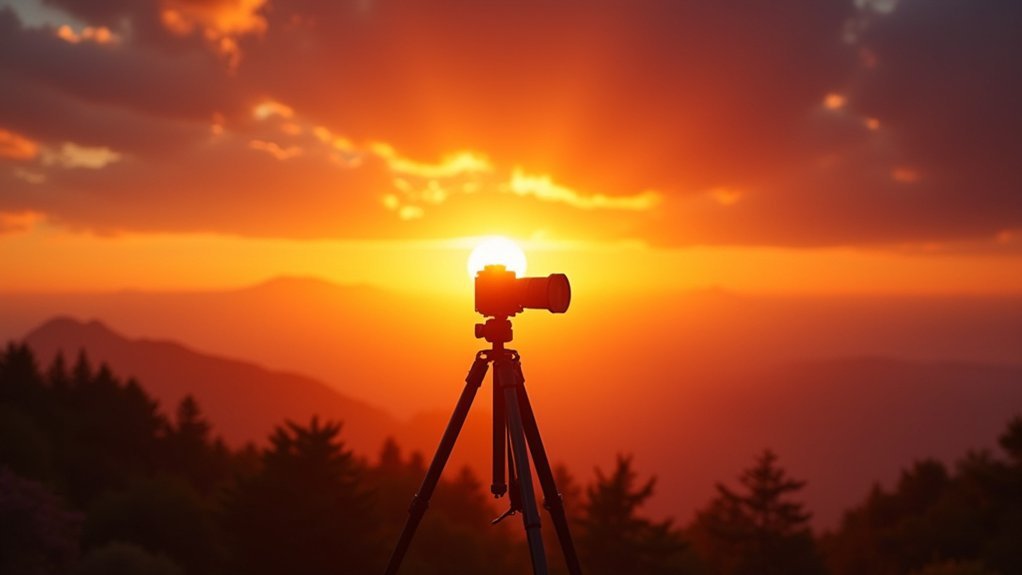
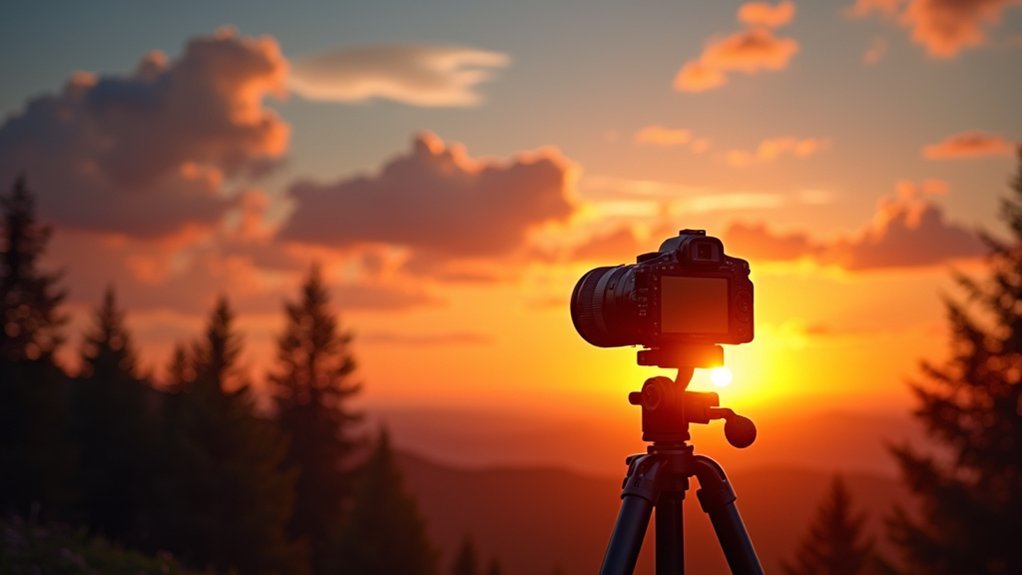
Safely capturing the sun requires proper equipment and techniques. Always use certified solar filters mounted on the front of your camera or telescope, never at the eyepiece end. Try the projection method for indirect viewing, use manual exposure settings, and shoot during golden or blue hour for dramatic effects. Stabilize your equipment with a tripod and experiment with bracketing exposures. Master post-processing techniques to reveal stunning solar details hidden in your raw captures.
7 Best Ways To Capture The Sun Safely
When attempting to photograph our closest star, safety must always be your top priority. Never observe the Sun without a specialized solar filter designed specifically to block harmful visible, infrared, and ultraviolet rays. This protection is essential for both your eyes and your photography gear.
Solar photography demands proper filtering to protect both your vision and equipment from dangerous radiation.
For detailed captures of sunspots or solar flares, use either a DSLR with a proper solar filter or a dedicated planetary camera. Consider photographing during early morning or late afternoon when atmospheric conditions are more stable, providing clearer detail of solar activity.
A tracking mount will keep the Sun centered in your frame as it moves across the sky.
After capturing multiple images, use stacking software like RegiStax or Autostakkert to combine them, enhancing details and reducing distortion in your final solar projection.
Essential Solar Photography Safety Equipment
The proper safety equipment forms your first and most critical line of defense when photographing the Sun.
Never attempt solar photography without a specialized solar filter that blocks harmful light across all spectrums. These filters must be securely mounted on the front of your telescope or camera lens—never at the eyepiece.
For direct viewing, you’ll need ISO 12312-2 certified solar glasses that you’ve carefully inspected for any damage or scratches.
When using telescopes or binoculars to safely observe solar features, verify all filters are properly attached and in good condition.
Alternatively, consider a projection technique where you project the Sun’s image onto a white surface rather than looking directly through optical devices.
Before every solar photography session, thoroughly check all equipment for wear that could compromise your safety.
Proper Filter Selection for Solar Imaging
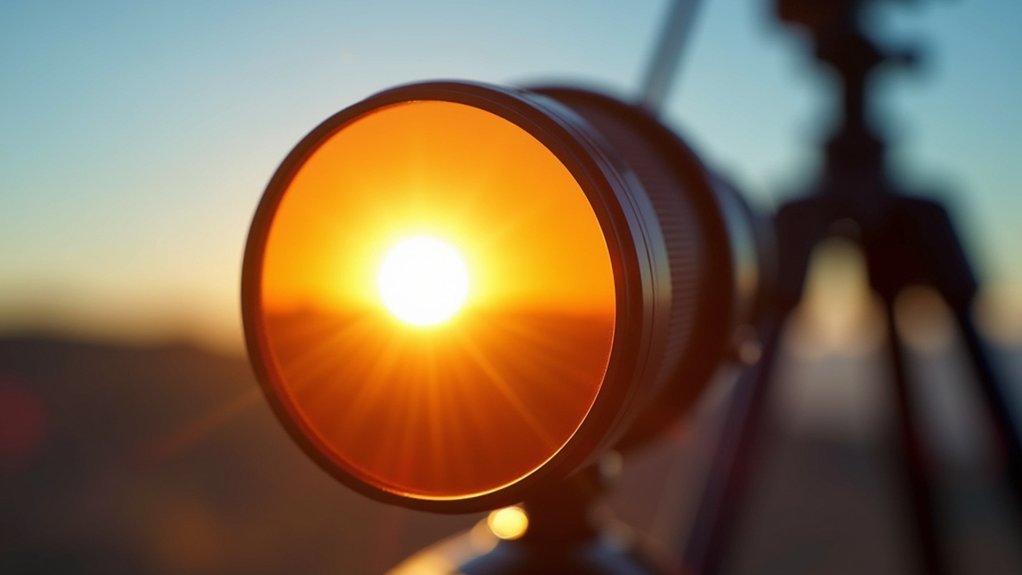
Selecting the right solar filter stands as your most critical decision for safe solar photography. When observing the Sun, you’ll need filters that block visible light while also eliminating harmful infrared and ultraviolet radiation that can damage both your eyes and camera sensors.
Two primary options exist for proper solar imaging: metallized Mylar filters offering a distinctive blue tint and metal-on-glass filters providing a more natural white light appearance.
When choosing your solar filter, consider metallized Mylar for cool blue sunlight or metal-on-glass for authentic white light views.
For maximum safety, choose filters with metallization on both sides to prevent dangerous light leaks during solar activity sessions.
Never place filters at the eyepiece end—always secure them firmly to the front of your telescope or binoculars.
Before each use, carefully inspect your solar filter for scratches or damage that could compromise its protective qualities.
The Projection Method: Indirect Solar Photography
For those seeking an alternative to direct solar filter photography, projection offers a remarkably safe and accessible method. Position a white card behind your telescope’s eyepiece to capture the Sun’s image onto a screen rather than directly through your eye.
Always cover your finderscope and aim by minimizing the telescope’s shadow on the ground instead of sighting along the tube.
- Shade your projection screen from direct sunlight, creating a high-contrast backdrop for sunspot details
- Adjust the distance between eyepiece and screen based on magnification for ideal focus and size
- Mark sunspot positions directly on your white card to track solar activity changes over time
Use a low-power eyepiece and reduce your aperture to 2-3 inches, especially with Schmidt-Cassegrain telescopes, to prevent heat damage when you safely look at projected images.
Mastering Exposure Settings for Solar Detail

When photographing the Sun, you’ll need to switch to manual mode to find the perfect exposure balance between capturing solar detail and preventing blown-out highlights.
Your camera’s light meter typically can’t handle the extreme brightness of direct sunlight, so you’ll want to bracket your exposures by taking multiple shots at different settings.
Finding Perfect Exposure Balance
The challenge of solar photography lies in capturing the sun’s intense brightness while preserving critical details. You’ll need to experiment with manual exposure settings to find that sweet spot where the sun’s light remains vibrant without washing out your entire frame.
Consider using exposure bracketing to capture multiple shots at different settings, giving you options to choose from or combine later.
- Watch your histogram carefully as the sun’s position shifts, adjusting your settings to keep highlights from clipping.
- Apply graduated ND filters to tame the solar brightness while maintaining foreground details.
- Set a small aperture like f/16 to create stunning starbursts while naturally reducing light intake.
This balanced approach guarantees your solar photography showcases both the sun’s dramatic light and the scene’s essential elements without overexposure.
Bracket For Dynamic Range
Capturing the sun’s full glory requires techniques beyond standard exposure, which is why bracketing stands as your most powerful ally in solar photography.
When pointing your camera lens or telescope at the sun, the extreme brightness creates challenges that a single shot can’t overcome.
Set your camera to take three consecutive images at different exposures—one properly exposed, one 1-2 stops under, and one 1-2 stops over. This exposure bracketing technique captures the complete dynamic range of the scene, preserving both the sun’s brilliant highlights and the subtle details in darker areas.
Many cameras offer automated bracketing features, letting you focus on composition instead of settings.
Later, merge these images in editing software to create a balanced HDR photo revealing solar details your eyes could never perceive naturally.
Best Times of Day for Safe Solar Photography
You’ll find the most magical solar photography conditions during golden hour, when the low-angle sunlight creates warm, dramatic effects while reducing exposure challenges.
This ideal period, occurring shortly after sunrise or before sunset, offers safer viewing conditions and reveals subtle solar details that might be lost during harsher midday light.
Blue hour—the time just before sunrise or after sunset—provides unique opportunities to capture the sun with atmospheric elements while maintaining safe viewing practices for both your eyes and equipment.
Golden Hour Magic
When should you venture out with your camera to capture the Sun at its most magnificent? The golden hour—those precious moments shortly after sunrise and before sunset—presents the ideal opportunity for safe and stunning solar photography.
During this time, the Sun sits lower in the sky, offering softer, warmer light that enhances colors and textures without the harsh intensity of direct sunlight.
You’ll find imaging the Sun during golden hour provides natural balance in exposure, reducing the risk of overexposure while creating enchanting visual elements:
- Long, dramatic shadows that add depth and dimension to your compositions
- Beautiful backlighting effects that create striking silhouettes and rim lighting
- Sun star effects when using small apertures, transforming the Sun into a dazzling starburst
Experiment with different angles while viewing the Sun during these magical hours for truly breathtaking results.
Blue Hour Opportunities
While the golden hour bathes your subjects in warm light, the blue hour offers an entirely different palette for solar photography. This magical period occurs just before sunrise or after sunset when the Sun sits just below the horizon, creating deep blue tones in the sky complemented by warm solar hues.
The blue hour’s soft lighting minimizes harsh contrasts and glare while allowing you to capture unique silhouettes against the vibrant sky. Lasting only 20-40 minutes depending on your location and season, you’ll need to plan your shoot carefully.
For best results, mount your camera on a tripod during these low-light conditions. This stability enables longer exposures that capture subtle sky details without raising ISO settings, ensuring sharp, noise-free images of this spectacular time of day.
Processing Techniques for Enhanced Solar Images

Anyone can take a basic sun photograph, but creating stunning solar imagery requires mastering post-capture processing.
Utilize stacking software like RegiStax or Autostakkert to combine your best frames, dramatically improving detail while reducing noise in solar images. Shoot in rapid succession during stable atmospheric conditions to minimize turbulence effects. Adjust contrast and brightness in postprocessing to reveal subtle features that might otherwise remain hidden.
- Combine multiple exposures using HDR techniques to balance the bright solar surface against darker sunspots.
- Apply wavelets or sharpening selectively to bring out fine details in prominences and surface granulation.
- Use color adjustments to enhance specific features like the chromosphere’s reddish hue or photospheric details.
Regular practice matters—start with simple techniques and gradually incorporate more advanced processing as your skills develop.
Frequently Asked Questions
How to Observe the Sun Safely?
To observe the sun safely, you’ll need proper solar filters that block harmful radiation. Always use them on the front of your telescope, never look directly without protection, and consider projection methods for indirect viewing.
How to Safely Take Pictures of the Sun?
Always use a specialized solar filter to protect your eyes and camera. Take multiple shots in early morning when the atmosphere’s more stable. You’ll get clearer images of sunspots and features this way.
What Filter Is Best for Photographing the Sun?
You’ll need a dedicated solar filter for safe sun photography. Choose metallized Mylar for a blue tint or metal-on-glass for natural colors. For detailed features, consider specialized H-alpha or Calcium K filters.
Is It Safe to Take a Picture of the Sun?
No, it’s not safe to photograph the Sun without proper protection. You’ll damage your camera’s sensor and risk serious eye injury. Always use a specialized solar filter attached to the front of your lens.
In Summary
With these seven methods, you’ll safely capture stunning solar images while protecting your eyes and equipment. Always prioritize safety by using proper filters, never compromising on protective gear, and following recommended practices. Whether you’re documenting eclipses, sunspots, or the sun’s golden glow at dusk, these techniques will help you create impressive solar photography without risk. Now it’s time to put these strategies into action!


Leave a Reply