To fix a stiff telescope focuser, you'll need to disassemble it carefully, clean all components with compressed air and isopropyl alcohol, and apply proper lubrication like silicone spray or lithium grease. Document each step with photos, and pay attention to component positions during disassembly. After cleaning, adjust tension settings gradually for smooth movement without slipping. Regular maintenance prevents future stiffness, but proper repair techniques guarantee your focuser operates like new. Let's explore the detailed steps to get your telescope working perfectly.
Understanding Your Telescope's Focuser Mechanism
Before attempting any repairs on a stiff telescope focuser, you'll need to understand the basic mechanism that allows precise focusing of celestial objects. Your telescope's focuser adjusts the distance between your eyepiece and the primary optics, moving the focal plane to achieve sharp images.
Most telescopes use one of three main focuser types: rack-and-pinion, which operates with gears; Crayford, which uses friction-based movement; or helical, which employs a screw mechanism. Electronic focusers offer hands-free operation for extremely precise adjustments.
Each type includes essential components like the barrel, drawtube, and flange. The barrel, available in 1.25 or 2-inch sizes, holds your eyepiece or camera, while the drawtube moves in and out for focus adjustments. The flange secures the entire assembly to your telescope, ensuring stability during operation.
Common Causes of Stiff Focuser Movement
While understanding your telescope's focuser mechanism is essential, you'll often encounter issues that affect its smooth operation.
Tight gear systems, poor lubrication, and environmental factors like moisture are the primary culprits behind stiff focuser movement. When components wear out over time or your focuser design has inherent flaws, you'll notice increased resistance during operation. Image shift problems can occur when using telescopes with moveable primary mirrors for focusing.
Heavy loads from cameras and frequent lens changes can amplify these problems, especially during astrophotography sessions where stable focus is vital.
The type of focuser you're using also plays a role in potential stiffness issues.
- Rack-and-pinion focusers typically develop stiffness due to overtightened gears
- Friction coupling focusers may slip under heavy equipment
- Crayford focusers can become stiff when adjustment screws need fine-tuning
Essential Tools and Materials for Focuser Repair
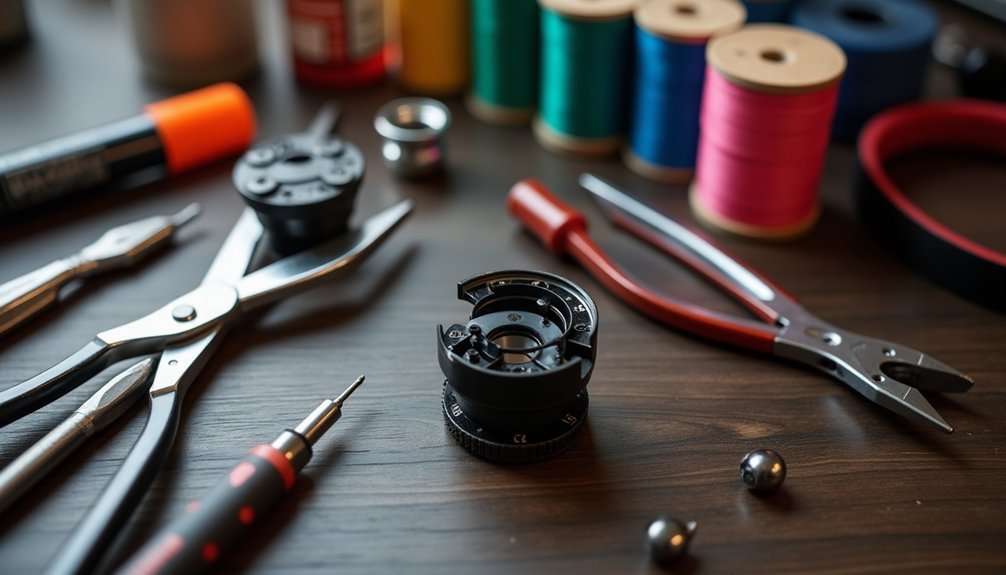
A successful focuser repair project starts with gathering the right tools and materials.
You'll need Allen wrenches, screwdrivers, and a torque wrench for disassembly and precise reassembly. Don't forget pliers and wire cutters for handling small components.
For smooth operation, you'll want both silicone-based lubricants and specialized grease. Having proper cleaning materials is especially important since friction coupling surfaces can slip when moisture is present.
Keep cleaning solvents handy to remove old lubricants and debris. If you're working with electronic focusers, have thermal paste and anti-static equipment ready.
Work in a clean space and protect yourself with safety glasses and gloves.
Keep your diagnostic tools nearby – a magnifying glass will help you inspect small parts, while calibration tools guarantee proper adjustment.
Careful inspection and proper calibration make the difference between a rough fix and a professional focuser repair.
Remember to check if you need any replacement parts like bearings or gears before starting the repair.
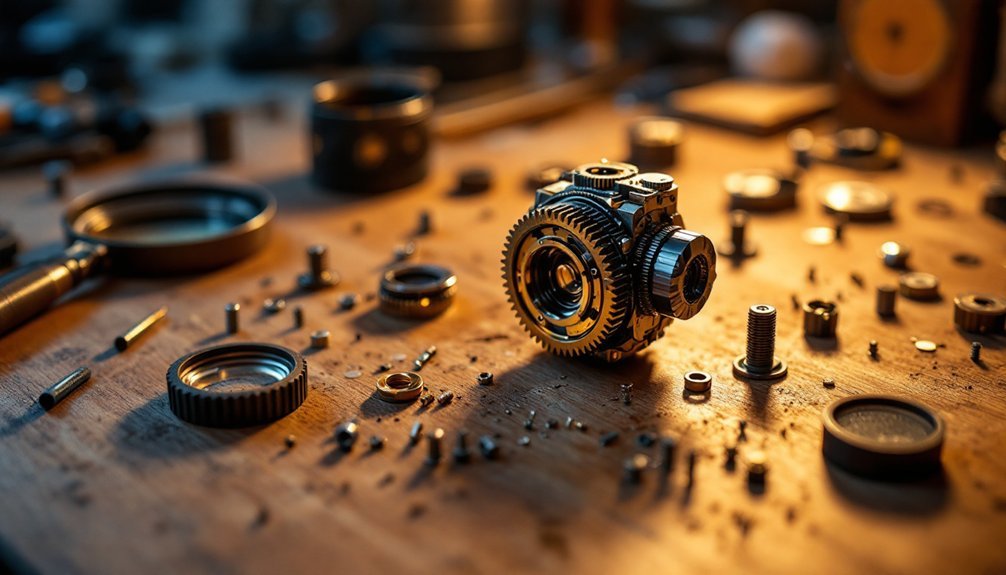
Step-by-Step Focuser Disassembly Guide
Before starting your focuser disassembly, you'll need basic tools like screwdrivers, pliers, and a clean workspace to organize small parts.
Begin the removal process by detaching external components such as focus knobs and decorative covers, making sure to document each step with photos or notes.
Once you've exposed the main assembly, you can safely access the internal mechanisms by removing the cover plate screws and carefully separating the friction coupling or rack-and-pinion system. Pay special attention to inspecting the rack of gear teeth for any signs of stripping or damage.
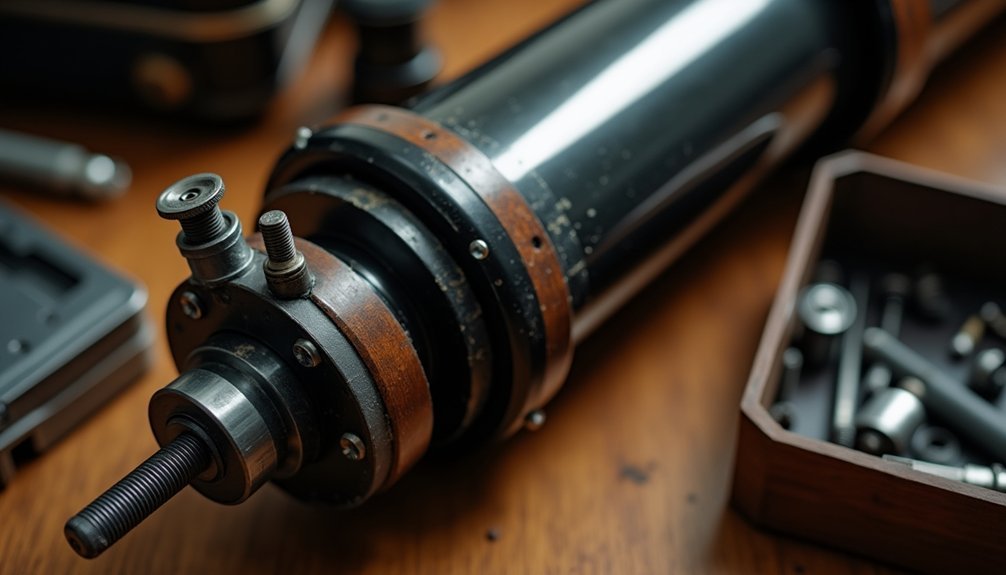
Safe Removal Steps
Safe disassembly of a telescope focuser requires three key preparation steps to protect both you and your equipment.
Before you begin, identify your focuser type, secure your telescope horizontally, and remove all accessories. Many users have found that Crayford focusers can become misaligned during adjustment attempts.
Take clear photos of the assembly for reference during reassembly.
Start with these essential removal steps:
- Remove the rubber or metal focus knobs – they'll either pull off or require a hex wrench to loosen.
- Unscrew any external plates or covers using the appropriate screwdriver, being careful not to strip the screws.
- Gently detach protective covers and insulation to access the internal mechanisms, watching for any retaining rings or clips that might need removal.
Once exposed, inspect the brass threading and bearing assemblies for wear or damage before proceeding with further disassembly.
Tools You'll Need
Proper tools make all the difference when disassembling your telescope's focuser. You'll need a set of Allen wrenches to remove set screws and various focuser components.
Keep a rubber mallet handy for gentle tapping when parts are stubborn, but don't force anything.
Before starting, gather penetrating oil to loosen tight cams and seized parts. If you're working with a Crayford focuser, you might need replacement O-rings to restore smooth operation.
For rack and pinion models, having cleaning supplies ready is essential since these mechanisms often collect debris. Document the position of the internal gear nuts before removal to ensure proper reassembly.
Don't forget basic tools like screwdrivers and a clean workspace to organize small parts.
If you're upgrading to an electronic focuser, you'll also want T-thread adapters and compression rings for secure connections.
Cleaning and Lubricating Your Focuser Components
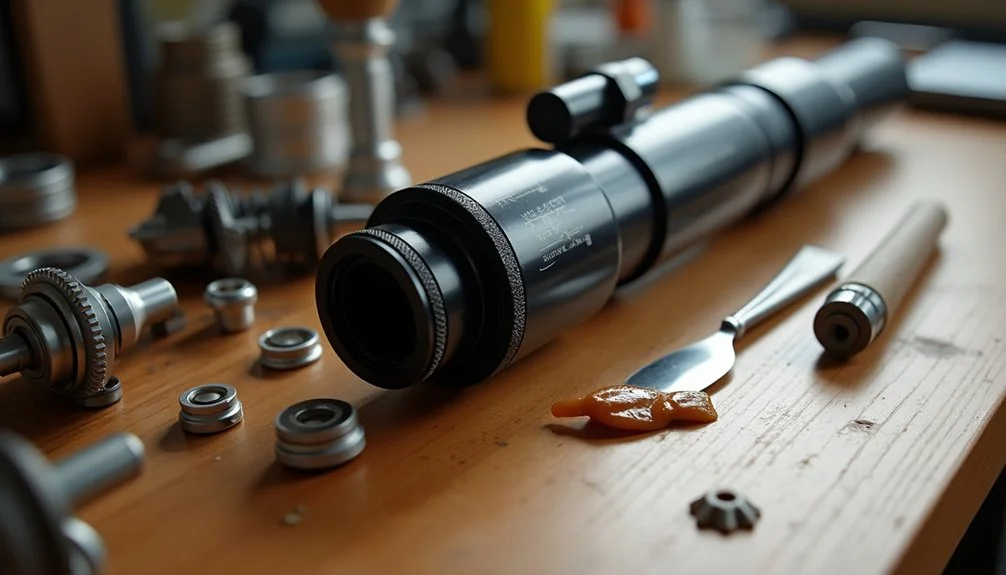
Start your focuser maintenance with gentle cleaning methods, using compressed air and a soft brush to remove debris without risking damage to sensitive components.
You'll want to follow up with a specialized optics cleaning solution of isopropyl alcohol and distilled water, being careful to avoid harsh chemicals that could harm the focuser's materials. Remember that dusty is preferable to accidentally scratching your equipment during aggressive cleaning attempts.
Once your components are thoroughly clean and dry, you can apply appropriate lubricants like silicone spray or white lithium grease to guarantee smooth, long-lasting operation of your focuser's moving parts.
Safe Cleaning Methods First
Before diving into any repairs, you'll need to thoroughly clean your telescope's focuser components in a controlled environment.
Start by removing loose dust with compressed air, then use optical wipes or alcohol-based cleaners for deeper cleaning.
Don't skip preparation – a clean workspace prevents new dust from settling on components during maintenance. Consider using a lens brush and vacuum to remove initial dust before detailed cleaning.
For best results, follow these essential steps:
- Remove knobs and drawtubes carefully, keeping track of their original positions.
- Clean friction surfaces with alcohol wipes to remove residue without adding unwanted lubrication.
- Use distilled water and cotton balls for delicate optical surfaces, applying minimal pressure to prevent scratches.
Remember to let all components dry completely before reassembly.
Work systematically and avoid harsh chemicals or household cleaners that could damage protective coatings.
Best Lubricants For Longevity
Now that your focuser components are clean and dry, selecting the right lubricant will determine how smoothly and reliably your telescope performs.
For long-lasting results, Super Lube and Pete's Red Synthetic Grease stand out as top choices, especially for rack & pinion focusers. Using 91% isopropyl alcohol for pre-cleaning provides the best surface preparation.
You'll want to avoid white lithium grease, which separates quickly and needs frequent reapplication. Instead, opt for Teflon-based or silicone greases that maintain consistency in cold temperatures.
If you're using an Astro-Physics focuser, Lubriplate 105 is your best bet.
Remember to apply lubricants sparingly – excess grease attracts dust and can drip onto optics.
Always check compatibility with your focuser's materials, and choose a lubricant that matches your environmental conditions, particularly if you're observing in cold weather.
Adjusting Tension and Friction Settings
When adjusting tension and friction settings on your telescope's focuser, you'll need to balance smooth movement with stability. Regular tension checks will help maintain optimal focuser performance over time.
Make incremental adjustments to the tension knobs, being careful not to over-tighten them, which can damage the mechanism. For Crayford models, adjust the center screws and black hex screws to achieve ideal pressure on the draw tube.
- Start by loosening the center screws slightly, then fine-tune the black hex screws until you feel consistent resistance when moving the focuser.
- Test the tension by pointing your telescope upward – if the focuser slips under heavy loads, increase tension gradually.
- After finding the right balance, retighten the center screws to lock in your adjustments and guarantee long-term stability.
Reassembly Tips and Best Practices
Since proper reassembly directly impacts your telescope's focusing performance, following a systematic approach will guarantee excellent results.
Start by gently reinserting the draw tube into the housing after you've applied and trimmed the PTFE material. Make certain you've secured the pinion gear to the rack with evenly tightened screws.
Before fully reattaching the focuser to your telescope, test its movement to confirm smooth operation without binding or jerky motion. You'll want to verify there's no excessive play or friction.
Once satisfied, mount it back on your telescope and check for proper collimation. Don't forget to test the focuser under different loads by attaching your camera equipment. If you notice any issues, make minor adjustments until you achieve peak performance without image shift.
Preventive Maintenance for Smooth Operation
Maintaining your telescope's focuser in top condition requires a proactive approach to prevent common issues before they arise.
Regular lubrication with medium-thick lithium or graphite grease will greatly reduce friction and keep your focuser moving smoothly. Store your telescope in a dry environment to prevent rust and corrosion, and inspect it regularly for signs of wear or damage.
Proper lubrication and dry storage are essential for maintaining a smooth, responsive focuser and preventing mechanical deterioration over time.
- Clean your focuser routinely to remove dirt and dust that can cause stiffness, paying special attention to moving parts and bearing surfaces.
- Adjust tension screws periodically to maintain the perfect balance between smooth operation and slip prevention.
- Apply car polish wax to rough surfaces for smoother movement, but avoid using excessive amounts that might attract dirt.
These simple preventive steps will help maintain your focuser's performance and extend its lifespan greatly.
Frequently Asked Questions
Can I Use Household Oil or WD-40 to Lubricate My Telescope Focuser?
Don't use household oil or WD-40 on your telescope focuser – they can damage optics and components. Instead, use proper telescope lubricants like Teflon or lithium grease for safe, effective maintenance.
How Often Should I Completely Disassemble and Clean My Telescope Focuser?
You shouldn't completely disassemble your focuser unless it's severely stuck or contaminated. Regular cleaning with compressed air is usually sufficient. In dusty environments, inspect more often but avoid unnecessary disassembly.
Will Temperature Changes Affect My Focuser's Smoothness and Operation?
Yes, temperature changes will affect your focuser's smoothness. You'll notice stiffer movement in cold weather and smoother operation in warmer conditions. The focuser's materials expand and contract with temperature variations.
Should I Replace Plastic Focuser Components With Metal Ones for Better Performance?
You'll benefit from upgrading to metal components since they offer better durability and precision. However, weigh the higher cost against your needs – metal focusers perform best for serious astronomy and frequent telescope use.
Can I Upgrade My Manual Focuser to a Motorized Version Myself?
Yes, you can upgrade to a motorized focuser yourself. Choose a compatible motor kit, mount it properly to your existing focuser, and connect the controller. Just make certain you've got the right tools and instructions.
In Summary
Maintaining your telescope's focuser isn't as challenging as you might think. With regular cleaning, proper lubrication, and careful tension adjustments, you'll keep your focuser moving smoothly for years to come. Remember to check for debris buildup monthly and apply fresh lubricant when needed. Don't wait until your focuser becomes completely stuck – address minor stiffness issues early to prevent more serious problems down the road.


Leave a Reply