To see stars clearly tonight, wait until after nautical twilight when the sun is 12° below the horizon. Choose a moonless night and escape light pollution by driving 30-60 minutes outside the city. Check weather forecasts to avoid clouds. Allow 20-30 minutes for your eyes to fully dark-adapt and use only red lights to preserve night vision. Bring binoculars for enhanced views and a comfortable chair to prevent neck strain. These simple adjustments can transform your stargazing experience dramatically.
7 Best Tips To See Stars Clearly Tonight
Wondering how to transform your evening into a spectacular cosmic adventure? Start by escaping light pollution—head to a dark sky site where celestial objects shine their brightest.
The night sky tonight will reveal its treasures more readily when you’re away from city glow.
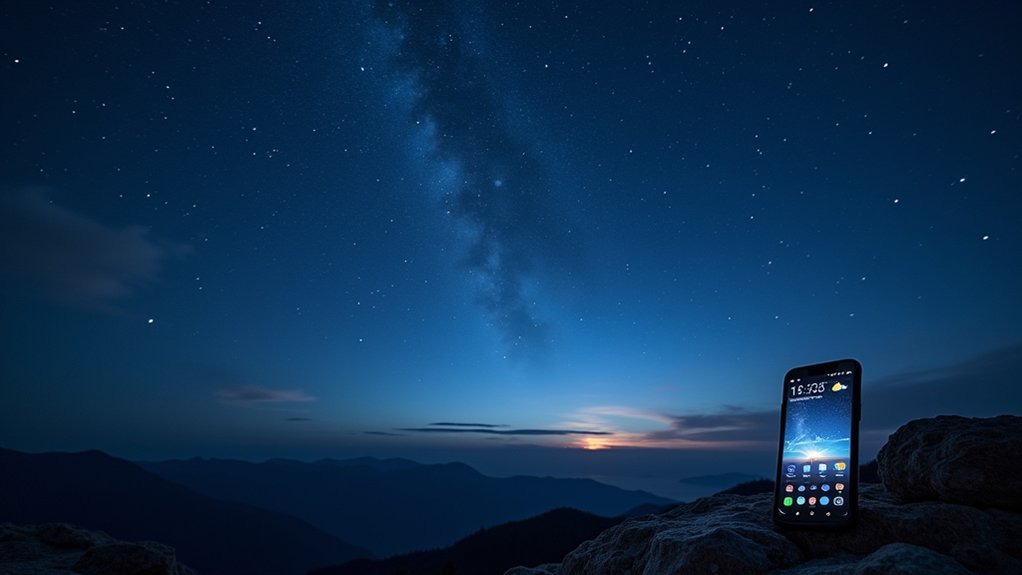
Check moon phases before heading out; a new moon provides ideal darkness, while a full moon washes out fainter stars. Use a stargazing app to navigate constellations and identify notable features in the night sky tonight.
Moon phases dictate your stargazing success—darkness reveals the universe’s secrets while apps unlock celestial mysteries overhead.
Give your eyes at least 20 minutes to adapt to darkness—this natural adjustment greatly improves what you’ll see.
For enhanced viewing, bring binoculars to observe distant galaxies and nebulae, but remember that bright moonlight can diminish visibility of deeper space objects.
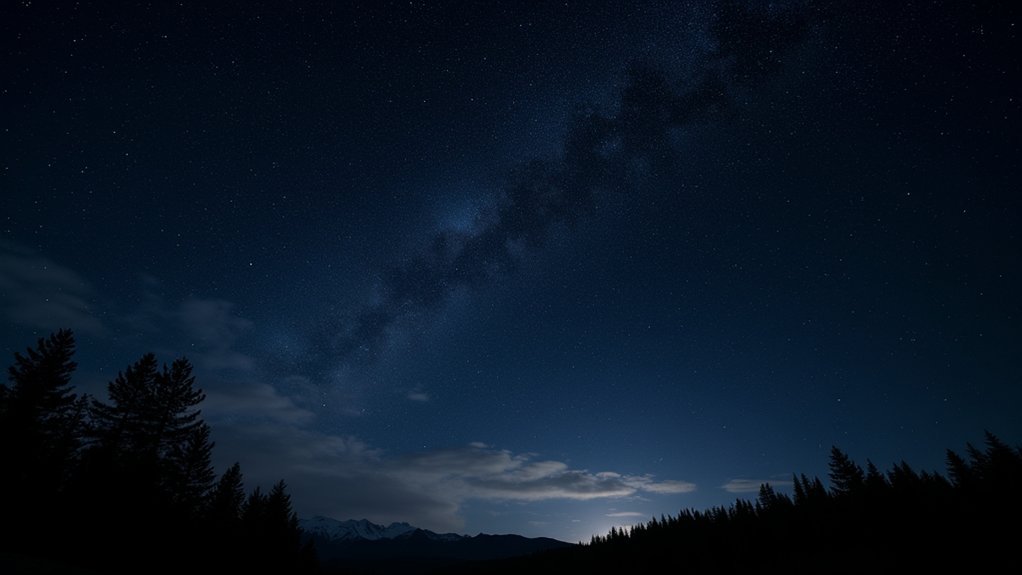
Time Your Stargazing After Nautical Twilight
To maximize your stargazing experience, time your celestial observations to begin just after nautical twilight has ended. This vital period occurs when the sun sits 12 degrees below the horizon, creating ideal conditions for spotting both bright and fainter celestial objects.
This shift typically lasts 30-40 minutes, giving you a perfect window to prepare your equipment while visibility improves.
During nautical twilight, you’ll still have enough natural light to navigate your surroundings safely before complete darkness sets in. Once astronomical twilight follows, you’ll enjoy the best dark sky conditions for detecting deep sky wonders.
- The horizon glows with subtle blue hues as stars begin to emerge one by one
- Familiar constellations gradually materialize against the darkening canvas
- The Milky Way slowly reveals its misty path across the night sky
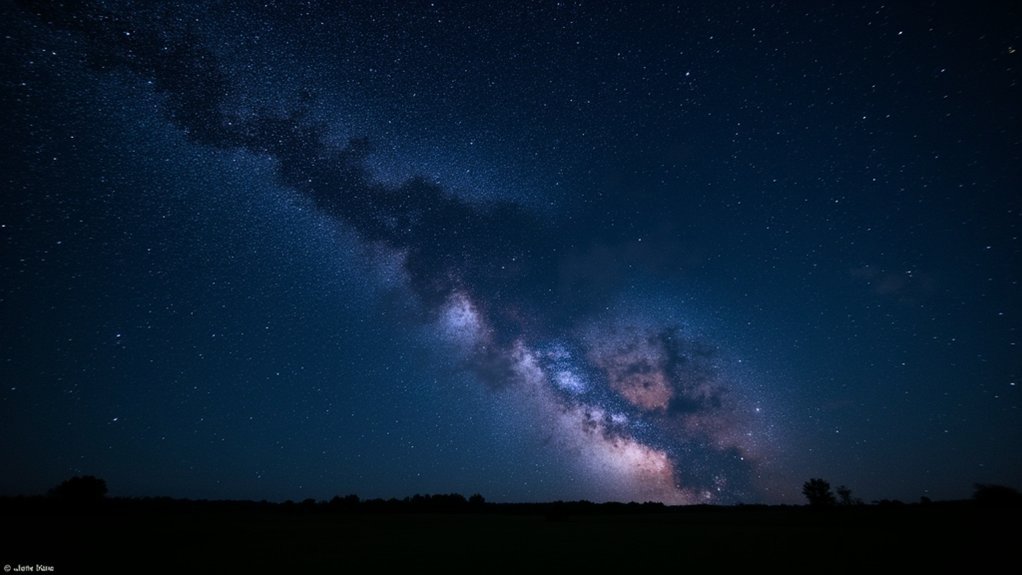
Choose Moonless Nights for Optimal Visibility
While timing your observation after nautical twilight provides good starting conditions, selecting a moonless night will dramatically enhance your stargazing experience.
The absence of moonlight allows fainter celestial objects like galaxies and nebulae to shine through, objects that would otherwise be washed out by the moon’s brightness.
The moon’s absence unveils the universe’s subtle wonders, revealing cosmic treasures normally hidden in its glow.
For ideal visibility, plan your stargazing sessions around the new moon phase, when it’s completely unobservable for about a day.
During these moonless nights, you’ll witness the Milky Way and countless stars with remarkable clarity and vividness.
Check a dark sky calendar to identify these prime viewing opportunities.
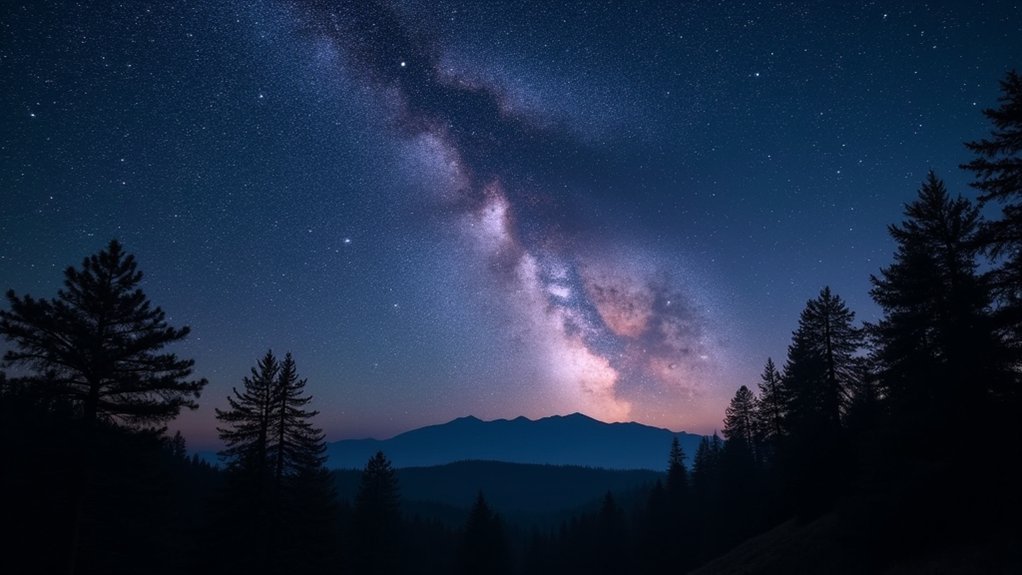
Escape Light Pollution for Darker Skies
Light pollution, the excessive artificial illumination that radiates from cities and suburbs, severely limits what you can see in the night sky.
For truly remarkable stargazing experiences, you’ll need to venture away from urban centers where artificial light overwhelms the delicate glow of distant stars.
Use these strategies to find darker skies:
- Drive 30-60 minutes outside city limits to where the Milky Way emerges from darkness like a river of stars flowing across the heavens
- Visit designated dark sky parks where protected environments offer pristine celestial views of normally invisible deep-space objects
- Check light pollution maps online to identify local “dark pockets” within reasonable driving distance
The difference between urban and rural stargazing is dramatic—what appears as dozens of stars in the city transforms into thousands under truly clear skies.
Check Weather Conditions Before Heading Out
How often have stargazers arrived at their chosen location only to find a blanket of clouds obscuring the night sky? To avoid this disappointment, always check weather forecasts before planning your stargazing adventure.
Use specialized weather apps that provide hourly forecasts with cloud cover percentages, helping you identify the best observation window.
Look beyond basic forecasts—low humidity nights offer better clarity and contrast when viewing stars and deep sky objects. Wind conditions matter too; calm evenings provide steadier viewing through telescopes.
For the most accurate assessment, check satellite imagery that shows real-time cloud patterns and visibility conditions in your area.
This extra step can mean the difference between a wasted trip and a memorable night under the stars.
Remember—successful stargazing begins with weather awareness.
Allow Your Eyes to Fully Dark-Adapt
The single most important physiological adaptation for successful stargazing happens within your own eyes. Your retina requires 20-30 minutes to fully dark-adapt and maximize its sensitivity to faint starlight.
During this period, avoid checking your phone or any bright screens that will reset your night vision progress.
- Imagine your eyes gradually revealing countless stars that were invisible just minutes before
- Picture yourself using a red flashlight to navigate your surroundings while preserving your precious night vision
- Envision wearing sunglasses during twilight, preparing your eyes for the cosmic show ahead
For best results, choose locations with minimal light pollution.
A hat with a brim can also help shield your eyes from stray light sources, allowing you to see celestial objects more clearly.
Use Red Light for Preserving Night Vision
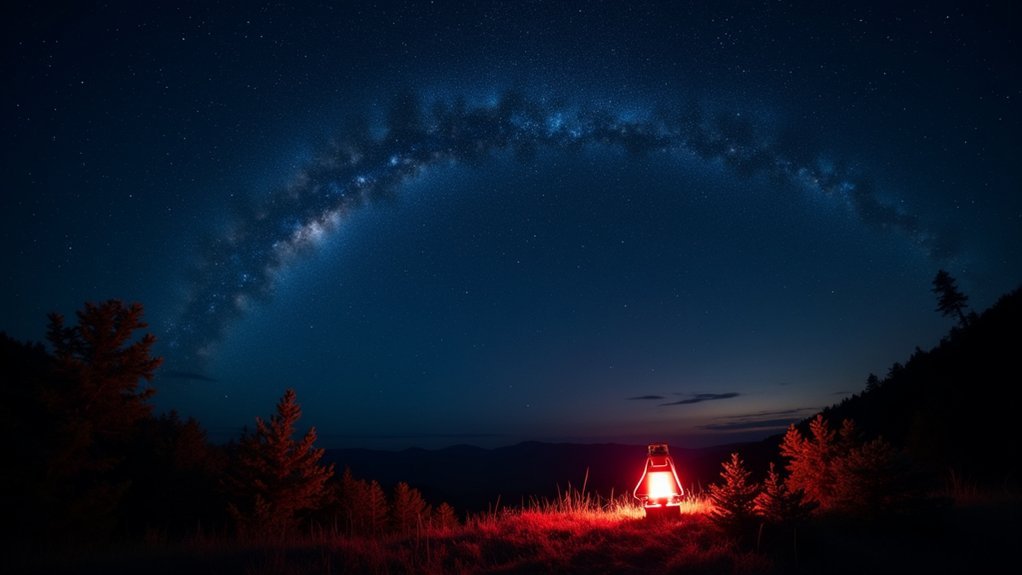
Red flashlights serve as essential tools for stargazers, preserving your carefully developed night vision while allowing you to navigate your equipment and charts.
You’ll find affordable DIY options by simply covering your existing flashlight with red cellophane or purchasing red LED lights specifically designed for astronomy.
For best results, set up multiple red light sources around your observation area—position one near your star charts, another by your telescope controls, and keep a handheld version in your pocket for unexpected needs.
Red Light Protection Basics
When stargazing at night, your eyes must adapt to the darkness to see celestial objects clearly. Red light offers the perfect solution, as its wavelength (620-750 nm) minimally disrupts your night vision compared to white light. By using red illumination for reading star charts or adjusting equipment, your pupils remain dilated, allowing you to quickly return to effective stargazing.
- Picture yourself effortlessly switching between consulting your star map under gentle crimson light and looking up to spot faint celestial objects without waiting for readjustment.
- Imagine preserving your night vision while still having enough illumination to safely navigate your viewing area.
- Envision the improved experience of seeing more stars and nebulae because your eyes remain properly dark-adapted.
Consider investing in red LED flashlights or adding red filters to your existing lights for ideal stargazing results.
DIY Solutions Available
Creating your own red light solutions doesn’t have to be complicated or expensive. You can transform any regular flashlight into a stargazing-friendly tool by covering the lens with red cellophane or theater gel secured with a rubber band.
Even red nail polish applied thinly over a small flashlight works in a pinch.
For a more permanent solution, consider replacing standard bulbs in your outdoor fixtures with red LED bulbs when hosting nighttime stargazing sessions. You can also download red light apps on your smartphone, eliminating the need for additional equipment while preserving your night vision.
Make a simple headlamp alternative by attaching red bicycle lights to a baseball cap, keeping your hands free for telescope adjustments.
These DIY options provide effective illumination without the 30-minute readjustment period white light causes.
Best Setup Configurations
To maximize your stargazing experience, proper setup configuration matters just as much as timing and location. Create a dark observation area away from artificial lights to guarantee ideal viewing conditions. Your night vision takes 20-30 minutes to fully develop, so be patient before expecting to see dimmer celestial objects clearly.
A red light flashlight is essential for your stargazing setup as it preserves your night vision while allowing you to check charts or adjust equipment.
- Recline comfortably in a dedicated chair to prevent neck strain during hours of skyward gazing.
- Position your binoculars or small telescope on a stable surface for enhanced viewing of faint stars.
- Arrange your stargazing area with all essentials within arm’s reach to avoid disrupting your night vision.
Frequently Asked Questions
What Is the Best Way to View Stars at Night?
To view stars at night, you’ll need a dark location away from city lights. Let your eyes adjust for 30 minutes, use red lighting to maintain night vision, and consider using a sky map app.
What Time Is the Best Time to See the Stars Tonight?
For the best stargazing tonight, wait until about 30-60 minutes after sunset when nautical twilight ends. You’ll want to look up after the sun is 12 degrees below the horizon for ideal visibility.
How Can You See the Stars Clearly?
To see stars clearly, you’ll need to find a dark location away from city lights, allow your eyes 20 minutes to adapt to darkness, and use optical aids like binoculars or telescopes for enhanced viewing.
What Are the Best Conditions for Stargazing?
You’ll see stars best when you’re far from light pollution, on moonless nights, after astronomical twilight ends. Clear, dry air enhances visibility, and higher elevations reduce atmospheric interference for ideal stargazing conditions.
In Summary
By applying these seven simple strategies, you’ll transform your stargazing experience tonight. Remember, timing, location, and preparation are everything. Don’t rush the dark adaptation process, and you’ll be amazed at how many more stars become visible. Whether you’re a beginner or experienced observer, these techniques will help you reveal the night sky’s full splendor. So grab your star chart and head out—the universe awaits your discovery.


Leave a Reply