To draw night sky patterns effectively, vary blue shades for depth and establish a clear horizon for composition. Create stars in different sizes and brightness levels to mimic natural patterns, using a stylus for precise shapes. Layer dark colors with different stroke directions and blend for smooth shifts. Add depth by positioning clouds in front of stars and using lighter tones for distant elements. The techniques below will transform your celestial artwork from flat to fascinatingly dimensional.
Simple Tips to Draw Night Sky Patterns
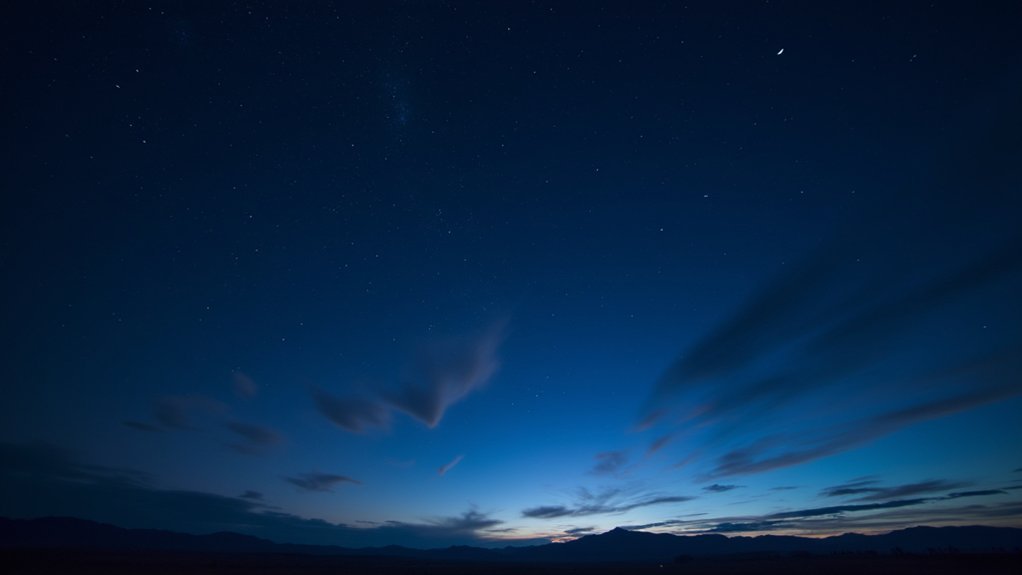
Five essential components form the foundation of any stunning night sky drawing. First, vary your blues—use deeper shades for darker areas and lighter ones where moonlight touches.
The magic of a night sky emerges through layered blues—from inky depths to moonlit whispers across the celestial canvas.
Second, establish a clear horizon to frame your composition, keeping foreground elements in dark values that contrast with the illuminated sky.
When creating stars, vary their sizes and brightness to mimic natural patterns. Try using a stylus to impress star shapes into your paper before adding color, preserving their whiteness. Consider adding masking film to protect specific shapes while shading around them for cleaner results.
For depth, layer black and dark blues with different stroke directions, then blend with tissue for smooth shifts.
Don’t forget to include constellations by connecting key stars—this adds authenticity to your composition. Whether using colored pencils or digital tools, these techniques will elevate your night sky drawings.
Essential Tools for Capturing Star Patterns
When capturing the intricate patterns of the night sky, having the right tools can transform your stargazing experience from casual observation to breathtaking photography.
The essentials combine both hardware and software to help you plan, shoot, and enhance your celestial images.
Your night sky photography toolkit should include:
- A DSLR or mirrorless camera paired with a wide-angle lens to capture the expansive starry canvas
- A sturdy tripod and remote shutter release to eliminate camera shake during long exposures
- Planning apps like PhotoPills or The Photographer’s Ephemeris to identify ideal shooting times and locations
- Post-processing software for stacking multiple exposures and reducing noise while enhancing star visibility
Don’t forget extras like spare batteries and red light sources to preserve your night vision during extended sessions. A headlamp with red light mode is particularly useful for maintaining your eyes’ natural night adaptation while still allowing you to adjust equipment.
Finding Dark Skies: Optimal Viewing Conditions
To truly capture the magic of celestial patterns in your drawings, you’ll need to escape the artificial glow that bathes most urban and suburban areas.
Travel 20-30 miles from city limits to greatly reduce light pollution. Use the Bortle scale (ranging from 1-9) to identify suitable stargazing locations—aim for Class 3 or 4 skies.
Seek higher elevations where atmospheric interference is minimal. Mountains can block city light while remote wilderness or bodies of water enhance darkness. Rural settings provide clearer views of the night sky and more accurate color representation for your drawings.
Always face away from urban areas to avoid light domes.
Check weather conditions before heading out—clear skies with low humidity offer better transparency. High barometric pressure often signals ideal viewing conditions.
Later evening hours typically provide more stable atmospheric “seeing” conditions for detailed observation.
Recognizing Major Constellations in Each Season
Once you’ve found your perfect dark sky location, the vast celestial canvas awaits your artistic interpretation.
Understanding which constellations appear during specific seasons will enhance your night sky drawings and provide fascinating subjects year-round.
Each season offers unique celestial patterns to capture in your artwork:
- Winter showcases dramatic Orion with his distinctive belt and bright Sirius in Canis Major.
- Spring reveals Leo and the expansive Hydra, perfect for practicing varied star brightness techniques.
- Summer night skies feature the graceful swan of Cygnus and the small but distinctive Lyra.
- Autumn presents the Great Square of Pegasus and Andromeda with its famous galaxy.
Don’t forget to include circumpolar constellations like Cassiopeia’s distinctive “W” shape, visible throughout the year regardless of season. The visibility of these patterns changes because Earth’s orbit around the Sun causes different parts of the night sky to be visible at different times of the year.
Star Brightness Scale: How to Represent Magnitude
Capturing the true essence of a starry night requires understanding how stars differ in brightness. The apparent magnitude scale measures this difference, with lower numbers indicating brighter stars.
When you’re illustrating stars, represent magnitude differences through size, color intensity, and texture. Remember that each magnitude step represents about 2.5 times difference in brightness. The average person can see objects up to magnitude +6 with the naked eye under clear, dark conditions.
| Magnitude | Example | How to Draw |
|---|---|---|
| Negative (-) | Sirius (-1.5) | Large, intense glow, sharp center |
| Low positive (0-3) | Polaris (2.0) | Medium size, distinct glow |
| High positive (4+) | Callisto (5.7) | Small dot, minimal glow |
Use a darker background to make your brightest stars pop. Though you can exaggerate brightness for artistic effect, try to maintain the relative hierarchy so your night sky patterns remain recognizable.
Sketching Techniques for Celestial Objects
You’ll need different sketching approaches for various celestial objects in your astronomical drawings.
For stars, vary your pencil pressure to show brightness differences, while galaxies require gentle circular motions to capture their spiral arms and dust lanes.
When sketching the moon, focus on the terminator line where shadows reveal crater details and mountain ranges with the greatest contrast.
Begin at the center of observation when drawing multiple stars or constellations to maintain proper scale and proportions throughout your sketch.
Star Shading Essentials
Three essential techniques define stellar object shading in night sky drawings. When capturing celestial bodies on paper, you’ll need to master both positive and negative drawing methods.
For traditional approaches, use sharp pencils on white paper, varying pressure to create different star intensities. Alternatively, try white tools on black paper for stunning contrast. Using a red headlamp while sketching preserves your night vision, allowing you to see both your paper and the stars simultaneously.
- Negative technique: Use soft lead pencils on white paper, then scan and reverse digitally for a realistic effect
- Positive technique: Apply white pencils or pastels on black paper for immediate visual impact
- Layering method: Build up star brightness gradually with multiple layers to create depth
- Brightness variation: Depict different star magnitudes by varying pressure and tool thickness
Galaxy Texture Methods
Delving into galaxy texture methods requires a sophisticated approach to capture the elusive beauty of these celestial formations. Start with deep blues and purples as your foundation, layering colors to build depth and dimension in your cosmic scene.
For realistic textures, try the soft mist method by moving your spray can before pressing the nozzle, creating natural nebulous effects. Digital artists can leverage overlay mode and blending tools to merge colors seamlessly. Use a harmonious blend of warm and cool colors to create dynamic compositions that bring your galaxy to life.
Consider using stencils for defined spiral shapes or oval templates for galaxy cores. Don’t forget random elements—newspaper lifting techniques and bounced paint transfers add unpredictable textures that mimic the chaotic nature of galaxies.
Whether you’re working digitally or traditionally, customizing gradients and employing Gaussian blur will soften your work, giving it that authentic astronomical glow.
Moon Detail Basics
Mastering the moon’s intricate surface features begins with understanding fundamental sketching techniques tailored for celestial objects. Start with a perfect circle as your foundation, then identify the major maria (dark regions) and highlands (lighter areas) to establish your basic structure.
To create realistic lunar details:
- Sketch larger craters first, varying their sizes and depths for authenticity.
- Use light grays rather than harsh blacks, applying gradual shading toward the edges.
- Add texture by drawing fine strokes that follow the moon’s natural curvature.
- Create depth by properly placing shadows—they should consistently fall in one direction.
Position your moon off-center in compositions for visual interest, and don’t forget to leave some areas lighter to enhance the three-dimensional appearance of your celestial subject. Your choice of moon phase will significantly affect the drawing complexity and visible details you’ll need to capture.
The North Star: Finding Your Anchor Point
When gazing at the night sky, nothing provides more stability and orientation than Polaris, our North Star. For artists depicting night scenes, Polaris serves as your perfect anchor point. You’ll find it at the end of the Little Dipper’s handle, maintaining a fixed position while other stars appear to rotate around it.
To locate Polaris in your drawings, use the Big Dipper’s pointer stars (Merak and Dubhe) – trace a line about five times their distance. If the Big Dipper isn’t visible in your composition, Cassiopeia’s wider “V” shape points toward it. Polaris remains stationary in position, making it the most reliable reference point for celestial navigation throughout human history.
Remember that Polaris’s position above the horizon equals your latitude, adding geographical accuracy to your artwork. Once you’ve established Polaris, you’ve oriented your entire night sky properly.
Connecting the Dots: Creating Constellation Lines
You’ll discover that connecting stars to form constellations is both a technical skill and a cultural art form.
Start by identifying key stars and drawing straight lines between them, varying your line weight to emphasize important relationships within the pattern.
As you sketch these celestial connections, you’re participating in a tradition of storytelling that spans thousands of years across diverse cultures who mapped their myths onto the same night sky. For added precision, use the polygon tool on a new vector layer when creating your constellation lines.
Map Star Relationships
To transform a canvas full of disorganized stars into recognizable patterns, you’ll need effective techniques for mapping star relationships. Your brain naturally seeks patterns, but astronomical tools can help you accurately represent celestial connections on paper.
Use these methods to map star relationships effectively:
- Employ geometric drawing tools like rulers and compasses to create precise lines and curves between stars.
- Leverage astronomical software such as Heavens-Above to reference accurate star positions and distances.
- Consider star brightness and distance when mapping—brighter stars often form primary constellation anchors.
- Remember that stars appearing close together might be vastly distant from each other—this parallax effect creates the illusion of patterns.
When drawing spring asterisms like the Spring Triangle, use the Big Dipper as a reference to locate the bright stars Arcturus and Spica in this seasonal formation.
These techniques will help you create meaningful maps of the night sky’s most beautiful formations.
Constellation Sketching Techniques
Transforming star knowledge into beautifully drawn constellations requires specific techniques that bring order to celestial chaos. Once you’ve placed your stars, it’s time to connect them with meaningful lines that reveal the patterns ancient astronomers identified.
| Technique | Application | Effect |
|---|---|---|
| Straight Lines | Use rulers or line tools | Creates classic astronomical charts |
| Dotted Lines | Apply dash patterns | Adds traditional celestial map styling |
| Freehand | Draw flowing connections | Creates artistic interpretation |
When connecting dots, start with the brightest stars first, then work toward fainter ones. Vary your line weights to emphasize important connections within the constellation. For beginners, Orion’s distinctive hourglass shape offers an ideal starting point, with its three aligned belt stars serving as an easily recognizable anchor for your sketch. Remember that your constellation artwork can serve the same purpose as traditional star charts used throughout history for celestial navigation and identification.
Cultural Sky Stories
When we draw constellation lines, we’re participating in a tradition as old as human civilization itself. Across cultures, people have gazed at the same stars but woven dramatically different stories around them.
As you sketch, consider that Orion might be a hunter to some, but a symbol of protection to others.
Try these approaches to enrich your constellation drawings:
- Incorporate cultural stories from different traditions to give meaning to your star patterns
- Research how the Pleiades or “Seven Sisters” are interpreted across various cultures
- Add small illustrations alongside your constellation lines that represent cultural narratives
- Label your work with both scientific names and cultural alternatives
Your drawings become more than astronomical records—they’re windows into humanity’s shared fascination with the night sky. For example, in Japanese culture, the familiar pattern of Orion is reimagined as the Investigator, with Betelgeuse known as Heike Boshi.
Adding Depth to Your Night Sky Drawings
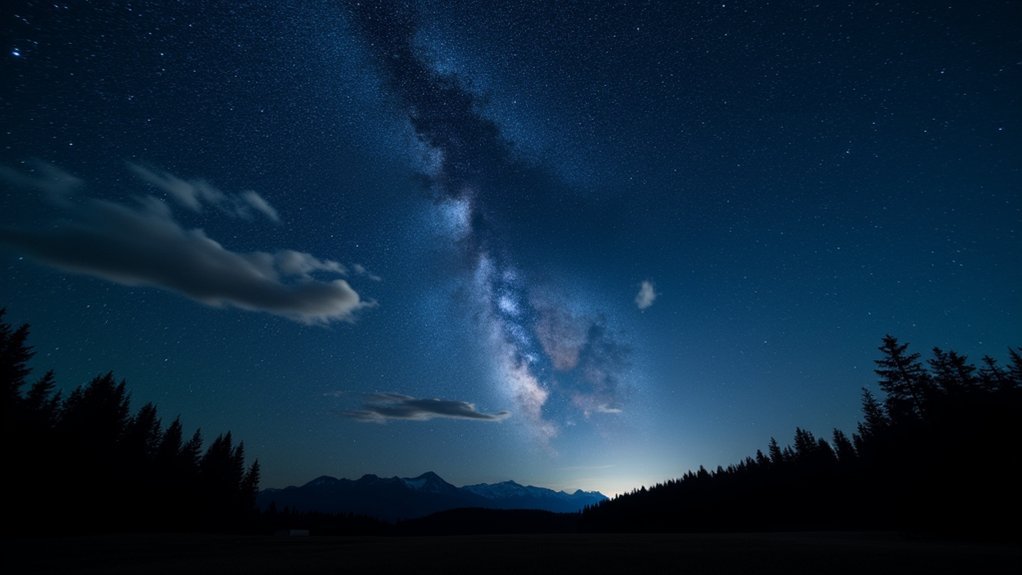
Creating a believable night sky requires mastering the element of depth, which transforms flat star patterns into an infinite celestial expanse. To achieve this illusion, vary star sizes—smaller ones appear farther away—and employ overlap by positioning clouds in front of stars.
Use color strategically by shifting to bluer, lighter tones for distant elements while keeping foreground stars brighter with higher contrast. Reduce detail and saturation in background elements to enhance the sense of atmospheric perspective. Adding soft edges to distant celestial objects while maintaining sharp edges in foreground elements further enhances depth perception.
Incorporate silhouettes of mountains or trees to establish a horizon line, and add cast shadows from foreground elements.
Don’t forget to vary star intensities and include recognizable constellations for authenticity. When you layer these techniques, your night sky will extend beyond the page into seemingly endless space.
Documenting Moon Phases in Your Sky Journal
A night sky observer’s journey extends naturally from mastering depth techniques to tracking our closest celestial neighbor.
Creating a dedicated moon journal allows you to witness the complete 29-day lunar cycle and understand the Earth-Moon-Sun relationship firsthand.
For effective moon phase documentation:
- Observe consistently at the same time each evening, using the SkyPortal app when visibility is challenging
- Record both the moon’s appearance and environmental conditions affecting visibility
- Use various blues and dark colors to capture the moon’s luminosity against the night sky
- Include stars of different sizes and brightness levels to create context for your lunar sketches
When you can’t see the moon, leave space in your journal to fill in later, using cross-referenced information from reliable moon phase calendars.
Frequently Asked Questions
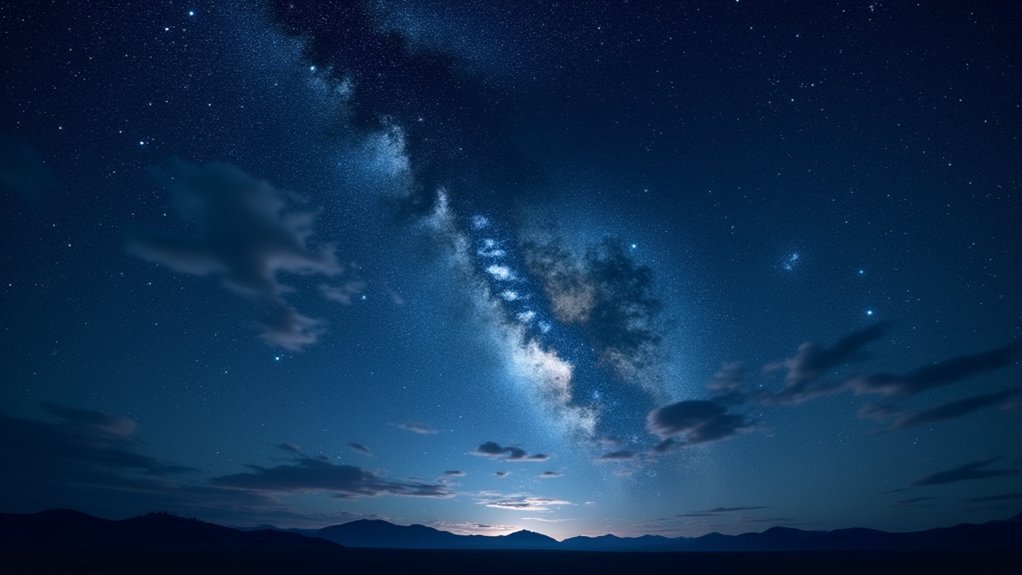
How Do I Draw the Milky Way Realistically?
You’ll create realistic Milky Way effects by using dark blue backgrounds, layering white and pale colors in swirling patterns, varying star sizes, and employing tools like whispy cloud brushes or oil pastels for texture.
Can I Use Household Items Instead of Specialized Art Supplies?
You can use Q-tips for blending, toothbrushes for splattering stars, salt for texture, coffee for color, and aluminum foil for metallic effects. Household sponges create unique cloud patterns in your night sky.
How Long Should I Spend Observing Before Drawing?
Spend at least 20-30 minutes observing before you start drawing. This gives your eyes time to adjust to darkness and helps you notice more details. You’ll capture more accurate patterns with longer observation.
Will Digital Night Sky Drawings Look as Effective as Traditional Media?
Digital night sky drawings can be equally effective as traditional media. You’ll find digital tools offer precision and flexibility, while traditional methods provide unique textures. Both approaches can create stunning results with proper technique.
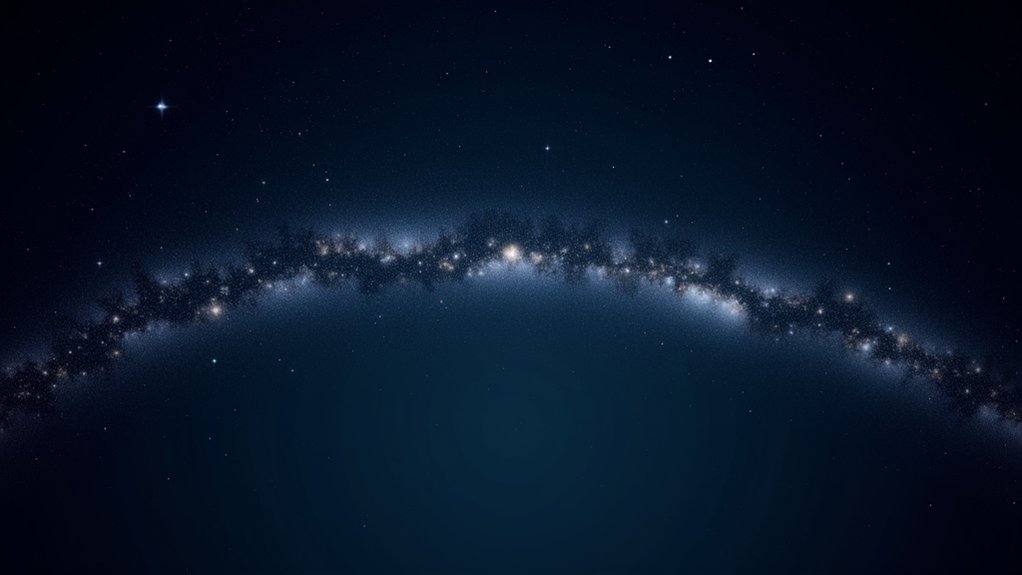
How Do I Represent Galaxies Versus Individual Stars?
Depict galaxies as swirling masses with blues, purples, and pinks using blended washes, while stars should be small, distinct points of light created with dotting techniques or white gouache at varying brightness levels.
In Summary
Drawing night skies isn’t just an artistic pursuit—it’s a connection to the universe above. As you’ve learned to identify constellations, chart moon phases, and capture stellar magnitudes, you’re now equipped to create your own celestial journal. Remember, the more you practice, the better you’ll recognize patterns overhead. Your sketchbook will soon become a personal map of the heavens, telling stories as ancient as time itself.


Leave a Reply