
You can capture stunning nebulae with just your camera by using a modern DSLR/mirrorless with manual settings, fast lenses (f/2.8 or wider), long exposures (10-45 seconds), a sturdy tripod, remote shutter release, and the 500 Rule to prevent star trails. Seek dark sky locations, shoot in RAW format, use high ISO (800-3200), and stack multiple exposures in software like DeepSkyStacker. These techniques will transform your ordinary night shots into cosmic masterpieces.
Selecting the Right Camera for Nebula Photography
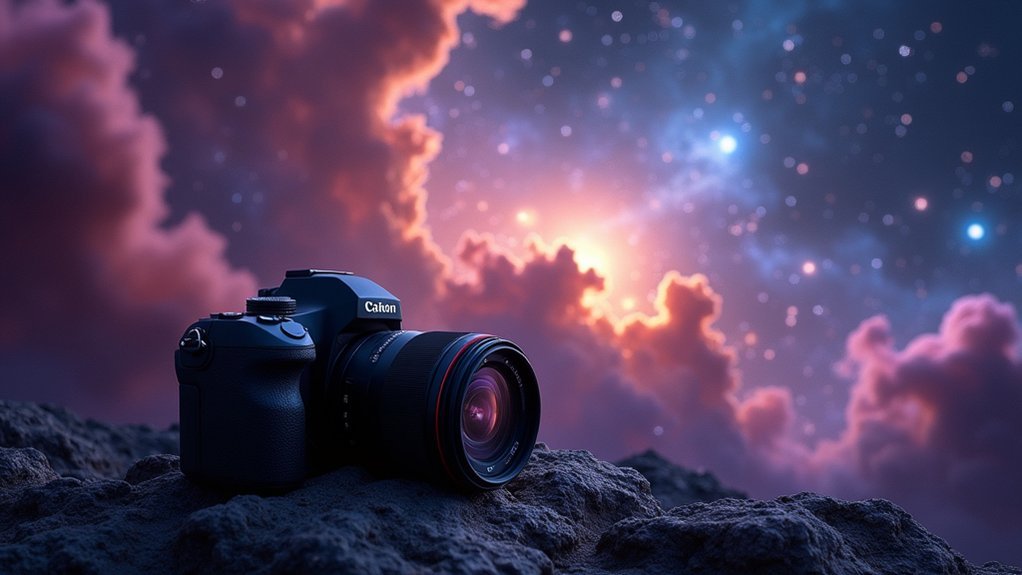
When venturing into the mesmerizing world of nebula photography, your camera choice becomes the foundation of your success. Modern DSLR or mirrorless cameras offer the essential control over exposure time and ISO settings needed to capture these distant celestial wonders.
Look for a camera with a newer CMOS sensor that provides superior light sensitivity and reduced noise at higher ISO settings (1600-3200). This technology helps you detect the faint details of nebulae that might otherwise remain invisible.
Always shoot in RAW format to maximize your post-processing flexibility, which is vital for bringing out the delicate structures and colors.
Pair your camera with a “fast” lens featuring a low f-stop to gather more light in shorter exposures, enhancing your ability to photograph even dimmer nebulae.
Essential Lenses for Wide-Field Astrophotography
Three essential factors determine a lens’s suitability for nebula photography: aperture, focal length, and overall optical quality.
For deep-sky astrophotography, you’ll want fast lenses with f/2.8 or lower focal ratios to capture the faint light emitted by cosmic objects.
Choose a focal length between 135mm and 350mm to achieve detailed nebula images while maintaining a wide field of view. A large aperture lens greatly reduces required exposure times, helping you avoid star trails during long captures.
Prime lenses typically outperform zoom options, delivering sharper images with superior optical characteristics.
If possible, select lenses compatible with full-frame sensors to maximize image quality and detail.
This combination of fast optics and appropriate focal length will dramatically improve your ability to photograph celestial objects with just a camera.
Mastering Long Exposure Techniques
Successfully capturing nebulae requires mastering the art of long exposure photography, as these celestial objects emit light too faint for standard camera settings.
You’ll need to utilize long exposures of 10-45 seconds, adjusting your shutter speed based on the nebula’s brightness and your lens specifications.
Mount your camera on a sturdy tripod to eliminate vibrations during these extended exposures.
Always use a remote shutter release cable or your camera’s timer function to prevent camera shake when triggering the shot.
Increase your ISO setting strategically—try ISO 1000 for brighter nebula cores and up to ISO 3200 for capturing fainter regions.
Remember to apply the 500 Rule (500 divided by focal length) to determine your maximum exposure time before stars begin to trail across your image.
Star Tracking for Clearer Nebula Images
You’ll find various star tracking mounts ranging from compact portable trackers to more robust equatorial mounts, each offering different payload capacities and tracking precision for your nebula photography setup.
When configuring your tracking duration, you’ll need to balance exposure length with the accuracy limitations of your particular mount, as even the best trackers eventually show minor tracking errors.
For nebulae photography, start with 1-2 minute exposures on basic trackers, while those with autoguiding capabilities can extend exposures to 3-5 minutes or longer to gather more of the nebula’s faint light.
Star Tracking Mounting Options
When attempting to capture the ethereal glow of distant nebulae, Earth’s rotation becomes your greatest adversary, causing stars to streak across your images during long exposures. A star tracker effectively counters this motion, allowing you to reveal delicate details in deep-sky objects that would otherwise remain invisible.
Popular options include the Sky-Watcher Star Adventurer and iOptron SkyGuider Pro, both compatible with DSLRs and lightweight telescopes. Whichever mount you choose, proper polar alignment is essential—this guarantees your tracker follows celestial motion precisely throughout your session.
Many modern trackers offer smartphone control for easy adjustments during imaging.
Remember the 500 Rule to determine your maximum untracked exposure time: simply divide 500 by your focal length. For a 50mm lens, you’ll get 10 seconds before stars begin to trail.
Tracking Duration Settings
The quality of nebula images depends heavily on selecting appropriate tracking duration settings for your specific equipment setup. To avoid star trails while maximizing light collection, you’ll need to balance focal length with exposure time.
| Lens Focal Length | Max Untracked Exposure | Tracked Exposure | Primary Benefit |
|---|---|---|---|
| 14mm (wide) | ~35 seconds | 2-5 minutes | Broader nebula context |
| 50mm (normal) | ~10 seconds | 30-90 seconds | Balance of field/detail |
| 135mm (telephoto) | ~3.7 seconds | 1-3 minutes | Isolates nebula features |
| 200mm+ (super tele) | ~2.5 seconds | 30-120 seconds | Fine nebula detail |
For best results, guarantee proper polar alignment of your equatorial mount before attempting longer exposures. Consider capturing multiple shorter subexposures rather than a single long one—this preserves detail while minimizing tracking errors.
Finding Dark Sky Locations for Better Results

Successful nebula photography depends primarily on finding locations with minimal light pollution. Your camera sensors need truly dark skies to capture the faint details of distant celestial objects. Venture at least 30 miles from urban areas, preferably to elevations above 2,000 feet where atmospheric interference is reduced.
- Seek locations marked as “dark sky reserves” where artificial lighting is strictly controlled
- Plan your shoot when the Moon is a thin crescent or below the horizon for maximum visibility
- Position yourself on elevated terrain with clear horizons in all directions
- Find spots sheltered from distant city glows by natural features like mountains
- Choose nights with stable atmospheric conditions to minimize star twinkling
Use resources like the Dark Sky Finder app to identify ideal viewing spots for your next night sky adventure.
Post-Processing to Reveal Hidden Nebula Details
Post-processing your nebula images through stacking multiple exposures greatly boosts the signal-to-noise ratio, revealing details invisible in single frames.
You’ll need to stretch your histogram to bring out faint nebula structures that initially appear hidden in the raw data.
Color enhancement techniques, including calibration and selective saturation adjustments, will transform your flat image into a vibrant cosmic portrait that showcases the nebula’s true spectral characteristics.
Stack For Signal Boost
Revealing the hidden beauty of nebulae requires more than just a single great shot—you’ll need to stack multiple exposures to truly disclose their cosmic secrets.
By combining at least 10-20 long exposures of the same target, you’ll dramatically improve your signal-to-noise ratio, making faint details pop that would remain invisible in single frames.
Software like SiriL or DeepSkyStacker will align and merge your images, preserving delicate structures while eliminating random noise.
After stacking, apply post-processing techniques like contrast stretching and color calibration to enhance the final image.
- Ghostly tendrils emerging from darkness as noise fades away
- Subtle color variations revealing different gas compositions
- Delicate filaments stretching across vast cosmic distances
- Star clusters twinkling through wisps of interstellar dust
- Intricate patterns of light and shadow defining nebula structure
Stretching Faint Details
The real magic kicks in when you stretch your stacked nebula images to reveal details invisible to the naked eye. This process redistributes pixel brightness across the histogram, enhancing contrast in those faint cosmic clouds where all your light gathered is hiding.
Start in software like SiriL by adjusting the histogram, broadening the spikes to pull out delicate structures without losing critical details. Proper color calibration using photometric tools will separate different nebula features and provide more natural-looking results.
After your initial stretch, you’ll notice some noise becomes more prominent. Apply targeted noise reduction with tools like Topaz Denoise AI to clean up your image while preserving the newly revealed details.
This careful balance between stretching for visibility and maintaining image quality transforms your raw data into a stunning nebula portrait.
Color Enhancement Techniques
While stacking images captures all available light data, color enhancement transforms your raw nebula shots into breathtaking cosmic portraits.
Apply photometric color calibration tools to achieve natural colors while minimizing light pollution effects. Use histogram adjustments for contrast enhancements that disclose faint nebula details previously hidden in your data.
Don’t forget to implement noise reduction techniques after stretching your image to preserve delicate structures while eliminating unwanted artifacts.
- Stretch the histogram to disclose whispy tendrils hiding in the darkness
- Balance colors to show the true fiery reds and cool blues of emission nebulae
- Extract gradients to reveal nebula boundaries against the inky backdrop of space
- Blend layers to showcase both brilliant star cores and gossamer nebula filaments
- Reduce noise to reveal the delicate cosmic dust lanes threading through the nebula
Troubleshooting Common Nebula Photography Challenges
Despite your best efforts, nebula photography often presents frustrating challenges that can leave even experienced astrophotographers puzzled. When shooting in low light conditions, optimize your camera with ISO 800-3200, apertures of f/2.8 or wider, and exposures up to 30 seconds to capture faint nebulae details.
Combat light pollution by using specialized filters that dramatically improve contrast in urban environments. If you’re getting noise, try multiple exposures and stack them in software like DeepSkyStacker.
| Challenge | Solution | Emotional Impact | Result |
|---|---|---|---|
| Star trails | Apply 500 Rule | Relief | Pinpoint stars |
| Light pollution | Use filters | Excitement | Vibrant nebulae |
| Image noise | Stack exposures | Satisfaction | Clean details |
| Unnatural colors | Photometric calibration | Delight | True-to-life hues |
During post-processing, address color accuracy issues with photometric calibration to restore the nebula’s natural beauty.
Frequently Asked Questions
How Do People Take Pictures of Nebulas?
You’ll need a DSLR or mirrorless camera, fast lens, tripod, and possibly a star tracker. Use high ISO settings and long exposures, then stack multiple images in post-processing to enhance nebula details.
Can You Do Astrophotography Without Tracking?
Yes, you can do astrophotography without tracking. You’ll need to use shorter exposures following the 500 Rule, a fast lens, and image stacking techniques. Dark sky locations will greatly improve your results.
Can You See Nebula Without a Telescope?
Yes, you can see a few bright nebulae without a telescope. The Orion Nebula appears as a fuzzy patch to the naked eye in dark skies. Binoculars will enhance your view considerably.
What Is the Best Focal Length for a Nebula?
For nebula photography, you’ll want a focal length between 135-350mm. Use 135-200mm for wide-field shots capturing multiple nebulae, or 200-350mm for detailed views of individual structures. Your camera’s sensor size affects this choice.
In Summary
You’ve now got everything you need to capture stunning nebulae with just your camera. Don’t be discouraged by early failures—they’re part of the learning process. With practice, you’ll develop your own workflow and style. Remember, the right equipment, proper technique, and thoughtful post-processing are your keys to success. The universe awaits your unique perspective, so get out there and start shooting!


Leave a Reply