
To measure celestial brightness accurately, you’ll need a CCD camera, calibrated telescope, and clear night sky. First, identify your target star and two comparison stars. Position your measurement aperture carefully around each object, then subtract background sky brightness. Apply dark current corrections and use the Pogson relation to convert raw data to magnitude values. Don’t forget atmospheric extinction adjustments for stars near the horizon. These ten steps will transform your stargazing from casual observation to precise astronomical science.
10 Easy Steps To Measure Celestial Brightness
Five essential steps will help you accurately measure celestial brightness with your telescope.
First, identify your target star and select two bright stars as comparisons, guaranteeing your telescope is properly calibrated to reduce electronic noise.
Next, measure the apparent brightness by placing a yellow circle over your target in the CCD image, then repeat for both comparison stars in counter-clockwise order.
Carefully encircle your target star in the CCD image, followed by both comparison stars in counter-clockwise sequence for precise brightness measurement.
Third, eliminate interference by subtracting the average dark sky brightness from all star measurements.
Fourth, calculate star magnitudes using the Pogson relation formula to convert brightness ratios into standardized values.
Finally, document everything about your observation session, including atmospheric conditions and star altitudes.
This methodical approach guarantees you’ll obtain reliable measurements that can be compared with other observations or professional databases.
Understanding the Stellar Magnitude Scale
Now that you’ve learned the measurement techniques, you’ll need to understand how astronomers quantify stellar brightness. The magnitude scale, developed by Hipparchus over two millennia ago, classifies stars from first magnitude (brightest) to sixth magnitude (faintest).
In today’s refined system, a one-magnitude difference represents a brightness change of about 2.5 times. This means first magnitude stars are approximately 100 times brighter than sixth magnitude stars.
Remember, lower numbers indicate brighter objects – the Sun blazes at -27, while the Full Moon shines at -12.
You can use Vega (magnitude 0) and Sirius (-1.4) as reference points when observing. The apparent magnitude tells you how bright an object appears from Earth, not its actual luminosity.
Comparison stars will help you estimate unknown stellar brightnesses in the night sky.
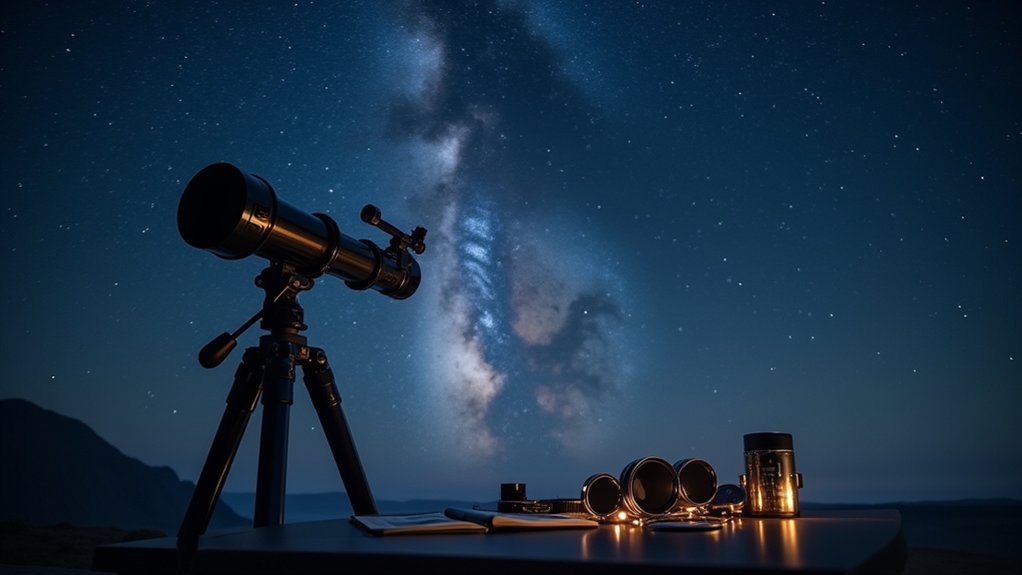
Gathering Essential Tools and Equipment
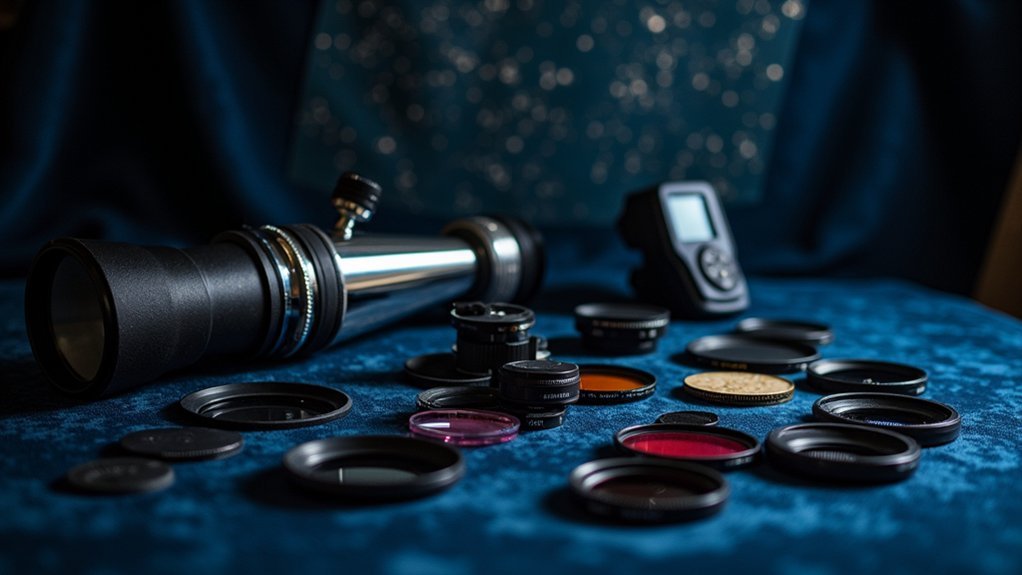
Before heading out to observe the night sky, you’ll need to assemble several key pieces of equipment for accurate celestial brightness measurements. A CCD camera is essential as its light-sensitive pixel array allows you to capture precise brightness data from celestial objects.
Pair your camera with a properly calibrated telescope to minimize electronic noise and enhance measurement accuracy.
Don’t forget star charts to help you identify your target and comparison stars in the field. You’ll need at least two comparison stars whose brightness can be measured alongside your target to correct for observational variables.
Keep a logbook handy to record atmospheric conditions and star altitudes during your session, as these factors greatly impact your readings. This documentation will prove invaluable when analyzing your collected data.
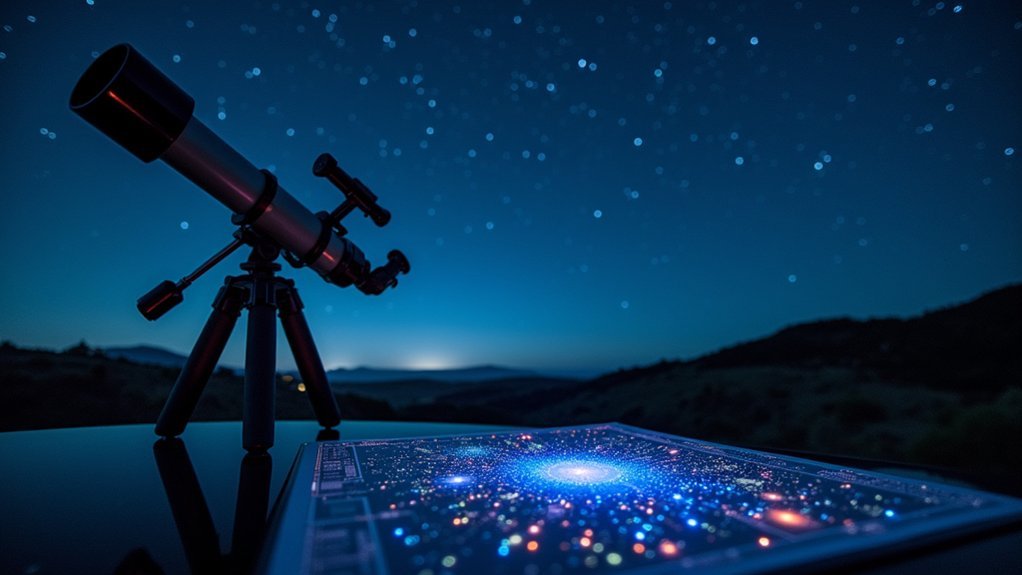
Choosing Ideal Observation Conditions
You’ll achieve the most accurate celestial brightness measurements by selecting nights with crystal-clear skies free from clouds, haze, and atmospheric turbulence.
For ideal results, target stars positioned high above the horizon where Earth’s atmosphere interferes less with your observations.
Remember that stars viewed near the horizon appear dimmer and may twinkle more due to the thicker layer of atmosphere their light must penetrate.
Clear Skies Matter
Why do professional astronomers travel to remote mountaintops or launch space telescopes?
Because atmospheric conditions dramatically impact celestial measurements.
You’ll need clear skies when measuring star brightness—clouds and haze distort readings and obscure subtle luminosity variations.
Find locations away from urban light pollution, which washes out dimmer stars and affects your instrument’s accuracy.
Monitor weather forecasts and select nights with low atmospheric turbulence and humidity for ideal viewing.
Whenever possible, head to higher elevations.
The thinner atmosphere at increased altitudes reduces interference and improves visibility.
Keep a log of your observation conditions, noting altitude, humidity, and cloud cover.
This documentation helps you identify patterns in measurement quality and replicate your best settings for future stargazing sessions.
Altitude Affects Accuracy
When observing celestial objects, the angle at which you view them greatly impacts measurement quality. Stars observed at higher altitudes provide clearer readings because you’re looking through less atmospheric interference.
As you plan your star brightness measurements, remember that altitude considerably influences accuracy.
- Picture yourself gazing at a star directly overhead, its light traveling through minimal atmosphere
- Imagine the same star near the horizon, its light filtering through miles of dusty, turbulent air
- Visualize the crisp, steady light of a high-altitude star compared to the twinkling distortion near the horizon
- See the reddish tint that appears when stars sit low in the sky
- Envision yourself on a mountain peak, above much of the atmospheric conditions that distort measurements
Selecting Target Stars and Comparison Objects
The success of celestial brightness measurements depends heavily on properly selecting both your target and comparison stars.
Begin by locating your target star on your finder chart, which should be clearly marked with a “T” and directional arrow. This will guarantee you’re measuring the correct celestial object.
Next, choose two comparison stars labeled “C” that are similar in brightness and positioned close to your target. These stars serve as your reference points when determining the magnitude of a star.
Position your telescope’s measurement circle precisely around each star, using the Zoom tool for accuracy.
Don’t forget to measure dark sky points nearby to account for background light interference. This correction will greatly improve the precision of your brightness measurements.
Setting Up Your Measurement Aperture
You’ll need to center your target star carefully within the yellow measurement aperture, using the Zoom tool for precise positioning to guarantee the star’s light is fully captured.
Calibrate your telescope to eliminate electronic noise before you begin taking brightness measurements.
For accurate readings, you’ll also need to measure and subtract the background light by sampling two dark sky points that aren’t contaminated by other celestial objects.
Centering The Target Star
Properly centering your target star within the measurement aperture forms a critical step in obtaining accurate brightness readings. Use the Zoom tool to magnify the area around your target star, allowing you to position it precisely in the center of your measurement aperture.
Drag the yellow circle directly over the star, ensuring it’s properly contained while keeping the aperture small enough to exclude background light from the night sky.
Once you’ve achieved perfect centering, click the checkbox to record the brightness measurement. Remember to repeat this process for all comparison stars, moving in a counter-clockwise direction for consistency.
- The star glowing at the exact center of your yellow measurement circle
- Your cursor precisely adjusting the aperture’s position with micro-movements
- Background sky darkness contrasting with the star’s luminosity
- Zoom view revealing subtle details invisible to the naked eye
- Yellow circle perfectly framing the target star’s brilliance
Managing Background Noise
With your target star centered, successful brightness measurement now hinges on isolating its light from the surrounding sky glow. Choose a measurement aperture that fully captures the star while minimizing background light inclusion.
Create a background annulus—a ring surrounding your target aperture—to sample the sky brightness. This provides a critical baseline value you’ll subtract from your star measurements. For best results, position this annulus close enough to represent local conditions but far enough to avoid capturing the target’s light.
Don’t forget to correct for your equipment’s inherent noise. Apply dark current and read noise corrections to refine your star brightness measurements.
Always verify your analysis aperture remains properly centered during the entire observation session to maintain consistency in your readings.
Accounting for Background Sky Brightness
When measuring stellar brightness, the dark sky surrounding your celestial targets isn’t truly dark at all. This background sky brightness acts as noise that can skew your measurements if not properly addressed.
To obtain accurate star brightness data, you’ll need to subtract the average sky brightness from your readings.
Take measurements from two dark sky points near your target star, then calculate their average. This value represents the light pollution and atmospheric glow that you’ll need to remove from your final calculations.
- Bright urban skies washing out the delicate starlight
- Moonlight casting a subtle glow across your field of view
- Thin clouds diffusing city lights into the upper atmosphere
- Twilight’s gradient slowly fading to reveal distant stars
- Distant light domes from cities creeping into your dark sky site
Applying the Inverse Square Law to Your Measurements
The Inverse Square Law forms a fundamental principle in astronomical brightness measurements. When you’re observing celestial objects, remember that a star’s light diminishes proportionally to the square of its distance.
This means if you double your distance from a star, its apparent brightness drops to just one-fourth of its original value.
To apply this law effectively, you’ll need to factor distance into all your brightness calculations. For instance, a star with 100 watts luminosity at 1 meter appears as only 25 watts from 2 meters away.
This relationship helps you determine accurate distances to stars based on their observed brightness.
Converting Raw Data Into Magnitude Values
Converting your raw detector counts into meaningful magnitude values requires applying the Pogson relation formula, which connects brightness ratios to magnitude differences through a logarithmic relationship.
You’ll need to carefully measure both your target star and comparison stars, ensuring you’ve applied all necessary corrections for bias, dark current, and flat-fielding to your data.
Remember that stellar brightness follows the inverse square law, meaning a star’s apparent brightness decreases proportionally to the square of its distance, which must be factored into your magnitude calculations when comparing objects at different distances.
From Counts to Magnitudes
Once astronomers have collected raw observational data, they must transform these pixel counts into a standardized brightness scale using the Pogson relation formula.
You’ll convert your measurements by applying the equation m₁ – m₂ = -2.5 log(E₁/E₂), where m represents magnitude and E represents brightness. First, correct your raw data for background light, removing bias, dark current, and flat-field effects.
- A dim star’s tiny pinpoint of light converted to precise numerical magnitude
- Computer screens illuminated with comparison charts of target stars against reference stars
- Digital camera sensors capturing photons from distant suns
- Excel spreadsheets filling with corrected brightness values
- Magnitude graphs revealing the true brightness relationships between celestial objects
With multiple observations, you can achieve accuracy within 0.1 magnitude.
The stars’ brightness measurements, once standardized, will allow you to compare your results with other astronomers’ findings worldwide.
Inverse Square Effects
As you measure stars at varying distances across the night sky, you’ll encounter the fundamental inverse square relationship governing celestial brightness. This law dictates that apparent brightness decreases with the square of distance—doubling a star’s distance makes it appear four times dimmer.
To convert your raw measurements into standard magnitude values, apply the formula: m₁ – m₂ = -2.5 log(E₁/E₂). Remember that the magnitude scale is logarithmic, with every 5-magnitude change representing a brightness ratio of 100.
| Distance Factor | Brightness Change | Magnitude Shift | Practical Example | Required Correction |
|---|---|---|---|---|
| 2× farther | 4× dimmer | +1.5 | Nearby stars | Background light |
| 3× farther | 9× dimmer | +2.4 | Cluster stars | Atmospheric effects |
| 5× farther | 25× dimmer | +3.5 | Nebulae | Light pollution |
| 10× farther | 100× dimmer | +5.0 | Distant galaxies | Instrument response |
| 100× farther | 10,000× dimmer | +10.0 | Quasars | Redshift effects |
Correcting for Atmospheric Extinction
When light from celestial objects travels through Earth’s atmosphere, it encounters numerous air molecules and particles that scatter and absorb photons, resulting in a phenomenon called atmospheric extinction.
To measure true celestial brightness, you’ll need to correct for this effect by calculating the air mass and applying magnitude adjustments.
- Imagine starlight weakening as it pushes through layers of atmosphere, losing intensity with each kilometer traveled.
- Picture the difference between a star at zenith (directly overhead) versus near the horizon (looking through more atmosphere).
- Visualize applying the formula: extinction = 0.1 magnitude × air mass.
- See yourself measuring a reference star with known brightness to calibrate your extinction correction.
- Envision tracking how atmospheric extinction changes throughout your observation session as objects move across the sky.
Frequently Asked Questions
How Can We Measure the Brightness of the Star?
You’ll measure a star’s brightness using a CCD detector to capture light intensity in pixel values, then apply the Pogson relation formula with comparison stars of known magnitude after correcting for background light.
What Two Things Must an Astronomer Measure to Calculate a Star’s Absolute Brightness?
To calculate a star’s absolute brightness, you’ll need to measure two key things: the star’s apparent brightness (flux) as observed from Earth and its distance from Earth in parsecs or light-years.
Why Are There so Many Different Ways to Measure the Brightness of Starlight?
You’ll find multiple brightness measurement methods because stars vary in distance, type, and emission spectra. Each technique serves specific research goals, accommodates different equipment, and overcomes unique observational challenges like atmospheric interference.
How Many Ways Can Astronomers Measure the Brightness of Stars?
You’ll find astronomers use several methods to measure star brightness: photometry, CCD imaging, magnitude systems, spectrophotometry, and satellite-based observations. Each technique serves different research purposes under varying observational conditions.
In Summary
You’ve now mastered the basics of measuring celestial brightness! By following these ten steps, you’re ready to quantify the light from stars and other celestial objects. Remember, practice improves your accuracy. Don’t hesitate to join astronomy clubs where you’ll meet others sharing your interest. The universe’s brightness patterns await your discovery, so grab your equipment and start measuring tonight’s sky!


Leave a Reply