To read celestial time, you’ll need to: 1) Find Polaris (North Star) to establish a reference point, 2) Locate prominent circumpolar constellations, 3) Measure star altitude using a homemade quadrant, 4) Track the sun’s 15-degree hourly movement, 5) Use a star chart to identify right ascension, 6) Calculate local time based on meridian crossings, and 7) Adjust for seasonal variations. Master these steps and you’ll navigate the night sky like ancient mariners did.
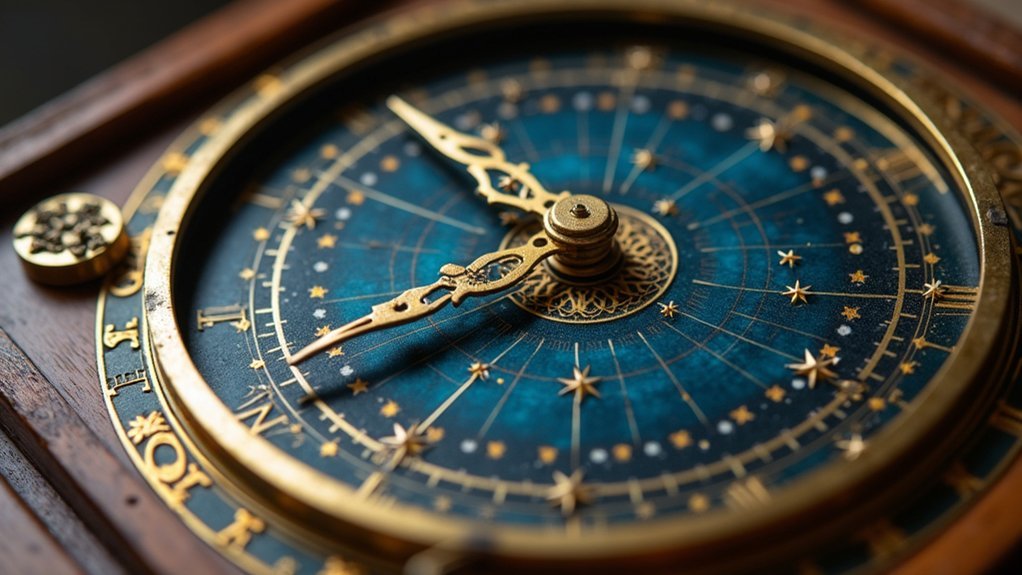
Understanding the Celestial Sphere and Time

The celestial sphere serves as humanity’s ancient map of the sky—an imaginary dome where stars, planets, and other celestial objects appear to reside. This conceptual sphere helps you visualize the positions of heavenly bodies using a coordinate system similar to Earth’s latitude and longitude.
When reading celestial time, you’ll work with Right Ascension (RA), measured in hours (where one hour equals 15 degrees) from the vernal equinox—essentially the “longitude” of the sky. Declination functions as celestial “latitude,” measured in degrees north or south of the celestial equator.
In celestial navigation, the Earth’s rotation creates predictable movement patterns of stars across this imaginary sphere. By tracking these positions, you can determine local time with remarkable accuracy, a skill navigators have relied on for centuries.
Locating the North Star and Circumpolar Constellations
To find Polaris, you’ll need to locate the Big Dipper and follow the pointer stars Dubhe and Merak approximately five times their distance.
You can quickly identify circumpolar constellations like Ursa Major and Ursa Minor by their continuous visibility throughout the year as they rotate around the North Star.
While these star patterns maintain their relative positions, you’ll notice their orientation shifts seasonally, with the Big Dipper appearing upside-down in winter and right-side up in summer.
Finding Polaris Accurately
Finding your celestial bearings begins with locating Polaris, our faithful North Star that sits almost directly above Earth’s North Pole. Unlike the shifting light from the Sun, Polaris remains constant in the night sky.
The most reliable method to find the North Star uses the Big Dipper as your guide:
| Step | What to Look For | Distance |
|---|---|---|
| 1 | Locate the Big Dipper | Visible in most urban areas |
| 2 | Find Dubhe and Merak | The two stars forming the bowl’s edge |
| 3 | Draw an imaginary line | Connect these “pointer stars” |
| 4 | Extend this line upward | About 5x the Dubhe-Merak distance |
| 5 | Identify the bright star | Magnitude 1.98, easily visible |
Your degree of latitude equals Polaris’s altitude above the horizon, making it invaluable for navigation.
Identifying Key Constellations
With Polaris firmly identified in the night sky, your celestial navigation journey now extends to recognizing the patterns that circle this anchor point. The North Star serves as your faithful reference point, remaining nearly motionless while other stars appear to rotate around it.
Focus first on locating the circumpolar constellations—Ursa Major (containing the Big Dipper) and Ursa Minor (the Little Dipper that houses Polaris at its handle’s end). These stellar patterns never dip below the horizon in northern latitudes, making them reliable navigation aids year-round.
Remember that you can always find Polaris by extending an imaginary line from the Big Dipper’s two outer bowl stars about five times their distance.
With its position at declination +89° 15′, Polaris marks almost exactly where the celestial north pole lies.
Seasonal Position Variations
Though Polaris remains virtually fixed in the night sky, the circumpolar constellations that orbit around it shift their positions with each passing season. This celestial dance happens because Earth’s angle between the sun changes as we orbit, affecting which stars appear prominent in our night sky.
When locating Polaris, remember its height above the horizon equals your latitude—a natural celestial GPS system. At 30° north latitude, you’ll find Polaris 30° above the horizon, while longitude determines which circumpolar constellations are visible at specific times.
As seasons progress, Ursa Major (the Big Dipper) and Ursa Minor rotate around Polaris like hands on a clock. Winter positions differ greatly from summer ones, but these circumpolar constellations never set below the horizon when viewed from northern latitudes, making them reliable navigational guides year-round.
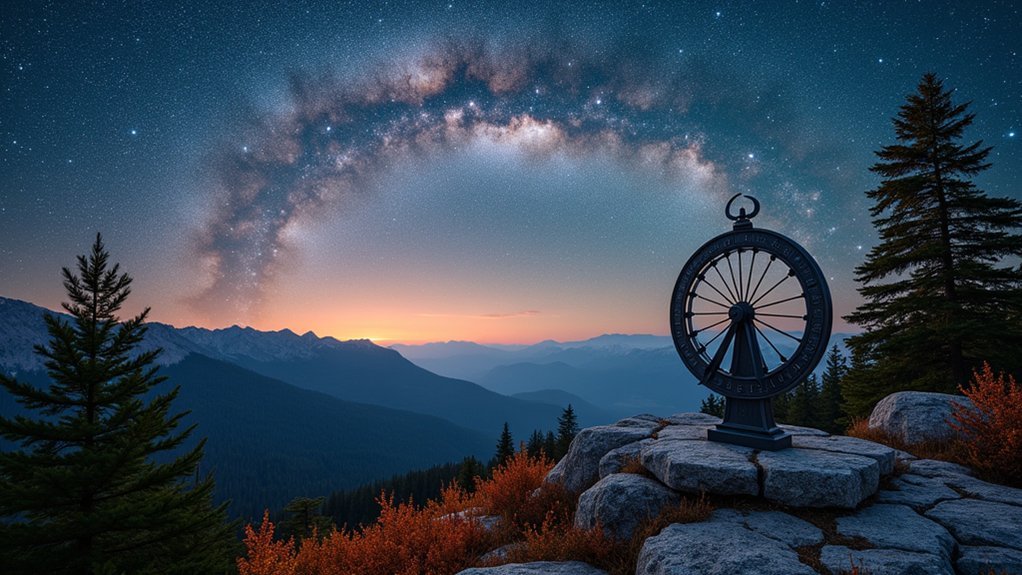
Measuring Altitude With Simple Tools
You’ll find measuring altitude easier with a homemade quadrant, which requires just cardboard, string, and a weight to create a functional tool.
Always use the horizon as your reference point when taking measurements, ensuring your quadrant is perfectly level for accurate readings.
While star measurements require darkness and clear visibility, measuring the Sun’s altitude demands proper eye protection and is best practiced during sunrise or sunset when it’s less intense.
Homemade Quadrant Basics
The humble cardboard quadrant stands as the gateway to celestial measurement for novice sky observers. You’ll need just three items to craft this essential tool: a flat piece of cardboard or wood, a protractor, and a weighted string.
To operate your homemade quadrant, hold it vertically with the protractor aligned to the horizon. Let the weighted string hang freely, and read the angle of altitude where the string crosses the protractor’s markings. This measurement is critical for determining your latitude at local noon.
For accurate readings, make certain your quadrant remains level during observations. Consistency in your measuring technique matters greatly.
Though simple, this tool offers practical experience in celestial navigation without expensive equipment, making it perfect for your first steps into measuring the heavens.
Horizon as Reference
Every celestial measurement begins with the horizon line as your fundamental reference point. When you’re measuring a star’s altitude, you’re finding the angle between your line of sight to the horizon and to the celestial object. This angle is expressed in degrees, with the horizon at 0° and directly overhead (zenith) at 90°.
You don’t need a fancy sextant to make basic measurements. Here are some simple tools and their applications:
| Tool | Accuracy | Best Use |
|---|---|---|
| Sextant | High | Navigation at sea |
| Clinometer | Medium | Backyard astronomy |
| Protractor | Basic | Learning exercises |
Remember to account for your height above the actual horizon—called dip correction—especially if you’re on a boat. Even simple tools can help you establish celestial time when you understand proper reference points.
Stars Versus Sun
While celestial navigation traditionally employs sophisticated instruments, measuring the altitude of both stars and the Sun can be accomplished with remarkably simple tools. You don’t need an expensive sextant to determine an object in the sky’s position relative to the horizon.
For daytime navigation, measure the Sun’s altitude at local noon—when it reaches its highest point—using a homemade quadrant or even a basic protractor. The number of degrees between the horizon and the Sun provides your latitude information.
At night, northern circumpolar stars offer reliable navigation points. Measure their altitude to approximate time based on their Right Ascension (RA).
The key difference? The Sun provides primarily latitude data when measured at noon, while star measurements can help determine both position and time through their predictable celestial movements.
Using the Sun’s Position to Determine Local Time
Since ancient times, people have relied on our nearest star as a natural timekeeper. The sun moves approximately 15 degrees per hour across the sky, meaning one degree of movement corresponds to about four minutes of time. To estimate your local time, track the sun’s position as it approaches local noon—when it reaches its highest point due south (in the Northern Hemisphere).
| Sun Position | Time Indicator | Accuracy Factor |
|---|---|---|
| Highest point | Local noon | Equation of time |
| Rising/Setting | Dawn/Dusk | Seasonal variation |
| Angle from horizon | Hours from noon | Latitude dependent |
For precise measurements, you’ll need a sextant to measure angles. Take multiple readings as the sun climbs, noting when it stops rising. Remember to adjust for the equation of time—the difference between mean solar time and apparent solar time due to Earth’s elliptical orbit.
Reading a Star Chart for Time Estimation
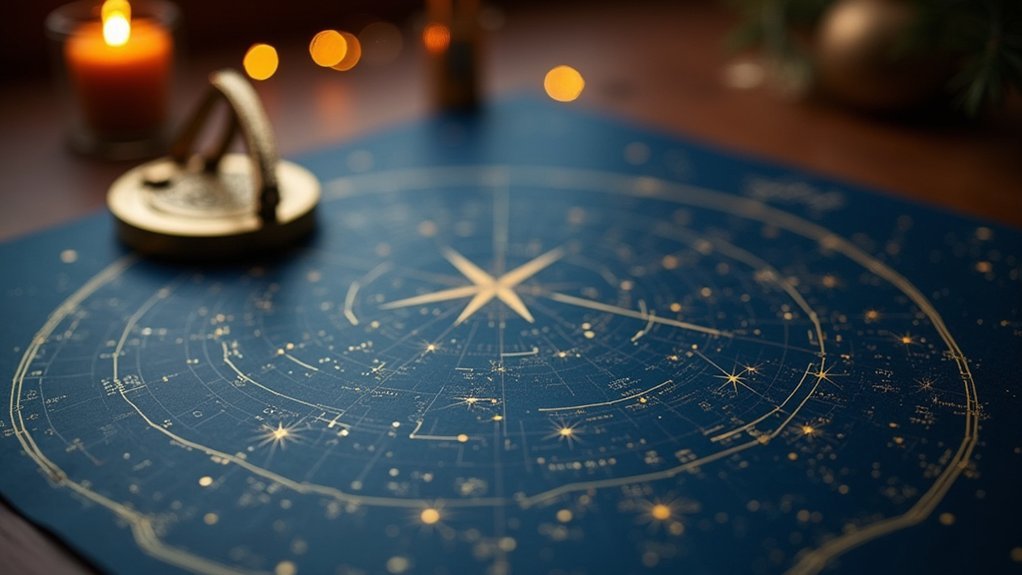
Star charts serve as celestial maps that reveal the night sky’s timekeeping potential. When you understand how to read them, you’ll gain a valuable skill for estimating time without modern devices.
To begin, identify a prominent circumpolar star and note its right ascension (RA) measured in hours. As Earth’s surface rotates beneath the celestial sphere, stars move westward at a predictable rate—15 degrees per hour.
By observing when your chosen star crosses the local meridian (the imaginary line running north-south overhead), you can calculate the approximate time.
For enhanced accuracy, combine your star chart with a sidereal clock. With practice, you’ll recognize how the positions of constellations relate to specific times, allowing you to read celestial patterns as nature’s timepiece.
Calculating Time From Sextant Measurements
Moving from star charts to more precise instruments, the sextant offers a powerful method for calculating time based on celestial positions.
To determine time with a sextant, you’ll need to measure the angle of a celestial body above the horizon, known as its altitude.
Start by finding local noon—the moment when the sun reaches its highest point in the sky. Measure the sun’s angle at this peak to calculate its zenith distance (90° minus the measured angle).
Reference your nautical almanac for the sun’s declination at the time of your measurement.
With these values and your Greenwich Mean Time reading, you can determine your longitude. The difference between your local noon and GMT directly translates to your position in time zones, giving you precise local time.
Adjusting for Seasonal and Geographic Variations
While celestial bodies maintain consistent patterns, your ability to accurately read celestial time depends on adjusting for both seasonal and geographic factors. The Sun’s right ascension varies throughout the year, affecting local solar time by up to 16 minutes.
When calculating celestial time, you’ll need to take into account your position’s degree of longitude and hemisphere:
| Season | Northern Hemisphere | Southern Hemisphere |
|---|---|---|
| Spring | Sun ascends higher | Sun descends lower |
| Summer | Maximum elevation | Minimum elevation |
| Fall | Sun descends lower | Sun ascends higher |
| Winter | Minimum elevation | Maximum elevation |
Remember that observers near the North and South Poles experience extreme variations in the Sun’s path. Your local solar time calculation must account for both the equation of time and your specific longitude to determine when the Sun reaches its highest point in your sky.
Frequently Asked Questions
What Are the Basics of Celestial Navigation?
You’ll determine your position at sea by measuring celestial bodies’ angles from the horizon using a sextant. You’ll calculate latitude at noon and longitude by timing observations, applying necessary corrections for accuracy.
How Long Does It Take to Learn Celestial Navigation?
You’ll grasp basic celestial navigation in a few hours, but mastery takes several weeks of consistent practice. You can complete formal courses in 1-2 weeks, though you’ll need ongoing practice to maintain proficiency.
What Is the Equation of Time in Celestial Navigation?
The Equation of Time is your correction between mean solar time and apparent solar time. You’ll need it to account for Earth’s elliptical orbit and axial tilt when calculating your longitude during celestial navigation.
How Do You Tell Time With a Sextant?
You’ll measure a celestial body’s angle above the horizon using your sextant, then convert this angle to local time by referencing the object’s Right Ascension and applying corrections for your specific location.
In Summary
You’ve now mastered the basics of celestial timekeeping! With practice, you’ll confidently navigate the night sky and tell time without modern devices. Remember to adjust for your location and the season. Whether you’re stargazing for fun or necessity, these skills connect you to ancient traditions of timekeeping. The cosmos is your clock—you’re now ready to read it whenever you look up.


Leave a Reply