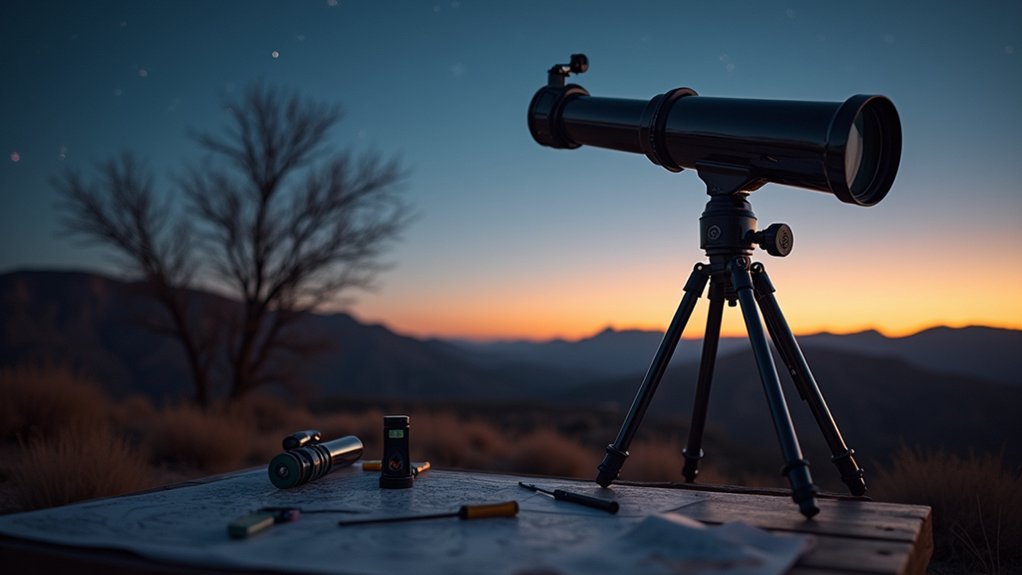
Setting up your first telescope involves familiarizing yourself with all components, finding a dark location away from light pollution, assembling the mount and tripod on level ground, attaching the optical tube securely, selecting a low-power eyepiece for initial viewing, balancing the telescope for stability, aligning the finderscope properly, and focusing on easy targets like the Moon or planets. You’ll need patience as you learn to navigate the night sky, but the celestial wonders waiting above are worth every careful step.
10 Steps To Set Up Your First Telescope
The first five steps to setting up your telescope should happen before you even look at the night sky.
Begin by assembling your telescope indoors, verifying all components are present and understanding their functions through the manual.
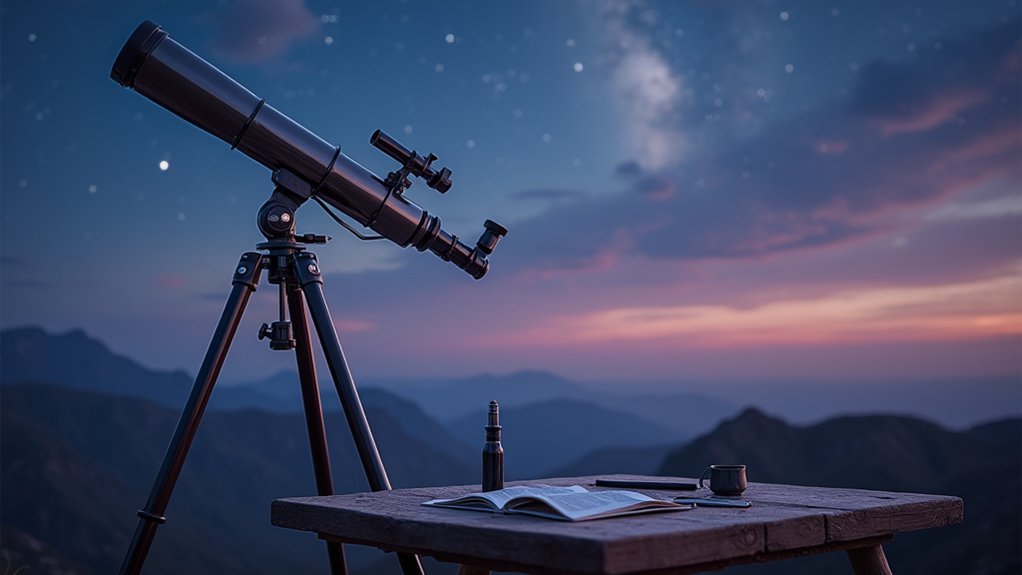
Next, move outdoors and place your telescope mount on stable, level ground away from light pollution.
Find a dark, stable location for setting up your telescope, far from city lights and on level ground.
Use a bubble level to verify your tripod is perfectly balanced for accurate tracking.
Align your finderscope with the main telescope by focusing on a stationary object and adjusting until both views match.
This will help you find celestial objects more easily later.
Choose a low-power eyepiece initially for a wider field of view.
Finally, practice using your telescope’s controls and movements to setup your telescope properly before attempting serious observations.
Familiarize Yourself With The Components
Before attempting to set up your telescope, you’ll need to understand the optical assembly, which includes the tube, lenses or mirrors that gather light, and eyepieces that determine magnification.
Your mount system—either alt-azimuth for simple up-down movement or equatorial for tracking celestial objects—provides critical stability and determines how you’ll navigate the night sky.
Familiarize yourself with the finderscope as well, as this small auxiliary telescope will help you locate objects before viewing them through the main optical system.
Optical Assembly Basics
Four essential components make up a telescope’s optical assembly that you’ll need to understand before your first stargazing session. The optical tube contains either lenses (refractor) or mirrors (reflector) that gather and focus light from distant objects. The mount supports your telescope while allowing smooth movement to track celestial bodies.
| Component | Function | Key Feature |
|---|---|---|
| Optical Tube | Collects light | Houses primary optics (lenses/mirrors) |
| Eyepiece | Determines magnification | Lower mm = higher magnification |
| Finderscope | Locates objects | Provides wider field of view |
Your eyepieces control magnification power—remember that lower focal lengths (measured in millimeters) provide higher magnification. When setting up, attach your finderscope securely to the main tube as it’ll help you locate objects before viewing them through the primary optics.
Mount System Overview
Understanding your telescope’s mount system represents a critical step in successful stargazing.
You’ll encounter two primary types: alt-azimuth mounts, which move vertically and horizontally like a camera tripod, and equatorial mounts, which align with Earth’s rotation to track celestial objects.
If you’ve got an equatorial mount, you’ll need to align it with Polaris (the North Star) and use counterweights to balance your telescope properly. This alignment guarantees smooth tracking along the arc motion stars follow across the night sky.
For beginners, alt-azimuth mounts offer simplicity, while equatorial mounts provide more precise object tracking despite their more complex setup.
Take time to identify all components of your mount system, including slow-motion control cables and locking knobs.
Mastering these elements will markedly enhance your ability to make precise adjustments during observation.
Find The Perfect Observation Location
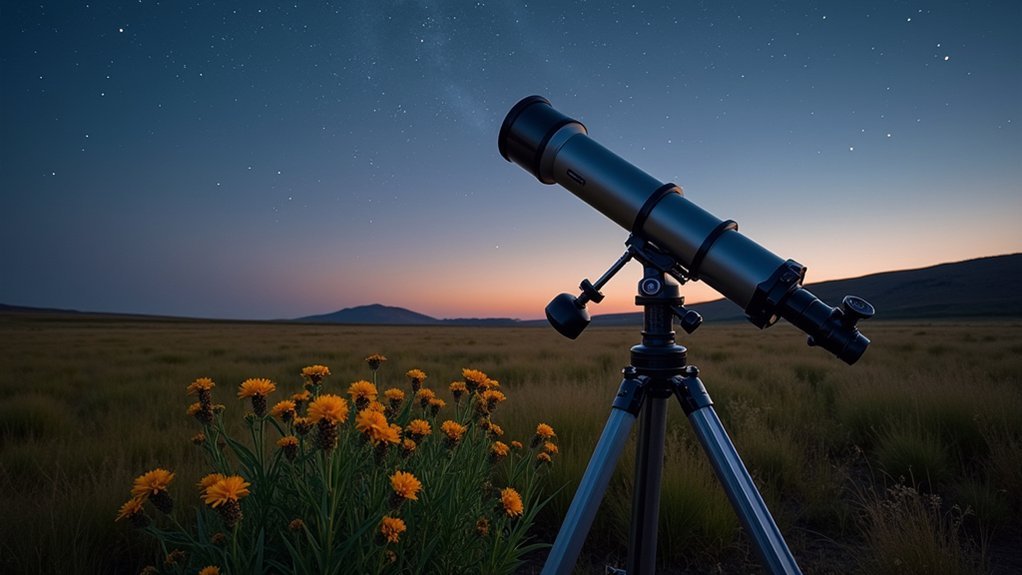
Where you set up your telescope dramatically impacts what you’ll actually see in the night sky. For ideal stargazing, choose a location at least 30 miles from urban areas to escape light pollution that washes out celestial details.
Seek high ground or elevated areas to minimize atmospheric disturbances and secure a clear view of the horizon in all directions. This unobstructed vantage point allows you to observe a wider range of astronomical objects as they rise and set.
Avoid areas with artificial lighting from street lamps or buildings. Instead, consider local parks or designated dark-sky areas for superior viewing conditions.
Before heading out, check the weather forecast—clear skies with low humidity provide the best visibility. Temperature stability also reduces atmospheric turbulence that can distort your view.
Assemble The Telescope Mount And Tripod
Setting up your telescope begins with establishing a secure base on level ground to prevent unwanted vibrations during stargazing.
You’ll want to extend each tripod leg evenly to a comfortable viewing height, ensuring they’re locked firmly in place before proceeding.
Once your tripod is stable, attach the mount head with all bolts properly tightened, allowing smooth movement while providing the necessary support for your optical tube.
Secure Base First
The first essential step in telescope setup involves establishing a solid foundation with your mount and tripod.
Begin by laying out all components on a soft surface to prevent any damage during assembly.
Adjust your tripod legs to a comfortable height, ensuring they’re completely level—a bubble level works perfectly for this task, especially with equatorial mounts.
Once positioned, secure the mount head to the tripod using the provided bolt, tightening it firmly to eliminate any wobbling that could affect your viewing experience.
For equatorial mounts, don’t forget to install counterweights on the designated bar to properly balance your telescope.
This balanced foundation will enable smooth tracking of celestial objects.
The secure base you create now directly impacts the stability and precision of your observations later.
Proper Leg Extension
With your mount secured to the tripod, proper leg extension becomes your next focus. Fully extend each of the tripod legs and lock them firmly in place to create a stable foundation for your telescope.
Adjust the height to approximately eye level—this allows comfortable viewing without straining your neck during observations.
If your tripod includes a bubble level, use it to verify you’re set up on a perfectly flat surface. This small detail greatly improves stability and viewing precision.
After making all height adjustments, securely tighten every knob and screw to eliminate any potential wobbling.
Always select level ground for your setup, preferably on grass or dirt rather than elevated surfaces.
Concrete or wooden decks can transmit vibrations that disrupt your viewing experience.
Attach The Optical Tube To The Mount
Carefully position your telescope’s optical tube above the mount’s bracket, making sure any locking mechanisms are fully released. Gently slide the optical tube into place and secure it with the provided fasteners. This connection needs to be firm but don’t overtighten the screws.
Check that your optical tube balances properly on the mount. If it tilts in any direction when loosened, you’ll need to adjust its position before final tightening.
| Common Issues | Solutions |
|---|---|
| Tube slides down | Tighten mounting screws |
| Unstable movement | Check balance point |
| Resistance when moving | Loosen tension knobs |
Always consult your telescope’s manual for model-specific attachment instructions. Once everything’s secure, verify all locks and screws before beginning your observations.
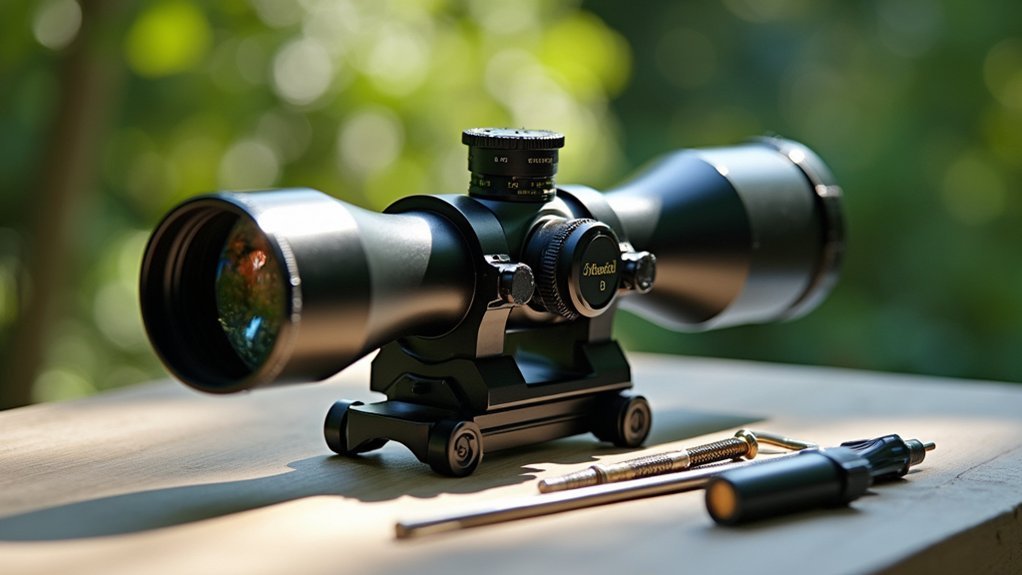
Install The Finderscope And Align It
Installing your finderscope properly is an essential step in preparing your telescope for efficient stargazing. This small auxiliary scope gives you a wider field of view, making it easier to locate celestial objects before viewing them through your main telescope.
To properly install and align your finderscope:
- Securely attach the finderscope to the optical tube, ensuring it runs parallel to your main telescope.
- Select a distant stationary object and center it in your main telescope using a low-power eyepiece.
- Adjust the finderscope’s alignment knobs until the same object appears centered in its view.
- Test your alignment by locating another bright object, confirming the finderscope and main telescope remain synchronized.
Once properly aligned, lock your finderscope in place to prevent shifting during your observation session.
Select The Appropriate Eyepiece For First Use
Choosing the right eyepiece for your first observation makes a tremendous difference in your stargazing experience. Start with a low power eyepiece, typically a 25mm or 32mm, which provides a wider field of view and makes locating celestial objects much easier.
Understanding how eyepieces work will help you make better selections. The eyepiece’s focal length (marked in millimeters) determines magnification—remember that lower numbers actually create higher magnification.
Calculate the magnification by dividing your telescope’s focal length by the eyepiece’s focal length.
Once you’ve located and focused on your target with the low power eyepiece, you can switch to higher magnification for more detailed views.
Consider adding a Barlow lens to your kit; it doubles an eyepiece’s magnification, effectively expanding your viewing options without buying multiple eyepieces.
Balance The Telescope For Smooth Operation
Once you’ve selected your ideal eyepiece, proper telescope balance becomes your next priority. Achieving the right balance guarantees smooth tracking and prevents unwanted movement during observation sessions.
- Secure the optical tube firmly to your mount following manufacturer guidelines—this foundation is essential for maintaining stability throughout your stargazing experience.
- Adjust counterweights along the bar if you’re using an equatorial mount, positioning them until the telescope maintains its position without drifting.
- Use adjustment knobs to fine-tune the balance, making small modifications until the telescope stays in place when you release it at any position.
- Check balance regularly after making altitude or azimuth adjustments, as even minor changes can affect stability—particularly important when switching between different celestial targets.
Learn Basic Navigation Of The Night Sky
Learning to navigate the night sky begins with identifying bright stars that serve as your celestial signposts.
You’ll find that recognizable constellations like Orion and Ursa Major act as orientation frameworks, helping you locate other celestial objects in relation to these familiar patterns.
With practice, you’ll develop the ability to “star-hop” from bright stars to less visible targets, making telescope targeting more intuitive and efficient.
Stars As Guides
Before pointing your telescope at random patches of sky, understanding celestial navigation will dramatically improve your stargazing experience. The night sky’s brightest stars serve as reliable markers to help you locate fainter objects with your telescope.
- Learn major constellations like Orion and Ursa Major first—they’re your primary reference points for traversing the celestial sphere.
- Use the Big Dipper to find Polaris (the North Star), which helps align your telescope’s equatorial mount to true north.
- Practice star hopping by moving from bright stars to your target objects using a star chart or astronomy app.
- Follow the ecliptic where planets and many interesting celestial objects can be found throughout the year.
Remember that star positions shift seasonally, so regularly update your star charts for accurate locating objects.
Constellations For Orientation
Now that you understand how stars serve as guides, let’s focus on specific constellations that function as your celestial roadmap.
Start with Ursa Major and its Big Dipper asterism, which points directly to Polaris, helping you establish true north in the night sky.
Orion’s distinctive three-star belt serves as an excellent landmark to find celestial objects like the Pleiades.
During summer nights, the Milky Way‘s bright band can lead you to Sagittarius and Scorpius.
Keep a star chart or smartphone app handy to assist with star-hopping from bright stars to fainter objects.
Remember that constellations change with the seasons—Cassiopeia becomes prominent in autumn skies.
Familiarizing yourself with these seasonal patterns will greatly improve your ability to navigate the night sky year-round.
Focus On Easy Celestial Targets
Once your telescope is properly set up, you’ll want to aim it at objects you can easily locate and observe.
Begin with celestial objects that are both stunning and straightforward to find in the night sky.
- The Moon – Start here at 240,000 miles away. Observe near the terminator where shadows enhance surface details.
- Jupiter – Look for its four largest moons and distinctive cloud bands. The Great Red Spot is visible with modest telescopes.
- Saturn – Spot its magnificent rings and Titan, its largest moon, appearing as a faint orange dot in the early evening.
- Star Clusters and Nebulae – Find the Pleiades cluster about 2-3 fists left of Jupiter, or locate the Orion Nebula by following Orion’s Belt in the constellation.
Frequently Asked Questions
How Do You Set up a Telescope for the First Time?
You’ll need to read your telescope’s manual, assemble indoors, set up outdoors on level ground, align the mount properly, secure the optical tube, and start with low-power eyepieces for easier viewing.
What Should Be My First Telescope?
For your first telescope, consider the Celestron NexStar 8SE for computerized ease, Apertura 8-inch Dobsonian for hands-on learning, or Celestron 15×70 binoculars if you want portability. Your budget and intended use should guide your choice.
How to Arrange a Telescope?
You’ll want to place your telescope on a flat, stable surface. Level the tripod, assemble components per instructions, align the finderscope during daylight, and choose a dark location for best viewing results.
Is 20 Mm or 10 Mm Better for a Telescope?
Both eyepieces serve different purposes. You’ll want the 20mm for wider views and finding objects, then switch to the 10mm for more detailed observations. It’s not about “better” but using each appropriately.
In Summary
You’ve now mastered the basics of setting up your first telescope! With practice, you’ll become more comfortable with your equipment and navigation skills. Don’t be discouraged by initial challenges—astronomy is a journey of discovery. Keep exploring different celestial objects, upgrade your eyepieces when you’re ready, and consider joining local astronomy clubs to share your experiences. The universe awaits your continued observations!


Leave a Reply