The perfect first deep sky targets for beginning astrophotographers are the Orion Nebula, Andromeda Galaxy, and Pleiades star cluster. You’ll find these objects bright enough to capture with basic equipment like a DSLR and telephoto lens. They require modest exposure times (around 45 minutes for Andromeda) and are relatively easy to locate and frame. With a star tracker and some post-processing, you’ll transform these accessible cosmic wonders into stunning images that’ll fuel your astrophotography journey.
Why These Targets Make Ideal First Captures
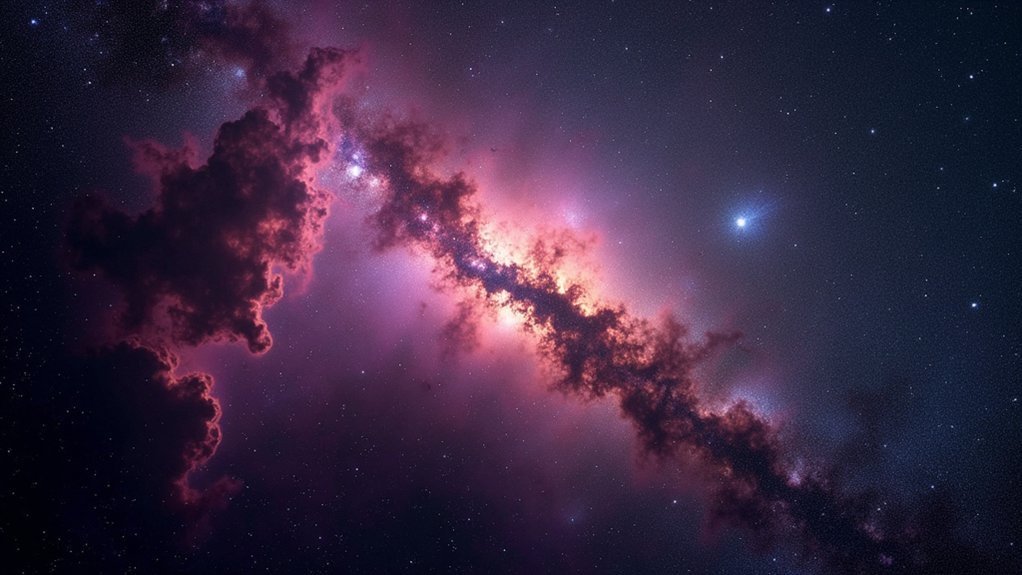
When venturing into astrophotography for the first time, selecting the right celestial subjects can make the difference between frustration and success. Bright deep-sky objects like the Orion Nebula and Andromeda Galaxy offer high surface brightness that your camera can capture even with minimal equipment.
You’ll find these easy targets simpler to locate and frame in your viewfinder. The Pleiades star cluster provides a stunning combination of bright stars surrounded by delicate nebulosity—perfect for practicing your imaging skills without specialized filters.
Bright beginners’ targets reveal celestial wonders while building fundamental framing and exposure skills.
What makes these targets beginner-friendly is their forgiving exposure time requirements. The Andromeda Galaxy, for instance, needs only about 45 minutes of combined exposure, making it manageable without advanced tracking equipment.
These celestial showpieces deliver visually rewarding results that’ll build your confidence as you develop your astrophotography techniques.
Essential Equipment for Beginning Deep Sky Photography
Three core pieces of equipment form the foundation of any deep sky photography setup.
First, you’ll need a basic DSLR camera like the budget-friendly Canon Rebel T7, perfect for any beginner in astrophotography.
Second, invest in a telephoto lens with 300-400mm focal length, such as the Canon EF 300mm F/4, to capture detailed images of distant astrophotography targets.
Third, a star tracker like the Sky-Watcher Star Adventurer is essential for achieving longer exposures by compensating for Earth’s rotation.
Don’t forget essential accessories: a remote shutter release to prevent camera shake, a sturdy tripod for stability, and a lens warmer to prevent dew formation.
Always shoot in RAW file format rather than JPEG—this preserves more image data and gives you greater flexibility during post-processing of your deep sky photography.
Capture and Processing Tips for Best Results
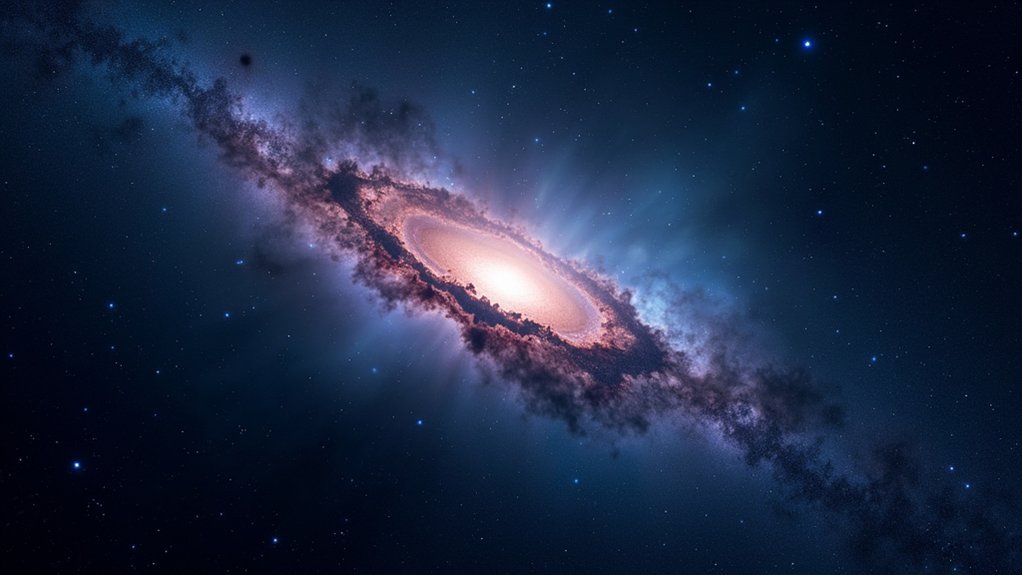
Although many beginners focus solely on equipment, the techniques you use to capture and process deep sky images ultimately determine your success.
The right techniques can elevate average gear to produce extraordinary cosmic images.
For ideal results with astrophotography targets, aim for a total exposure time of at least 2-3 hours. A star tracker is essential, allowing longer exposures without star trailing while capturing fainter deep sky imaging details.
Experiment with ISO settings around 1600, adjusting lower in areas with significant light pollution. Your shutter speed can be extended with proper tracking, dramatically improving image quality.
After capturing, stack the best 80% of your exposures using software like DeepSkyStacker to reduce noise.
Don’t underestimate post-processing techniques – gradient removal, star size reduction, and color adjustments will transform your raw data into stunning final images that reveal the true beauty of these cosmic objects.
Frequently Asked Questions
What Is the Easiest Target for Astrophotography for Beginners?
The Orion Nebula (M42) is your easiest target as a beginner. You’ll need just 45 minutes of exposure time under suburban skies, and it’s visible from December through April.
What Is the Best Focal Length for Deep Sky Astrophotography?
For deep sky astrophotography, you’ll find 200-400mm focal lengths provide an ideal balance. Use 300mm for nebulae like M42, go wider (14-24mm) for large fields, or longer (400-600mm) for distant, smaller objects.
How Do You Take Astrophotography for Beginners?
Start with a DSLR camera on a tripod, use manual mode with high ISO and wide aperture. You’ll want to try short exposures of 30-90 seconds initially, then experiment with stacking multiple images.
What Magnification Do You Need to See Deep Sky Objects?
You’ll need 20-40x magnification with small telescopes for basic deep sky objects. Larger scopes benefit from 50-100x, but sometimes lower magnifications (30-50x) provide better wide-field views of larger celestial targets.
In Summary
You’ve now got your first deep sky targets to pursue! With the Orion Nebula, Andromeda Galaxy, and Pleiades Cluster in your sights, you’re well on your way to building astrophotography skills. Remember, patience is essential—you won’t perfect your technique overnight. Start with simple equipment, learn basic processing, and you’ll soon be capturing increasingly challenging cosmic wonders. Clear skies and happy shooting!

Leave a Reply