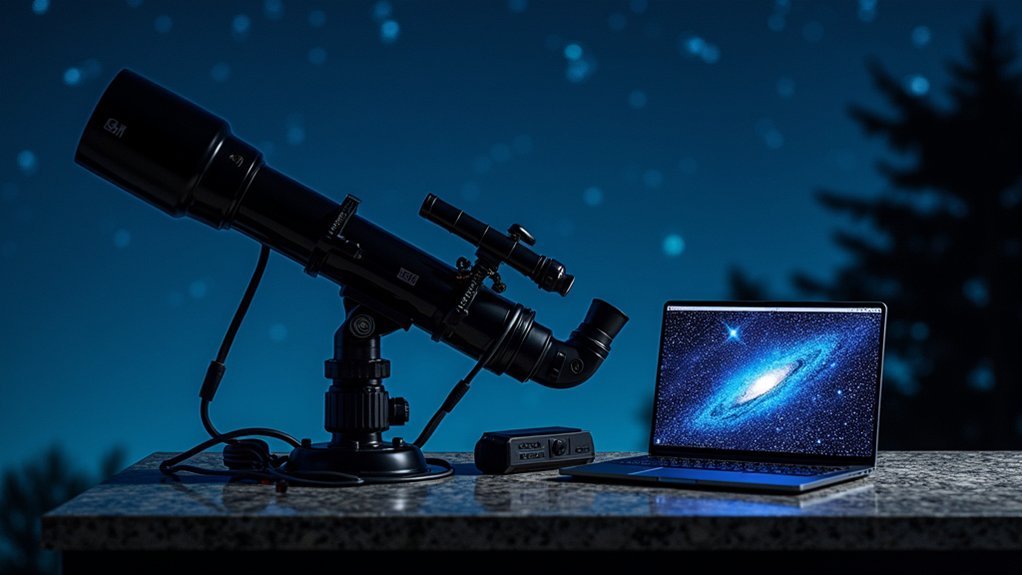
To set up successful autoguiding, focus on three critical steps: First, achieve perfect balance across your mount axes to minimize strain and improve tracking accuracy. Second, establish precise polar alignment using both software tools and manual drift alignment techniques. Third, optimize your autoguiding software parameters based on your specific equipment setup for maximum guiding efficiency. With these fundamentals in place, you’ll reduce tracking errors and capture sharper deep-sky images with pinpoint stars.
Achieving Perfect Balance Across All Mount Axes

While many astrophotographers focus solely on their imaging equipment, achieving perfect balance across all axes of your mount serves as the foundation for successful autoguiding.
Perfect balance minimizes corrective adjustments needed during imaging sessions, leading to ideal autoguiding performance.
Mark balancing points on your counterweight shaft and telescope’s mounting rail to quickly adapt to different equipment configurations.
This practice guarantees consistent guiding performance when switching between setups.
A well-balanced mount reduces stress on gears, improving tracking accuracy and extending equipment lifespan.
Keep the total weight on the mount below 9 kg to maintain efficient servo motor operation.
Always check and readjust balance when changing equipment to avoid guiding errors.
This simple yet vital step will greatly enhance your astrophotography results.
Establishing Precise Polar Alignment
Now that your mount is perfectly balanced, the next step toward exceptional autoguiding involves aligning your mount precisely with Earth’s celestial pole.
Precise polar alignment minimizes tracking errors in both RA and DEC axes, dramatically improving your guiding performance.
Start by using your mount’s polar alignment application to get close to the celestial pole. For greater accuracy, implement drift alignment techniques, which reveal subtle misalignments through star movement over time.
Make small adjustments based on these observations until drift is minimized.
Remember that even a perfectly balanced setup can be undermined by poor polar alignment. Conduct regular checks throughout your observing session, as equipment movement and temperature changes can affect alignment.
These periodic adjustments guarantee consistent tracking accuracy, especially during longer imaging sessions.
Optimizing Software Parameters For Your Equipment

Once your mount is properly balanced and aligned, configuring your autoguiding software becomes critical for peak performance. Enter your guide camera specifications in PHD Guiding and utilize the Calibration Assistant to verify proper movement of your guide star during calibration steps.
| Parameter | Recommended Setting | Purpose |
|---|---|---|
| RA Aggressiveness | Start at 85% | Controls correction response |
| Calibration Steps | 12-15 steps | Guarantees accurate movement detection |
| Guiding Graph RMS | Target 0.5 arcsec | Measures guiding efficiency |
Monitor your guiding results regularly through the guiding graph—aim for RMS values under 0.5 arcseconds for pinpoint stars. The Guiding Assistant can suggest ideal settings based on your specific equipment configuration. Adjust RA Aggressiveness incrementally until you find the perfect balance between responsiveness and stability in your autoguiding software.
Frequently Asked Questions
What Is the Accuracy of Autoguiding?
Autoguiding accuracy is typically measured in RMS error: 0.3 arcseconds for good seeing, 0.5 for average, and up to 1.0 for bad seeing. You’ll need more precision at higher focal lengths.
Can You Autoguide Without a Computer?
You can’t efficiently autoguide without a computer in most setups. While some advanced mounts offer built-in autoguiding capabilities through their firmware, you’ll still need a computer for peak performance and control in serious astrophotography.
What Is the Difference Between Tracking and Autoguiding?
Tracking simply follows celestial objects based on Earth’s rotation, while autoguiding actively corrects your mount’s movement using a guide star. You’ll need autoguiding for longer exposures to eliminate periodic errors and drift.
Do I Need an Autoguider for Astrophotography?
For serious astrophotography, you’ll need an autoguider if you’re using longer focal lengths (>1000mm) or taking exposures over 2-3 minutes. It’s essential for capturing deep-sky objects without star trails.
In Summary
When you’ve mastered balance, polar alignment, and software calibration, you’ll enjoy dramatically improved imaging results. You’ll spend less time fighting equipment issues and more time capturing deep sky treasures. Don’t rush these three critical steps—your patience will be rewarded with round stars and longer possible exposures. Remember, successful autoguiding isn’t about expensive equipment, but rather your attention to these fundamental setup procedures.

Leave a Reply