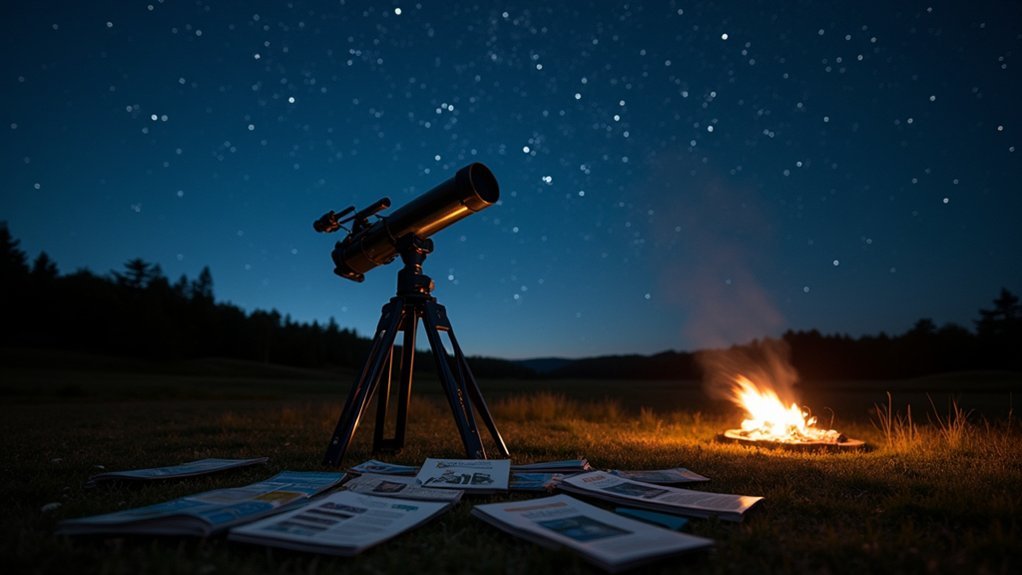
For effective DIY star trackers, use quality materials like 12mm plywood and M6 studding for durability. Achieve proper polar alignment using smartphone apps or alignment scopes to avoid star trails in your images. Balance your camera system precisely by aligning its center of gravity with the mount’s pivot point using rubber washers and counterweights. These fundamental adjustments will transform your astrophotography from blurry streaks to crisp, detailed celestial portraits.
Essential Materials for Building a Reliable Star Tracker
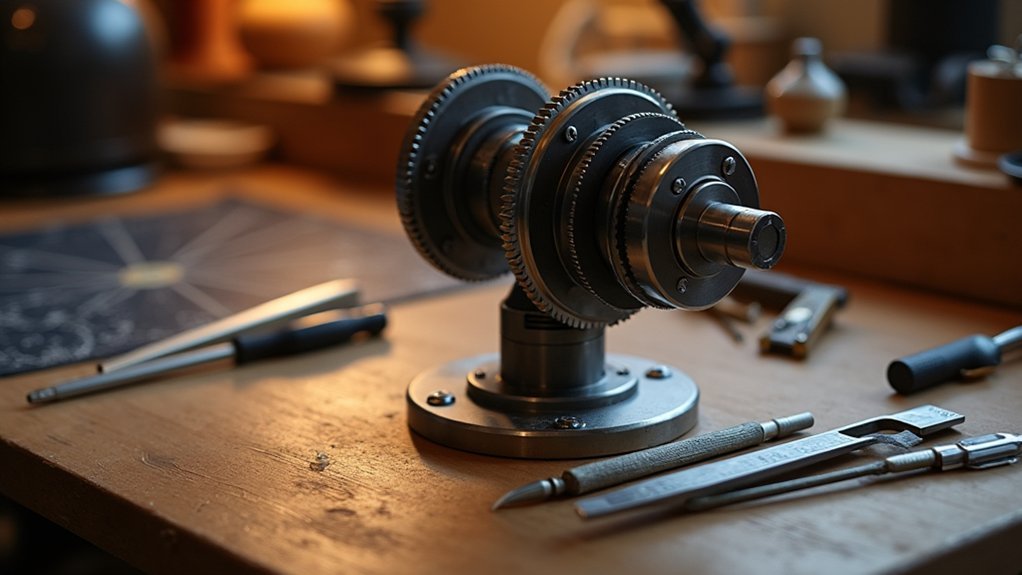
While you can find commercial star trackers on the market, building your own requires specific materials for peak performance. Start with 12mm thick plywood for your mount’s main structure, ensuring durability and stability during long exposure shots.
DIY star trackers demand quality materials. Begin with 12mm plywood for a stable platform that won’t buckle during critical night sky captures.
The heart of your tracker is a 300mm M6 studding that serves as the drive rod, allowing you to control the mount at the precise sidereal rate needed for proper polar alignment.
Install a quality hinge connecting the upper arm to the base—this is essential when aligning with Polaris. Don’t overlook rubber tap washers at pivot points to reduce friction, replacing the need for a rubber band system.
Add a ball joint tripod head for your camera or guide scope, providing flexibility without compromising stability. Unlike full go-to systems with stepper motors, this design remains elegantly simple.
Achieving Precise Polar Alignment for Optimal Results
Once your DIY star tracker is assembled, precise polar alignment becomes the crucial next step that determines the quality of your astrophotography.
Start by using a polar alignment scope or smartphone app to accurately locate Polaris (or the South Celestial Pole).
Set your tripod angle to match your latitude, which enhances your tracker’s tracking capabilities.
For fine-tuning, apply techniques like the drift method, observing how stars move across your field of view and adjusting accordingly.
Tools like Sharpcap Pro or iPolar provide valuable visual feedback that simplifies the alignment process and reduces setup time.
Don’t underestimate the significance of this step—even minor misalignments will create noticeable star trails during long exposures, compromising your astrophotography results.
Perfect alignment guarantees your DIY tracker performs as effectively as commercial alternatives.
Balancing Your Camera System for Smooth Tracking
Proper balance of your camera system represents one of the most overlooked yet vital aspects of successful star tracking. To keep your setup stable, align the center of gravity directly with the mount’s pivot point. This prevents unwanted movement during long exposures.
Place rubber tap washers under your mount to create a low-friction surface that reduces vibrations and allows for smoother tracking. If your camera tips or drifts, add counterweights or reposition the equipment until you achieve perfect balance.
Test your adjustments by gently nudging the camera—it should remain stationary without tipping. For heavier setups, consider adding an elastic band for additional stability.
These small but vital refinements will greatly improve your mount’s tracking accuracy, resulting in crisp star images free from trailing.
Frequently Asked Questions
Can You Do Astrophotography Without a Tracking Mount?
Yes, you can do astrophotography without a tracking mount by using shorter exposures (under 30 seconds), wider lenses, and stacking multiple images. You’ll need a sturdy tripod and remote release for best results.
What Is the Best Star Tracker for Beginners?
For beginners, you’ll find the Sky-Watcher Star Adventurer 2i Pro Pack ideal with its user-friendly design and 11-pound capacity. The iOptron SkyGuider Pro is also excellent with its built-in polar alignment features.
How to Photograph the Milky Way Without a Star Tracker?
You can photograph the Milky Way without a tracker by using a wide-angle lens (14-24mm), high ISO (3200-6400), and shorter exposure times (15-30 seconds). Manually focus on a bright star and consider image stacking afterwards.
How Does a Star Tracker Mount Work?
Star tracker mounts work by rotating your camera at the same rate as Earth’s rotation but in the opposite direction. They’re aligned with the celestial pole, keeping stars fixed in your frame during long exposures.
In Summary
You’ve now mastered the fundamentals of DIY star tracking! By selecting quality materials, nailing polar alignment, and properly balancing your camera, you’ll capture stunning celestial images that once seemed impossible. Don’t be discouraged by initial challenges—each attempt improves your skills. Take your newfound knowledge under the night sky and watch as your astrophotography transforms from ordinary to extraordinary.


Leave a Reply