
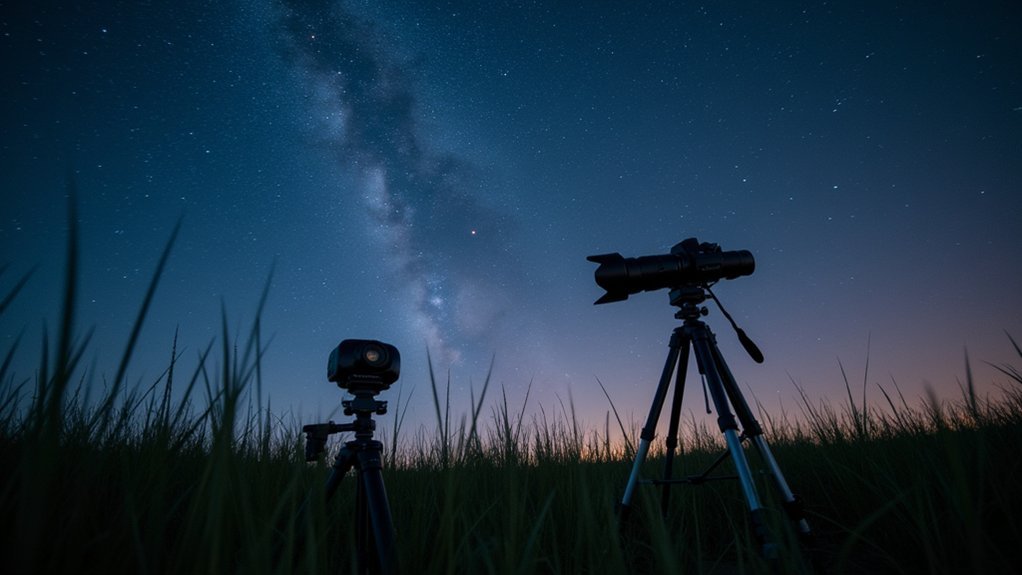
For astrophotography, you’ll need a tracking mount to prevent star trails, either a DSLR/mirrorless camera or dedicated astronomy camera, and a telescope suited to your target objects. Essential accessories include a sturdy tripod, light pollution filters, and power solutions for field sessions. Software for image acquisition and processing completes your toolkit. Budget-friendly starter packages typically range from $1,000-$2,000. Discover how each piece of equipment contributes to capturing those stunning cosmic views.
What Astrophotography Gear Do You Really Need?
While the dazzling universe above beckons, capturing its beauty requires specific equipment that addresses Earth’s constant rotation and the challenges of low-light photography.
At the heart of essential astrophotography equipment is a sturdy equatorial mount that compensates for Earth’s rotation during long exposures, preventing star trails and allowing for crisp images.
The celestial dance demands a partner – an equatorial mount becomes your anchor against Earth’s relentless spin.
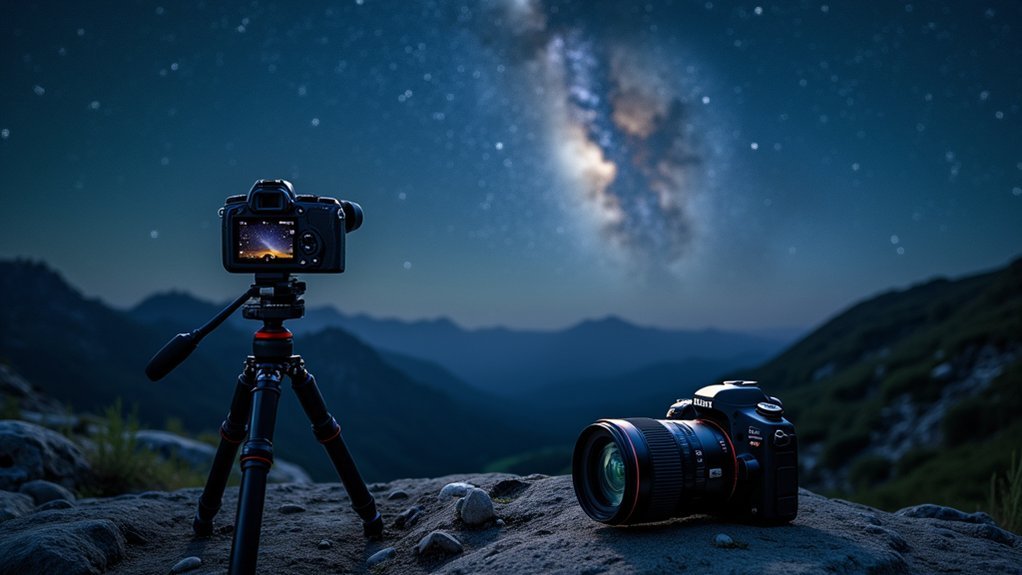
You’ll need a DSLR or mirrorless camera as your imaging foundation. These versatile tools offer excellent low-light performance and manual controls vital for celestial photography.
For deep-sky imaging, consider an apochromatic refractor like the William Optics RedCat 51.
Don’t overlook accessories that enhance your imaging capabilities: a solid tripod, light pollution filters, and a guide scope for precise tracking.
For simplified workflow, automation tools like the ZWO ASIAIR can dramatically improve your imaging sessions.
Essential Mount Options for Tracking the Night Sky
The heart of any successful astrophotography setup lies in your mount—the mechanical marvel that counters Earth’s rotation during long exposures. An equatorial telescope mount compensates for Earth’s movement, preventing star trails and allowing crisp, detailed images of celestial objects.
For beginners, a portable star tracker like the Sky-Watcher Star Adventurer offers an excellent entry point with easy setup and mobility for dark-sky locations.
- Always check the payload capacity before purchasing—your mount must support your telescope and camera weight.
- Consider investing in an autoguiding system for improved tracking accuracy.
- Entry-level mounts like Celestron CG-5 provide good value for beginners.
- Deep-sky photography requires sturdier mounts like the CGEM for stability.
- Factor in ease of use and setup complexity when selecting your first mount.
Camera Selection: DSLRs vs. Dedicated Astronomy Cameras
You’ll notice significant differences in low-light performance between DSLRs and dedicated astronomy cameras, with cooled astronomy cameras offering cleaner images during long exposures.
The sensor size in your camera directly impacts light gathering capability, with larger sensors typically capturing more detail in faint celestial objects.
Your imaging goals should guide your choice: DSLRs work well for wide-field Milky Way shots while specialized astronomy cameras excel at deep-sky objects that require enhanced sensitivity and reduced noise.
Low-Light Performance Comparison
Most aspiring astrophotographers face a critical decision when selecting their primary camera: DSLR or dedicated astronomy camera.
When comparing low-light performance, dedicated astronomy cameras typically outshine DSLRs for capturing the night sky.
- Your DSLR camera (like the Canon EOS Rebel T7) has a larger sensor but produces more noise at high ISO settings.
- Dedicated astronomy cameras feature specialized CMOS sensors with superior sensitivity to faint celestial objects.
- Cooled sensors in astronomy cameras dramatically reduce thermal noise during long exposures.
- You’ll need longer exposure times with a DSLR, increasing the risk of motion blur without proper tracking.
- Astronomy cameras offer better dynamic range, preserving both highlight and shadow details in your deep-sky images.
Sensor Size Matters
Beyond low-light performance, sensor size fundamentally shapes what your camera can capture in the night sky. Larger sensors collect more photons, revealing faint celestial details that smaller sensors miss.
When pairing your DSLR camera and telescope, consider that full-frame DSLRs offer wider fields of view than APS-C models, though both provide excellent versatility for general astrophotography.
A dedicated astronomy camera often features specialized advantages like cooled sensors that dramatically reduce thermal noise during long exposures. This becomes essential for deep-sky imaging where subtle nebula details matter.
While DSLRs excel for beginners and wide-field shots, dedicated astronomy cameras with monochrome sensors offer superior sensitivity when capturing specific wavelengths through filters. Your choice should align with your primary targets—planetary, deep-sky, or wide-field imaging—and your experience level.
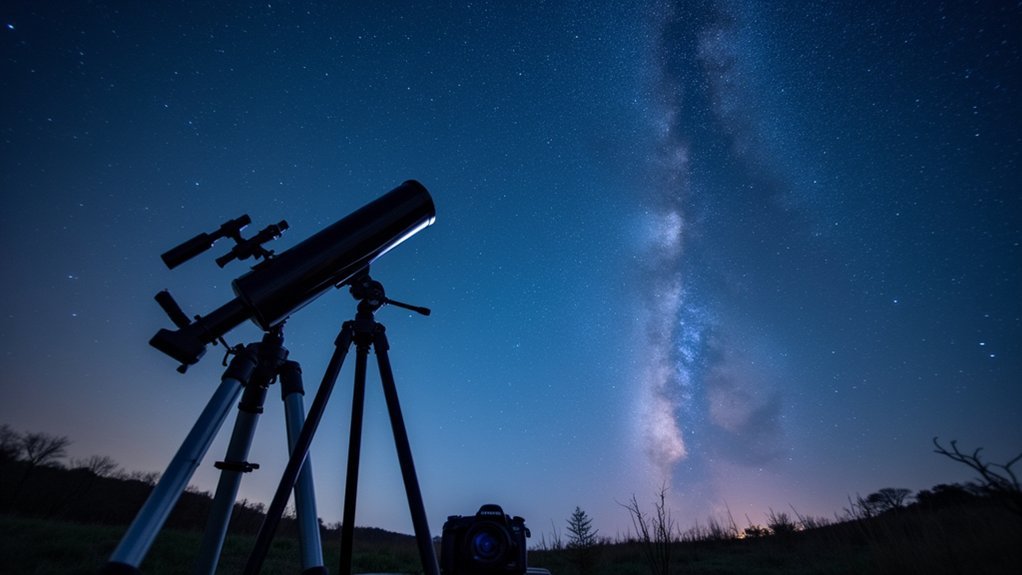
Telescope Types for Different Celestial Targets
Selecting the right telescope dramatically impacts your astrophotography results, as different optical designs excel at capturing specific celestial objects.
Consider your primary targets when choosing your optical system:
- Refractor telescopes provide sharp, color-corrected images ideal for nebulae and galaxy photography.
- Apochromatic refractors like the William Optics RedCat 51 minimize chromatic aberration for premium image quality.
- Schmidt-Cassegrain models offer versatility with compact designs and long focal lengths for both deep-sky and planetary work.
- Newtonian reflectors deliver large apertures at lower cost, perfect for faint deep-sky objects.
- Long focal length telescopes excel at planetary photography, capturing fine details of Jupiter, Saturn, and other solar system objects.
Your choice should align with your preferred celestial subjects and complement your camera’s sensor characteristics.
Budget-Friendly Starter Equipment Packages
While advanced astrophotography setups can cost thousands, you don’t need to break the bank to capture stunning cosmic images. A budget-friendly starter astrophotography package typically centers around a capable DSLR camera like the Canon EOS Rebel T7, paired with a stable tripod for long exposures.
For deep-sky imaging, consider the compact William Optics RedCat 51 refractor, which delivers sharp, flat-field images. Add a Sky-Watcher Star Adventurer tracker to prevent star trails during longer exposures.
Don’t forget essential accessories like light pollution filters and a Bahtinov mask for precise focusing.
A complete starter setup ranges from $1,000 to $2,000, providing everything you’ll need to begin your astrophotography journey without overextending your budget while still capturing impressive celestial images.
Critical Accessories That Improve Image Quality
The difference between mediocre and breathtaking astrophotographs often lies in the accessories you pair with your primary equipment.
The secret to stellar astrophotography isn’t just premium telescopes—it’s the thoughtful accessories that elevate ordinary shots to extraordinary.
These additions aren’t mere luxuries—they’re practical tools that greatly enhance your imaging capabilities.
- Light pollution filters cut through urban glow, revealing celestial details otherwise lost in the haze.
- A guide scope and camera combo provides precise autoguiding, eliminating star trails during long exposures.
- The simple yet ingenious Bahtinov mask helps you achieve perfect focus, critical for capturing sharp stellar details.
- Reliable power supply units prevent frustrating session interruptions and potential data loss.
- Vibration suppression pads minimize environmental disturbances that can blur your images.
Don’t underestimate these accessories—they’ll transform your astrophotography results while solving common imaging challenges that even expensive primary equipment can’t overcome.
Power Supply Solutions for Field Sessions

Every astrophotography session demands reliable power—perhaps the most overlooked yet critical component of your field kit. Your equipment’s power requirements will vary considerably based on the devices you’re using, making proper planning essential.
Portable power banks and specialized solutions like the Celestron Power Tank offer convenient options for field use. Opt for rechargeable lithium-ion batteries when possible, as they perform better in cold temperatures and provide longer runtime for extended night sessions.
Don’t underestimate the value of backup power sources—a depleted battery can abruptly end your imaging, especially at remote sites.
Consider investing in a power distribution hub to efficiently manage multiple devices simultaneously and reduce cable clutter. This organization not only simplifies your setup but guarantees all equipment receives stable power throughout your session.
Smartphone Astrophotography: Equipment and Techniques
Modern smartphone cameras have revolutionized astrophotography by making this once-specialized hobby accessible to virtually anyone.
You’ll need minimal gear to start capturing the night sky with impressive results. The foundation of smartphone astrophotography begins with a manual camera app that gives you control over exposure settings.
Unlock the night sky with just your phone and a manual camera app for complete exposure control.
- Invest in a small, sturdy tripod to eliminate camera shake during long exposures
- Download specialized apps like NightCap (iOS) or ProCam X (Android) for advanced settings
- Use your phone’s built-in astrophotography mode if available
- Consider a clip-in light pollution filter to improve image quality in urban areas
- Practice adjusting ISO, shutter speed, and focus to capture clear, detailed night sky shots
With these essentials, you’ll be photographing stars, planets, and even the Milky Way with just your smartphone.
Software Tools for Image Acquisition and Processing
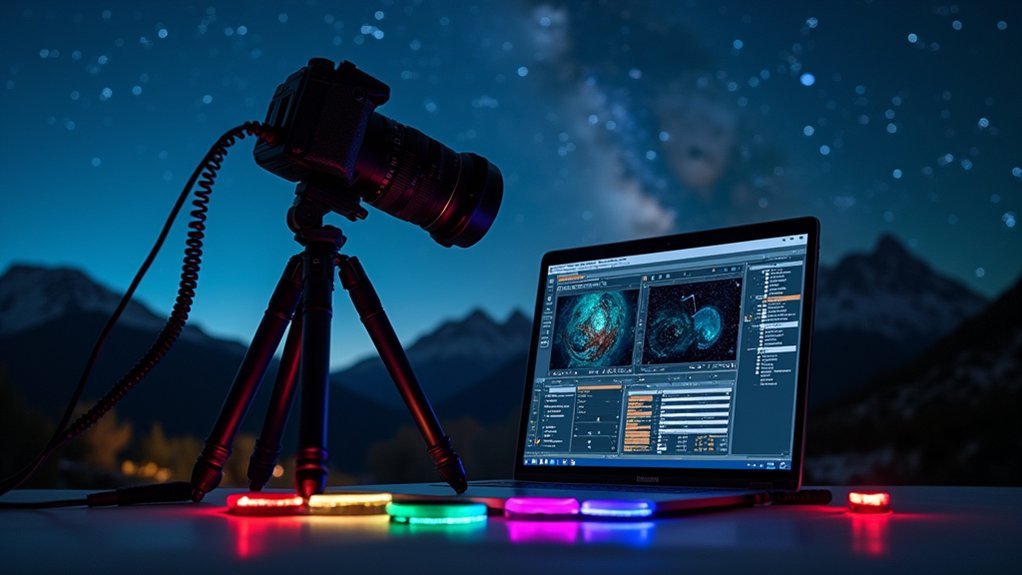
While capturing stunning night sky images requires quality equipment, software plays an equally crucial role in transforming raw data into breathtaking final photographs. Your astrophotography workflow will benefit from several key applications.
Start with image acquisition software like Astro Photography Tool or N.I.N.A., which consolidate multiple imaging functions into a single interface. Automation tools such as the ZWO ASIAIR Plus can streamline your hardware setup and monitoring during night sessions.
After capturing images, stacking software like DeepSkyStacker becomes essential for combining multiple exposures, enhancing details while reducing noise.
For planetary imaging, specialized software helps control high-speed cameras for peak results.
Finally, post-processing software such as Adobe Photoshop or PixInsight provides the creative tools you’ll need to refine and enhance your astrophotography, bringing out the celestial details you’ve worked so hard to capture.
Light Pollution Filters and Their Applications
Light pollution filters come in various types including broadband filters for general use and narrowband options that isolate specific wavelengths like H-alpha for nebulae detail.
You’ll find these filters essential for urban imaging, as they block artificial light wavelengths while allowing the celestial light to pass through to your camera sensor.
When shooting from light-polluted areas, the right filter can transform your images by enhancing contrast and revealing details that would otherwise be washed out by city glow.
Filter Types Explained
Because urban skies often glow with artificial illumination, serious astrophotographers rely on specialized filters to combat this interference.
When building your deep-sky astrophotography setup, you’ll encounter various filter options designed to tackle specific challenges:
- Broadband filters reduce light pollution while preserving natural color balance in your images.
- Narrowband filters isolate specific wavelengths like H-alpha and OIII, dramatically enhancing nebulae contrast.
- CLS (City Light Suppression) filters work well for general urban astrophotography.
- UHC (Ultra High Contrast) filters excel at revealing emission nebulae.
- Dual or Multi-Bandpass filters allow multiple emission lines while blocking most light pollution.
Remember that adding filters may require adjusting your exposure settings, typically with longer integration times.
Select filters that target the specific light pollution wavelengths in your area for ideal results.
Urban Imaging Solutions
Three essential light pollution filters can transform your urban astrophotography experience despite the challenging conditions of city skies.
Broadband filters like the Optolong L-Pro effectively reduce artificial light interference while working seamlessly with your DSLR camera and lens setup for general astrophotography.
For serious deep-sky astrophotography rigs, narrowband filters deliver superior results by isolating specific wavelengths emitted by nebulae while blocking most light pollution.
The IDAS LPS-D1 is particularly effective at targeting common urban light wavelengths.
When shooting from light-polluted areas, these filters allow you to extend your exposure times without sacrificing image quality.
Whether you’re using a simple DSLR or dedicated astronomy camera, adding the right light pollution filter to your kit will dramatically improve contrast and clarity of celestial objects in your urban captures.
Frequently Asked Questions
What Equipment Do I Need for Astrophotography?
You’ll need an equatorial tracking mount, a DSLR or mirrorless camera, a small refractor telescope, a tripod, light pollution filters, a guide scope, and a reliable power supply for astrophotography.
What Is the 500 Rule in Astrophotography?
The 500 rule helps you avoid star trails by calculating maximum exposure time. Divide 500 by your lens focal length in mm. You’ll need to adjust for crop sensors using your camera’s specific factor.
What Is the 400 Rule in Astrophotography?
The 400 rule helps you avoid star trails by dividing 400 by your focal length to determine maximum exposure time in seconds. You’ll need shorter times with longer lenses or crop sensors for sharp stars.
What Is the 300 Rule in Astrophotography?
The 300 rule helps you avoid star trails by dividing 300 by your lens focal length to find maximum exposure time in seconds. For a 50mm lens, you’d use 300÷50=6 seconds maximum exposure time.
In Summary
You don’t need expensive gear to start capturing the night sky. Begin with what you have—even a smartphone and tripod can yield surprising results. As you progress, invest in a tracking mount first, then upgrade your camera and optics based on your specific interests. Remember, patience and practice will improve your images more than any single piece of equipment. The stars aren’t going anywhere!


Leave a Reply