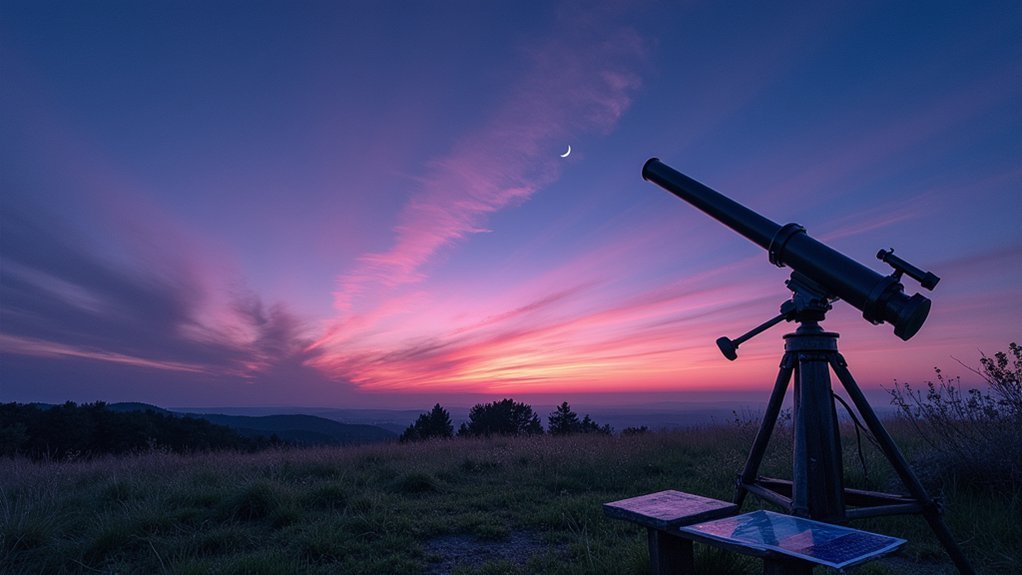
Successful stargazing requires recognizing key weather indicators. Watch for high-pressure systems that bring clear, stable skies, while avoiding periods with stratus clouds or high humidity. Keep an eye on wind patterns—gentle breezes under 10 mph offer better viewing than turbulent conditions. Monitor dew point to protect your equipment, and track the jet stream’s position for atmospheric stability. These meteorological signals will transform your astronomy experiences from frustrating to phenomenal.
Cloud Formations That Signal Poor Viewing Conditions
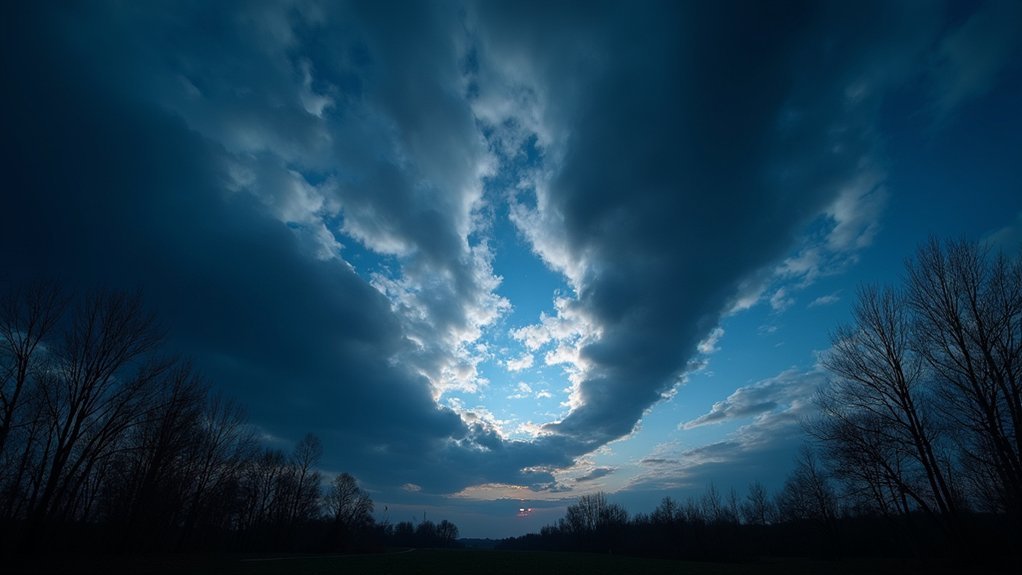
While many backyard astronomers focus on equipment and star charts, understanding cloud formations can save you hours of frustration at the telescope.
Learn to recognize the telltale signs of poor viewing conditions. Stratus clouds create overcast skies that completely block your view, while thick, dark nimbostratus clouds bring continuous precipitation—a definite night-ruiner.
Don’t be fooled by seemingly innocent cumulus clouds; these fluffy formations can rapidly develop into storm clouds, obstructing visibility as they grow.
Even high-altitude cirrus clouds, though wispy and thin, often signal approaching weather systems that will soon impact your stargazing plans.
Local conditions matter too—fog and haze greatly reduce clarity by scattering light, making it nearly impossible to observe fainter celestial objects through your equipment.
Reading Wind Patterns for Atmospheric Stability
You’ll find that wind patterns offer essential clues about atmospheric stability for your stargazing sessions.
When steady, gentle winds below 10 mph prevail, you’re likely to experience clearer views through your telescope compared to nights with gusty, turbulent conditions.
The jet stream‘s position also matters greatly—when it flows directly overhead, it creates high-altitude turbulence that can distort your view of planets and deep-sky objects, even on otherwise clear nights.
Wind Patterns for Viewing
Understanding wind patterns empowers backyard astronomers to predict ideal viewing conditions before setting up their equipment.
You’ll find that calm winds typically offer the most stable atmosphere for crisp, detailed observations, while strong gusts create turbulence that distorts stellar images.
- High-pressure systems bring stable air masses with minimal wind, creating prime viewing windows you shouldn’t miss.
- Winds coming from oceans often deliver cooler, more stable air that enhances visibility of celestial objects.
- The jet stream’s position dramatically affects your viewing quality—track it to avoid nights when it brings turbulent air overhead.
- Local topography creates unique wind patterns in your observation area—learn how hills and valleys near your viewing spot influence air stability.
Wind patterns reveal the atmosphere’s hidden currents that directly impact your stargazing success.
Jet Stream Effects
The invisible river of air known as the jet stream plays a powerful role in determining your stargazing success. Flowing some 30,000 feet above Earth, this high-altitude current directly influences the stability of the atmosphere you’re peering through with your telescope.
You’ll want to track the jet stream’s position before planning your observation sessions. When it’s positioned directly overhead, expect turbulent air and poor “seeing” conditions that distort celestial objects. Conversely, when the jet stream is stable and distant from your location, you’ll likely experience clearer, steadier skies.
Use weather maps and satellite imagery to monitor jet stream patterns. Look for periods when it’s strong and consistent rather than weak and wavering. This simple forecasting technique will dramatically improve your chances of satisfying stargazing nights.
Humidity Levels and Their Impact on Telescope Performance
While stargazers often focus on cloud cover and temperature, humidity plays an equally critical role in determining your viewing experience. High humidity levels create atmospheric turbulence that transforms crisp celestial objects into blurry, disappointing views.
Humidity: the invisible enemy that turns your pristine cosmic views into underwater-like distortions.
- Water vapor in humid air causes optical distortions, making stars appear to “swim” and planets lose detail.
- Moisture can collect on telescope optics, creating fog on lenses and mirrors that degrades image quality.
- Thermal turbulence increases with humidity, causing light to bend unevenly as it travels through the atmosphere.
- Your best observations typically occur when humidity ranges between 30-50%.
Keep a hygrometer in your astronomy kit to monitor local conditions. When you notice humidity climbing above 50%, consider postponing your session or focusing on brighter targets less affected by atmospheric distortion.
Decoding Temperature Inversions for Better Seeing
Temperature inversions can wreck your stargazing plans unless you’ve learned to spot their telltale signs like a stationary layer of mist or the distant hills appearing to shimmer in twilight.
You’ll achieve dramatically better views by waiting until thermal layers stabilize, typically 2-3 hours after sunset when heat from the day has fully dissipated.
Watch for stars that twinkle less at zenith than near the horizon, indicating the atmosphere above has settled into a more stable pattern for your observations.
Inversion Detection Methods
Since atmospheric conditions greatly impact your stargazing experience, learning to detect temperature inversions can dramatically improve your observation sessions.
Understanding these inversion detection methods helps you determine when to set up your telescope and when to wait for better conditions.
You can identify temperature inversions through several practical approaches:
- Place thermometers at different heights (ground level and 6-10 feet up) to measure temperature differences—rising temperature with altitude signals an inversion
- Look for visual cues like excessive star twinkling, distorted planetary details, or general haziness in your telescope view
- Monitor local weather forecasts, especially when high-pressure systems are present
- Check for horizontal haze layers near the horizon at sunset, a telltale sign of trapped air
Sky Stability Indicators
Although experienced astronomers develop an intuitive feel for sky conditions, you can learn to decode temperature inversions through specific stability indicators. These telltale signs will help you determine when the atmosphere above your dark sky site is conducive to detailed observations.
| Indicator | What It Means |
|---|---|
| Minimal star twinkling | Stable atmosphere; inversions unlikely |
| Rapid star flickering | Turbulence present; possible inversion |
| High barometric pressure | Generally favorable viewing conditions |
| Clear horizon with sharp details | Good atmospheric stability |
| Smoke or haze rising vertically | Limited air movement; stable viewing |
Watch for these indicators during high-pressure systems when clear skies prevail. You’ll avoid wasting precious observing time during temperature inversions that distort fine details and amplify atmospheric turbulence, making your telescope sessions considerably more productive.
Timing Thermal Layers
Beyond recognizing stability indicators, mastering the timing of thermal layers can dramatically improve your astronomical observations.
Temperature inversions—where warm air traps cooler air below—create ideal viewing conditions by reducing atmospheric turbulence.
The best time to capitalize on these thermal phenomena:
- After sunset when the atmosphere begins to stabilize, but before midnight when ground temperatures drop further
- During calm, clear nights when inversions typically form in valleys and low-lying areas
- When local weather patterns indicate temperature stratification is occurring
- As winds diminish, suggesting the formation of stable atmospheric layers
Pressure Systems and Their Effect on Night Sky Clarity
When you’re planning a stargazing session, understanding pressure systems can dramatically improve your chances of success. High-pressure systems are your allies, creating stable atmospheric conditions that reduce turbulence and minimize cloud cover, resulting in a clearer night sky.
Watch your barometer—rising pressure often signals improving visibility. You’ll experience what astronomers call “good seeing,” where stars appear steady rather than twinkling excessively. Temperature inversions that accompany high pressure can further enhance clarity by trapping cool air near the ground.
Conversely, low-pressure systems bring your enemy: clouds, precipitation, and turbulent air that distort celestial views.
Since conditions can change quickly, monitor local weather patterns regularly. By timing your observations during high-pressure periods, you’ll maximize your chances of witnessing the cosmos in striking detail.
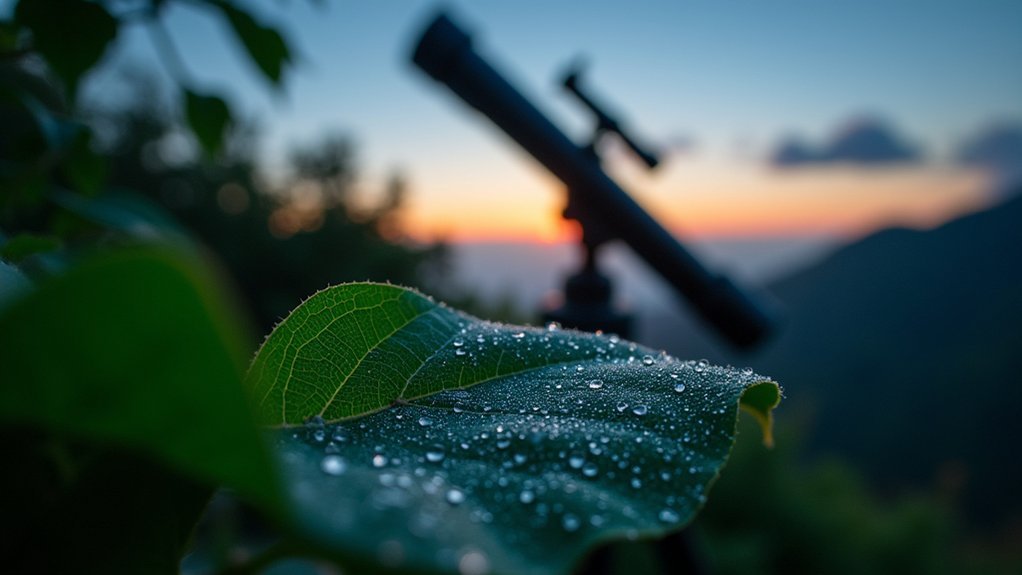
Dew Point Predictions for Equipment Protection
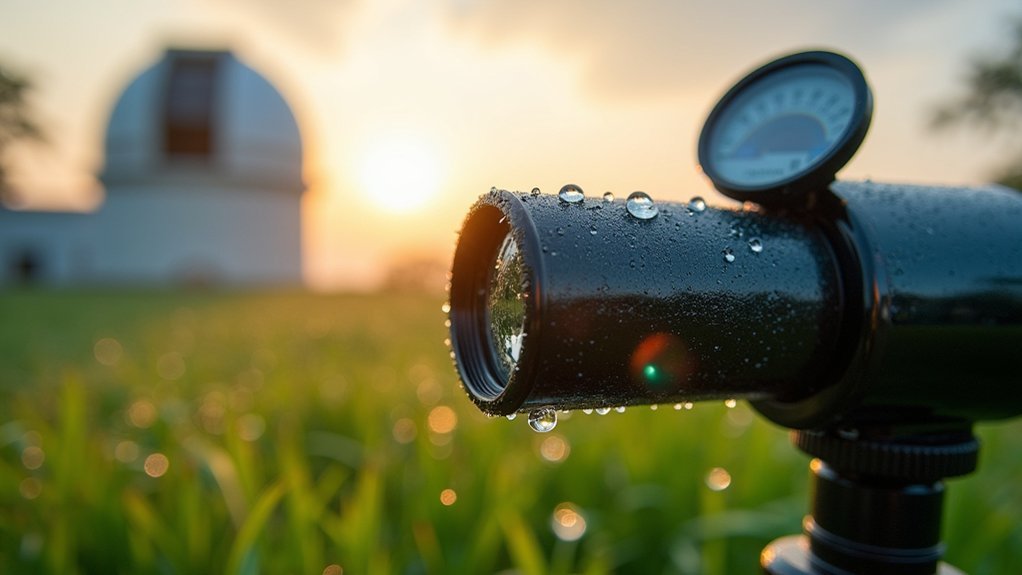
While many stargazers focus primarily on cloud cover, the dew point represents an equally essential weather metric that can make or break your observation session.
When the dew point approaches the air temperature, moisture will condense on your valuable equipment, potentially causing damage to optics and sensitive electronics.
To protect your astronomical gear:
- Monitor forecasts for dew points above 50°F (10°C), which signal high risk for condensation
- Aim for observing conditions where air temperature exceeds dew point by at least 10°F (5°C)
- Prepare dew heaters or other preventive measures when forecasts indicate high moisture potential
- Check local dew point predictions through weather apps before each planned observation session
Seasonal Weather Patterns for Planning Stargazing Sessions
Successful backyard astronomy requires not just protection from dew, but also strategic planning according to changing seasons.
Understanding seasonal weather patterns can dramatically improve your stargazing experiences throughout the year.
Winter offers prime viewing conditions with exceptionally clear skies due to lower humidity and fewer storms.
The extended darkness provides more observation time, though you’ll need to prepare for equipment-challenging cold temperatures.
Summer nights, while warmer, often suffer from atmospheric turbulence as heat rises from the ground, particularly affecting early evening sessions.
Spring and fall present mixed conditions with unpredictable cloud cover.
Track your local seasonal trends—especially precipitation patterns—to optimize your viewing schedule.
Recognizing the Jet Stream’s Influence on Atmospheric Turbulence
Backyard astronomers often encounter mysterious nights when stars twinkle excessively despite seemingly clear skies. The culprit is frequently the jet stream, a powerful high-altitude air current that creates turbulence and distorts your view of celestial objects.
Even the clearest nights can hide atmospheric turbulence that transforms stars into dancing, flickering points of light.
You’ll recognize the jet stream’s influence when:
- Stars appear to “dance” or twinkle dramatically, even at higher elevations
- Your telescope images lack sharpness despite proper focus
- Planets show wavering edges rather than crisp details
- Seeing conditions deteriorate suddenly despite clear skies
The jet stream’s position shifts seasonally, typically becoming stronger in winter.
You can track its location using weather maps and satellite imagery online, helping you predict nights with stable atmospheric conditions.
Planning observations when the jet stream is away from your location will greatly improve your stargazing experience.
Frequently Asked Questions
Can Astronomers Predict the Weather?
Yes, you can predict weather to some extent by studying atmospheric conditions. You’ll gain insights from high-pressure systems, cloud patterns, and seasonal changes that affect visibility for your astronomical observations.
How Do You Check the Weather for Star Gazing?
You’ll want to check cloud cover, humidity, and “seeing” conditions using weather apps and astronomy websites. Look for high-pressure systems, low humidity, and seeing ratings of 7-10 for ideal stargazing opportunities.
In Summary
You’ve now equipped yourself with the essential weather forecasting skills that’ll transform your stargazing experience. By monitoring clouds, wind patterns, humidity, temperature inversions, pressure systems, and dew points, you’ll maximize observation quality and protect your equipment. Remember to track seasonal patterns and the jet stream’s position. These natural indicators are your most reliable tools—often more accurate than general weather forecasts for your specific viewing location.


Leave a Reply