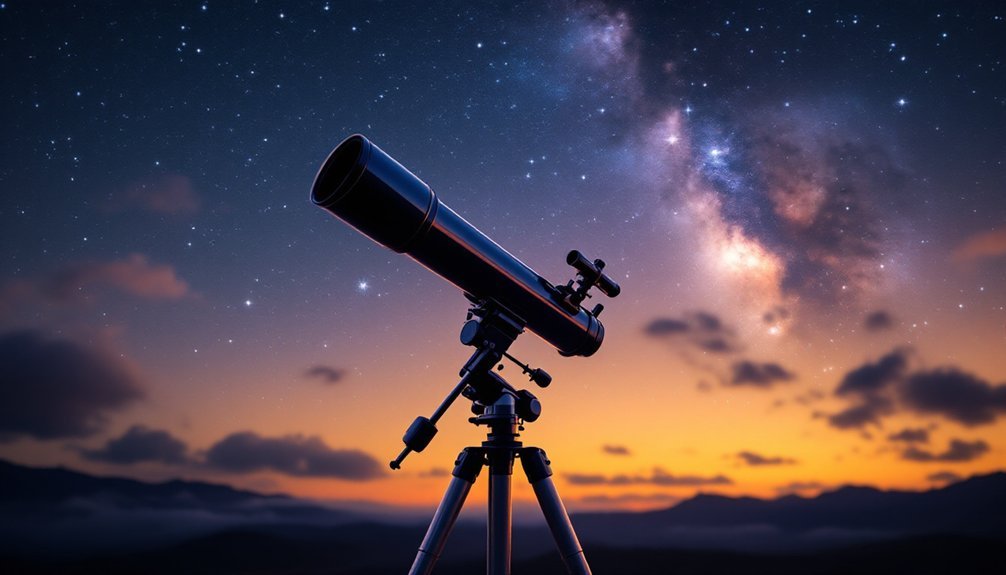
Perfect polar alignment becomes simple when you combine the right tools with proper technique. You'll need a quality polar scope, reliable compass, and bubble level to start. Modern software like SharpCap or PHD2 streamlines the process by offering precise, real-time guidance for adjustments. The key is matching your mount's altitude to your location's latitude while ensuring true north alignment. Understanding these fundamental elements will open your path to crystal-clear astrophotography.
The Basic Principles Behind Polar Alignment
When you're setting up a telescope for astrophotography, understanding polar alignment is essential for capturing crisp, clear images of the night sky. The basic principle is straightforward: you'll need to align your telescope's polar axis parallel to Earth's axis of rotation.
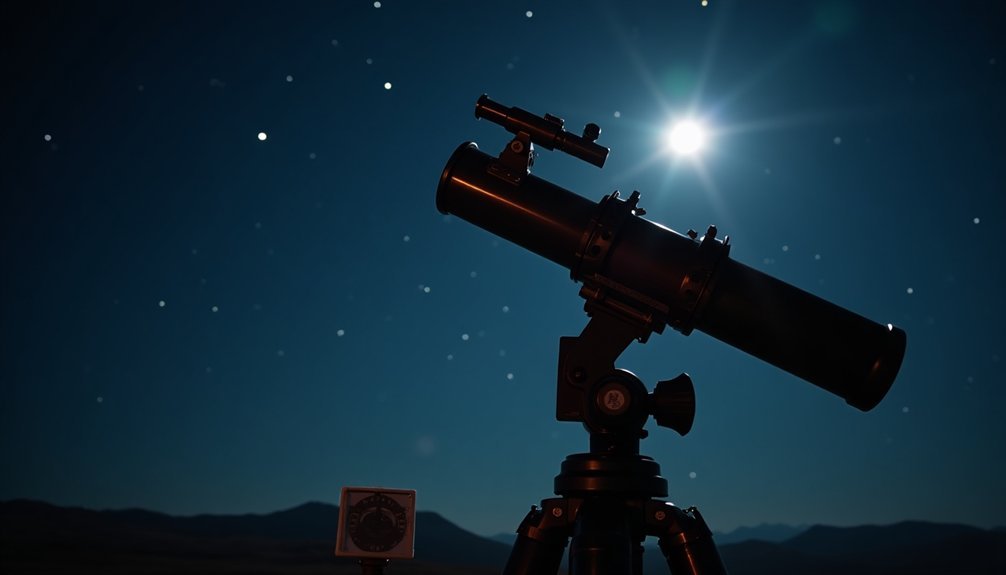
You'll find this alignment critical because it enables your telescope to track celestial objects at the same rate as Earth's rotation. In the Northern Hemisphere, you'll use Polaris as your primary reference point, though it's not exactly at the North Celestial Pole. To achieve proper alignment for advanced observations, your finderscope must be aligned with your telescope's polar axis.
Essential Tools You Need for Perfect Alignment
To achieve precise polar alignment, you'll need a specific set of tools and equipment that work together.
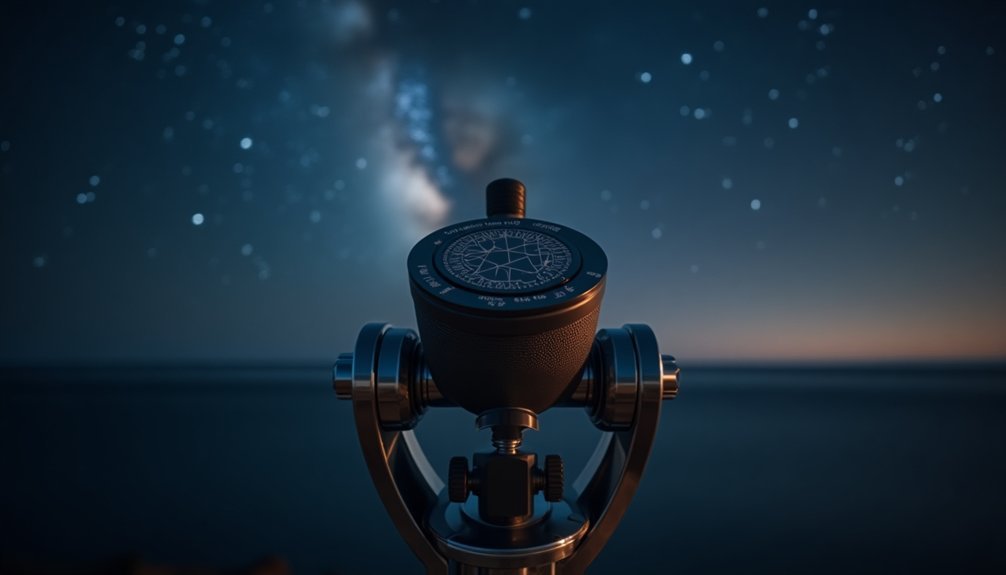
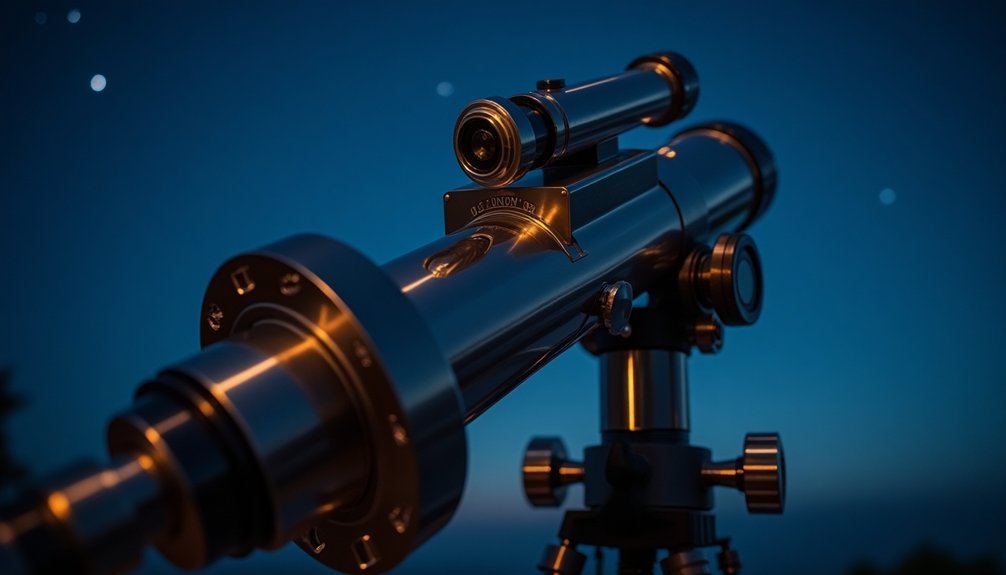
Start with physical essentials: a polar alignment scope with a reticle, your telescope or camera setup, and counterweights for proper balance. Don't forget a reliable compass for finding true north. Level surfaces are critical for achieving stable alignment.
A precise polar alignment requires key tools: alignment scope, properly balanced mount, and accurate compass for navigating celestial north.
Your software toolkit should include specialized apps and programs like SharpCap or PHD2 for precise adjustments. These digital tools simplify the alignment process and enhance accuracy.
For advanced setups, consider a QHY PoleMaster device or auto-guiding system.
Remember to maintain proper practices while using these tools. Balance your mount carefully, keep your compass away from metal objects, and account for local magnetic declination.
Regular alignment checks will guarantee your setup stays accurate throughout your observation session.
Setting Up Your Mount for Success
Your first critical step is to establish a perfectly level base for your mount using a quality bubble level across multiple points.
Once you've achieved a stable foundation, you'll need to adjust your mount's altitude to match your location's latitude and use the azimuth adjustment knobs to align horizontally with true north.
These precise adjustments set the stage for accurate polar alignment and are essential for successful astrophotography sessions. Remember that performing proper mount balancing before starting the alignment process will prevent any unwanted shifting that could compromise your setup's accuracy.
Leveling Your Base First
Although leveling your mount isn't strictly necessary for polar alignment, starting with a level base simplifies the entire setup process. You'll find it much easier to make azimuth and elevation adjustments when your mount starts from a horizontal position.
Begin by setting up your tripod on firm, stable ground. Use a bubble level or spirit level to adjust each leg individually until you've achieved proper leveling across all axes. High-end mounts like the Skywatcher EQ6-R Pro demonstrate why proper leveling is crucial for precise tracking and imaging.
Once level, secure the accessory tray to add stability to your setup. This is also a good time to verify your mount is facing roughly northward using a compass or reference markers.
Remember to check that all clamping bolts are tight and the mount is securely attached to the tripod before proceeding with the rest of your alignment process.
Altitude and Azimuth Adjustments
Once your mount is level, the next vital step involves making precise altitude and azimuth adjustments to achieve proper alignment.
You'll need to adjust your mount's height above the horizon (altitude) and its horizontal position relative to true north (azimuth).
Start by using a compass to point your mount northward. While this provides a rough orientation, you'll want to fine-tune your alignment using Polaris as a reference point.
Make small adjustments to both axes using your mount's slow-motion controls. These precise movements are essential for maintaining accurate tracking of celestial objects. Having quality optics and accessories will significantly enhance your ability to achieve precise alignment.
Remember that proper altitude and azimuth positioning sets the foundation for successful observation.
While these adjustments are straightforward with practice, they're vital for minimizing the frequent repositioning needed with altazimuth mounts.
Step-by-Step Guide to Quick Alignment
Achieving quick and accurate polar alignment involves three key phases: rough setup, initial alignment, and fine-tuning.
Start by using a compass to point your mount north and verify it's level with a spirit level. This rough setup saves time during later adjustments.
For initial alignment, you'll use either a polar scope or smartphone app to locate Polaris. If you're using a polar scope, center Polaris according to your mount's specific reticle pattern. The equatorial mount design enables precise tracking of celestial objects as Earth rotates.
For automated tools like Polemaster, follow the software's template matching process.
Fine-tune your alignment using drift methods through PHD2 or similar guide software.
Watch for star drift and make small altitude and azimuth adjustments.
Common Mistakes and How to Avoid Them
Even experienced astronomers face common polar alignment challenges that can derail an observing session. You'll want to avoid three critical mistakes: incorrect altitude adjustments, magnetic interference from metal components, and imprecise star selection near the North Celestial Pole.
To prevent these issues, focus on:
Prevention is key – identify solutions early and implement clear, systematic steps to avoid common alignment pitfalls in your observations.
- Using illuminated reticles and high-power eyepieces for precise star centering
- Creating permanent site markers for consistent setup
- Regularly monitoring star drift to fine-tune your alignment
Don't rely solely on technology – combine both manual and automated methods for the best results.
Keep your mount properly balanced and regularly verify your alignment under different sky conditions. By understanding when to use RA/DEC knobs versus altitude and azimuth adjustments, you'll achieve more accurate polar alignment every time. Starting with an initial 5-degree north alignment will significantly improve your chances of successful star alignment.
Understanding Your Site's Latitude Impact
Your site's latitude directly affects how you'll set up your telescope's equatorial mount, making it an essential factor in achieving proper polar alignment.
You'll need to adjust your mount's latitude setting to match your exact location, ensuring the polar axis points precisely at your celestial pole.
If you're observing from the Southern Hemisphere, you'll use different reference stars like σ Octantis or BQ Octantis, while Northern Hemisphere observers align using Polaris.
Using an illuminated reticle eyepiece can dramatically improve your alignment accuracy when making these latitude-based adjustments.
Latitude's Role in Setup
Proper latitude alignment stands as one of the most critical factors in achieving accurate polar alignment for your telescope mount. Your site's latitude determines the exact angle needed to tilt your mount's polar axis parallel to Earth's rotation axis. By setting this angle correctly, you'll guarantee your telescope can track celestial objects smoothly without drift. Just as polar coordinates measure angles from a fixed reference point, your telescope's alignment relies on precise angular measurements.
To achieve precise latitude alignment, you'll need:
- A calibrated inclinometer to measure the polar axis altitude
- The mount's latitude adjustment knob for making precise angle changes
- A level surface as your starting point for adjustments
When you're setting up, first level your mount and adjust the latitude pointer to match your location.
If you notice stars drifting north or south during observation, you'll need to fine-tune your latitude setting through iterative adjustments using the drift alignment method.
Hemispheric Alignment Differences
When aligning your telescope mount in different hemispheres, you'll encounter distinct challenges that require specific approaches.
In the Southern Hemisphere, you'll need to work with Sigma Octantis, which is considerably fainter than Polaris, making precise alignment more demanding. You might need to rely on digital tools or compass-based methods for accuracy. The viewing orientation means celestial objects appear in upside down positions compared to Northern Hemisphere observations.
Your hemisphere also affects how atmospheric refraction impacts your observations. Near the equator, you'll experience more pronounced refraction effects, while higher latitudes offer clearer viewing near the zenith.
You'll need to account for your location's magnetic field variations, as hemispheric asymmetries can influence alignment precision. Remember that seasonal changes and local atmospheric conditions will affect your viewing differently depending on which hemisphere you're in, requiring appropriate adjustments to your alignment strategy.
Software-Assisted Alignment Methods
Modern software-assisted alignment methods have revolutionized polar alignment by combining plate-solving technology with intuitive interfaces.
You'll find powerful tools like SharpCap Pro, ASIAIR, and iOptron iGuider that streamline the process through automated image analysis and guided adjustments.
These software solutions offer significant advantages for your alignment process:
Software-driven alignment tools deliver key benefits: streamlined workflow, enhanced precision, and simplified control over the entire alignment process.
- Achieve high accuracy through precise plate solving and star matching
- Complete alignment in minutes rather than hours
- Control the entire process through user-friendly smartphone apps
You'll need a compatible mount, guide camera, and clear view of the celestial pole to get started.
The software will analyze multiple images as you rotate your mount, providing real-time feedback for adjustments.
Whether you're using a DSLR or dedicated astronomy camera, these tools make perfect polar alignment more accessible than traditional methods.
Fine-Tuning Your Polar Alignment
Fine-tuning your polar alignment demands careful attention to both major and minor adjustments, ensuring your mount precisely tracks the celestial sphere's rotation.
You'll need to monitor star drift carefully, making calculated adjustments to both altitude and azimuth until you achieve ideal alignment.
Start by using a polar alignment scope's reticle markings to get close to your target.
Then, employ drift alignment methods to refine your setup, watching how stars move in your field of view.
You can speed up this process using autoguiding systems that provide real-time feedback.
Don't forget to check and adjust for atmospheric changes throughout your session.
If you're dealing with mount backlash, you might want to intentionally introduce slight misalignment in your weight distribution to keep the gears engaged, improving tracking accuracy.
Maintaining Alignment Throughout the Night
Once you've achieved proper polar alignment, maintaining it throughout your imaging session becomes essential for capturing sharp, streak-free images.
You'll need to monitor and adjust for various factors that can disturb your alignment, including temperature changes and ground settling.
Keep your alignment stable by implementing these critical practices:
- Check your polar scope readings periodically, especially during longer sessions
- Monitor your guiding software for any signs of tracking deviation
- Use physical stabilizers and guarantee your tripod remains firmly planted
Don't rely solely on auto-guiding to compensate for misalignment.
While guiding software can correct minor errors, starting with and maintaining precise alignment will greatly improve your final images.
Regular monitoring becomes particularly important during extended imaging sessions, as even slight drift can become noticeable in long exposures.
Frequently Asked Questions
How Does Atmospheric Turbulence Affect the Accuracy of Polar Alignment?
Atmospheric turbulence can distort your telescope's optical signals, making it harder for you to achieve precise polar alignment. You'll notice fluctuating star positions and reduced image clarity during the alignment process.
Can Polar Alignment Be Achieved Effectively During Twilight Hours?
Yes, you can effectively achieve polar alignment during twilight. You'll benefit from better visibility for adjustments, and using the drift method lets you start early, saving valuable dark-sky time for observations.
What Backup Methods Exist When Electronic Alignment Systems Fail?
You can rely on several proven backup methods: using a polar borescope, Kochab's Clock technique, drift alignment, declination drift method, or manual star charts when your electronic alignment system isn't working properly.
Does Telescope Focal Length Influence the Precision Needed for Polar Alignment?
Yes, your telescope's focal length directly affects alignment needs. You'll require more precise polar alignment with longer focal lengths, while shorter focal lengths are more forgiving for tracking accuracy and exposure times.
How Do Magnetic Field Variations Impact Polar Alignment in Different Locations?
You'll need to account for your local magnetic declination since it varies by location. When using a compass, you must adjust for the difference between magnetic and true north for accurate alignment.
In Summary
Achieving perfect polar alignment isn't as challenging as you might think. With the right tools, knowledge, and practice, you'll master this essential skill for astrophotography. Remember to use your site's latitude, take advantage of modern alignment software, and avoid common pitfalls. Keep these techniques in mind, and you'll spend less time aligning and more time capturing stunning images of the night sky.


Leave a Reply