If you can't see stars through your telescope, you're likely dealing with light pollution, incorrect alignment, or poor atmospheric conditions. Common issues include failing to let your eyes adapt to darkness, using too much magnification too soon, or not properly aligning your finder scope. You might also have forgotten to remove dust covers or let your telescope acclimate to outdoor temperatures. Understanding these fundamentals will transform your stargazing experience.
Light Pollution's Impact on Star Visibility
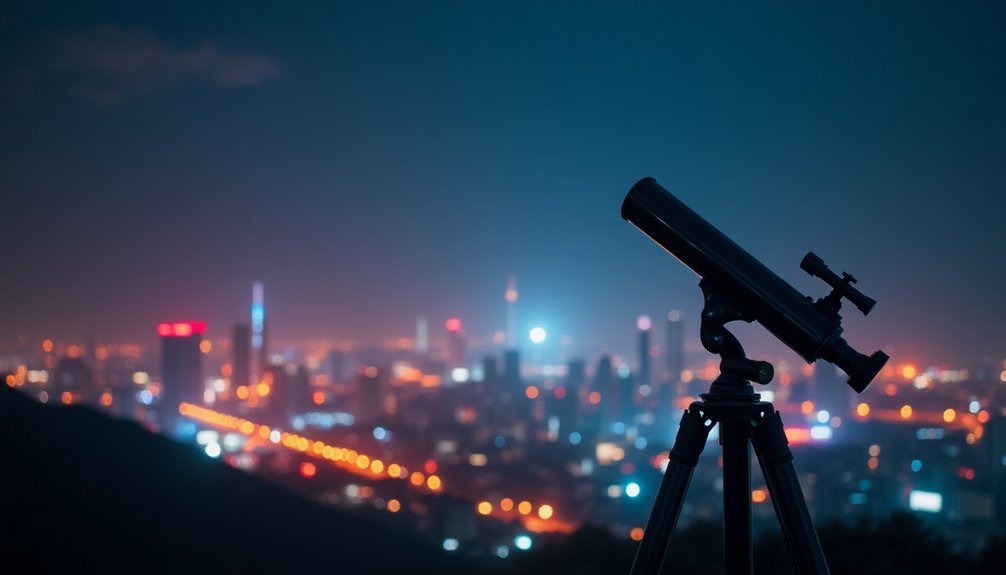
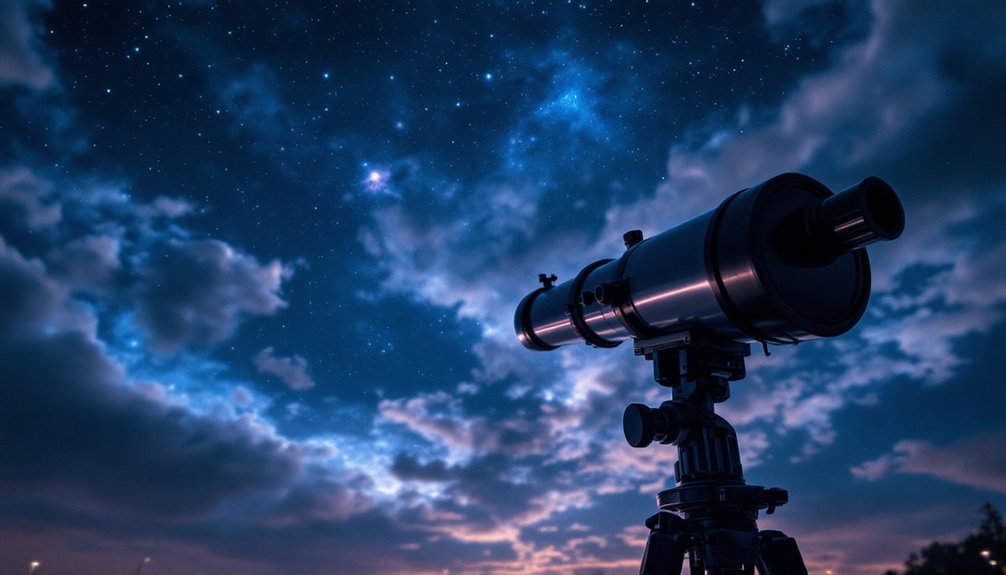
Have you ever wondered why the stars seem to vanish in big cities? Light pollution is likely the culprit. When artificial light floods the night sky, it creates a luminous haze that competes with starlight, making celestial objects harder to spot through your telescope.
Artificial light drowns out the cosmic show above our cities, turning the star-studded night sky into a dim, hazy veil.
This unwanted artificial lighting is becoming more problematic as cities grow and LED lighting becomes more widespread. The night sky's brightness reduces the contrast between stars and their background, effectively washing out fainter celestial bodies.
In fact, light pollution is doubling every eight years, dramatically impacting your ability to observe astronomical details. Recent studies show that skyglow has increased by 9.6% annually between 2011 and 2022. What you're missing are stunning views of nebulae, galaxies, and countless stars that become invisible in light-polluted areas.
It's particularly challenging in densely populated urban zones, where excessive lighting can turn night into artificial day.
Essential Steps for Telescope Alignment
While light pollution poses challenges for stargazing, proper telescope alignment can help you make the most of any viewing conditions. You'll need to follow key setup steps to guarantee ideal visibility through your telescope. Using an Alt-Azimuth mount offers beginners a simpler alignment process.
| Setup Phase | Critical Action | Purpose |
|---|---|---|
| Initial Setup | Level telescope on stable ground | Prevent vibrations |
| Mount Alignment | Locate Polaris/Southern Pole | Enable accurate tracking |
| Finder Setup | Use daytime target | Calibrate finder scope |
| Fine-Tuning | Center bright star | Perfect alignment |
| Final Check | Verify all connections | Maintain stability |
Start by placing your telescope on level ground using a bubble level. Next, align your mount with Polaris or the Southern Celestial Pole, depending on your hemisphere. Calibrate your finder scope using a distant object, then fine-tune the alignment at night using a bright star. Remember to secure all components tightly before beginning your observations.
Common Mistakes in Telescope Setup
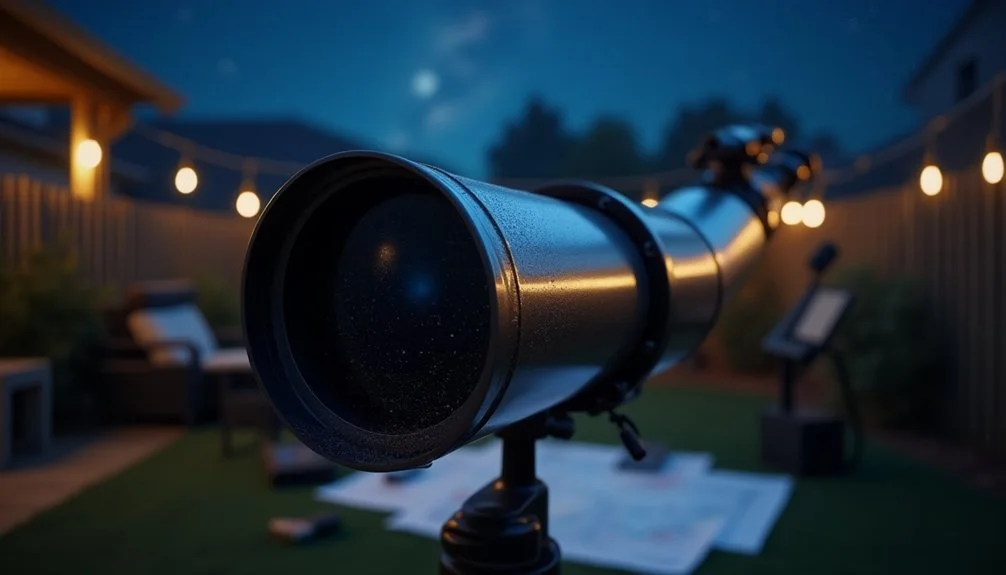
Despite the excitement of using a new telescope, several common setup mistakes can quickly turn stargazing into a frustrating experience.
You might be setting your magnification too high, which actually dilutes light and makes objects harder to see. Not removing all dust covers or failing to align your finder scope with the main telescope will prevent you from locating celestial objects effectively. Always use a 20 or 25mm eyepiece for initially finding objects.
Temperature differences between your telescope and the outdoor environment can distort your view. You'll need to let your telescope acclimate before use.
Even the most expensive telescope won't perform well if you're trying to observe through a window or haven't secured it properly on its mount.
Finally, don't forget that using high-power eyepieces immediately, rather than starting with lower magnification, can make it difficult to locate and center objects.
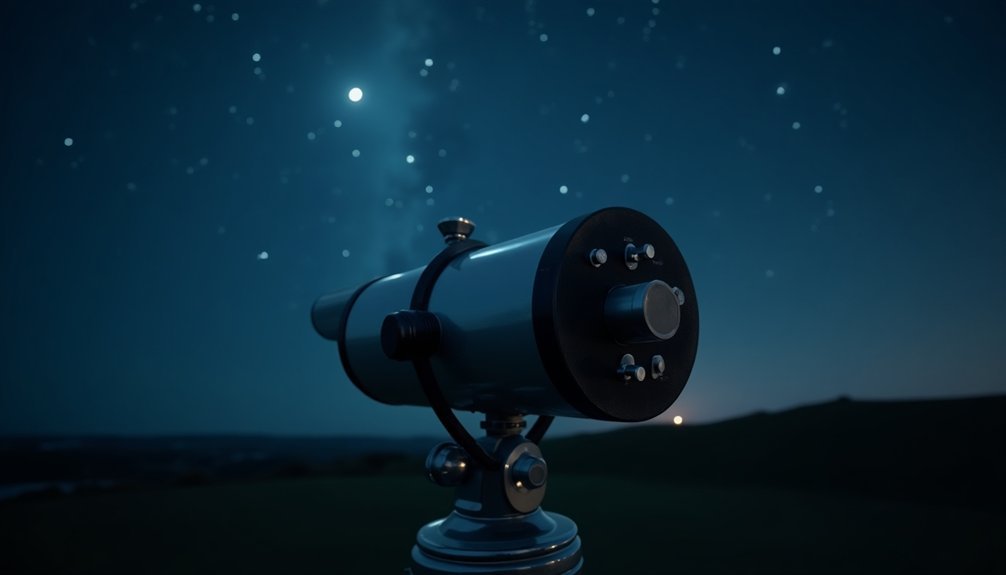
Weather and Atmospheric Conditions
Even with perfect telescope setup, Mother Nature often has other plans for your stargazing session. Cloud cover completely blocks your view of the stars, while high winds shake your telescope, causing blurred images. You'll also battle atmospheric turbulence, which makes stars appear as fuzzy blobs instead of sharp points of light. The presence of fast-moving jet streams in the upper atmosphere can significantly impact your viewing experience, often limiting the detail you can observe.
| Condition | Impact on Viewing |
|---|---|
| Humidity | Damages electronics, fogs optics |
| Temperature changes | Creates air turbulence |
| High winds | Causes telescope vibration |
Your best viewing opportunities come during high-pressure systems and stable summer conditions. If you're seeing excessive star twinkling, that's a sign of poor atmospheric conditions. To maximize your chances of success, choose locations with stable climates like Arizona or Florida, or consider higher altitudes where there's less atmospheric interference between you and the stars.
The Role of Dark Adaptation in Stargazing
Before you can see the faintest celestial objects through your telescope, your eyes need to undergo an essential process called dark adaptation. Your pupils will quickly expand within seconds, but the real magic happens in your retina over 20-30 minutes as it increases production of light-sensitive chemicals like rhodopsin.
During dark adaptation, your eyes become up to 10,000 times more sensitive to light, letting you spot details in nebulae and galaxies that you'd otherwise miss. Your pupils will dilate from 2 mm to 7 mm in younger observers.
To maintain this sensitivity, you'll need to avoid bright lights, including your phone screen. Using dim red lights for necessary tasks will help preserve your night vision.
For the best results, arrive at your viewing site early and give your eyes time to adjust. Even partial adaptation can greatly improve your viewing experience.
Proper Eyepiece Selection and Magnification
When selecting eyepieces for your telescope, understanding magnification and proper lens selection can make the difference between a frustrating and rewarding stargazing experience.
Start by calculating your telescope's minimum magnification by dividing its aperture in millimeters by 7. This guarantees your exit pupil matches your eye's natural dilation.
You'll want to begin with a low-power eyepiece to locate objects before switching to higher magnifications. The maximum useful magnification is typically twice your telescope's aperture in millimeters.
Remember, magnification equals your telescope's focal length divided by your eyepiece's focal length. For example, with an AC 70/700 telescope, your focal length is 700mm, giving you different magnification options with various eyepieces.
For a well-rounded viewing experience, you'll need at least three eyepieces: one for low, medium, and high magnification.
If you have a 2" focuser, consider using 2" eyepieces for wider views.
Frequently Asked Questions
Can Dust Inside the Telescope Tube Significantly Affect Star Visibility?
Yes, dust inside your telescope tube can severely impact your star visibility. The particles scatter light and reduce contrast, making it harder for you to see celestial objects clearly through your eyepiece.
Why Do Stars Sometimes Appear to Have Different Colors Through Telescopes?
You'll see different star colors through telescopes because stellar temperatures affect their light emission – hotter stars appear bluer while cooler ones look redder. Atmospheric refraction can also make stars flash various colors.
Does Telescope Temperature Affect the Clarity of Star Observations?
Your telescope's temperature can affect image clarity when it's not in equilibrium with outside air. You'll notice distortions as warm air currents rise through the optical path, causing blurry views.
How Does Telescope Age Impact Its Ability to Show Stars Clearly?
Your telescope's age can degrade optical quality through scratched lenses, worn coatings, and misaligned components. You'll notice reduced light transmission and clarity, making stars appear dimmer or blurrier than they should.
Can Nearby Radio Frequencies Interfere With Telescope Performance for Viewing Stars?
Radio frequencies won't directly affect your optical telescope's star viewing, as they don't interfere with visible light. However, if you're using a computerized telescope mount, nearby RF signals could disrupt its electronics.
In Summary
You'll find success in stargazing once you've tackled these common obstacles. Start by finding a dark location away from city lights, guarantee proper telescope alignment, and give your eyes time to adjust to the darkness. Don't forget to check weather conditions and choose the right eyepiece for your target. With patience and proper technique, you'll soon be exploring the wonders of the night sky.


Leave a Reply