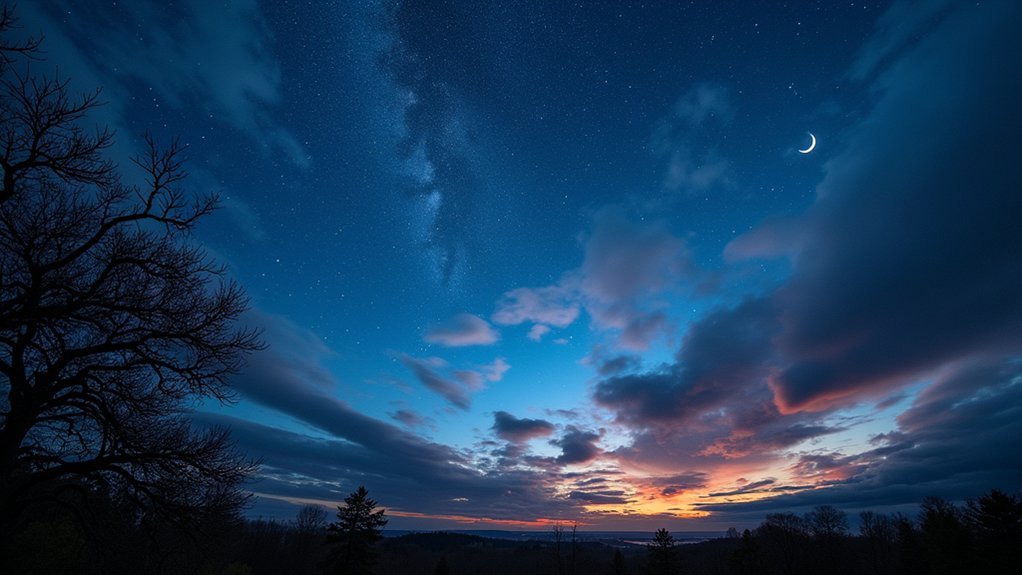
Wind greatly impacts your stargazing experience in several ways. High winds (above 15 mph) create atmospheric turbulence that distorts starlight and causes telescopes to vibrate, blurring celestial objects. Light breezes (0-5 mph) offer ideal viewing conditions with stable images. You’ll get better results by seeking sheltered locations behind natural barriers or using smaller equipment that catches less wind. Understanding wind patterns helps you predict when clear, steady skies will provide those breathtaking views you’re hoping for.
Numeric List of 7 Second-Level Headings
Seven key factors determine how wind affects your night sky observations.
When planning your stargazing experience, you’ll need to take into account:
1) Wind Speed: Higher velocities degrade image sharpness dramatically;
2) Atmospheric Turbulence: How air movement creates wavering views of celestial objects;
3) Weather Conditions: Overall patterns that accompany windy nights;
4) Wind Direction: Where gusts originate and how they interact with local terrain;
5) Telescope Positioning: Strategic placement to minimize exposure to prevailing winds;
6) Tube Currents: Internal air movements within your optical equipment; and
7) Local Microclimate Effects: How nearby structures influence airflow.
Understanding these elements helps you identify conditions for best seeing.
You’ll learn when to stay home and when it’s worth braving mild breezes for that perfect view of Jupiter’s moons or distant nebulae.
The Science Behind Wind and Atmospheric Stability
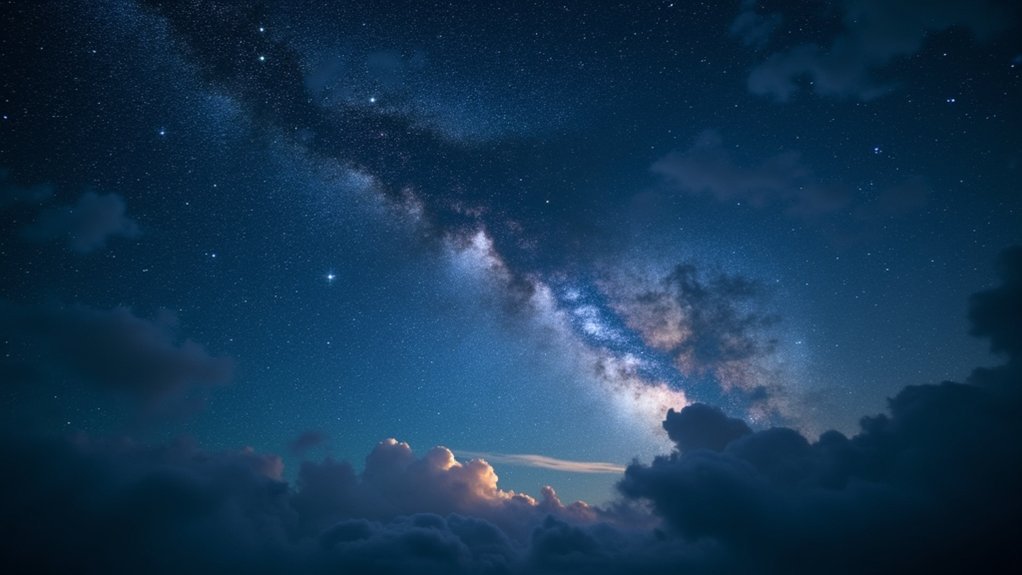
When you gaze upward on a clear night, the stability of Earth’s atmosphere determines what you’ll actually see. Wind plays a critical role in this atmospheric stability. Higher wind speeds create turbulence that distorts starlight, resulting in poor seeing conditions where celestial objects appear fuzzy rather than crisp.
This atmospheric turbulence occurs because wind causes temperature differences in air layers, fundamentally creating irregular “lenses” that bend light unpredictably. You’ll notice this effect is often worse at night when temperature fluctuations are more pronounced.
While gusty winds typically degrade your stargazing experiences, gentle breezes can sometimes improve conditions by promoting smoother airflow. That’s why observing from flat, less windy areas often provides better clarity than elevated, exposed locations where stronger winds disrupt the atmosphere’s stability.
How Different Wind Speeds Impact Telescope Performance
Although many backyard astronomers focus primarily on clear skies, wind conditions profoundly impact your telescope’s performance regardless of clarity. When you’re stargazing, different airflow speeds directly affect what you’ll see through your eyepiece.
- Light winds (0-5 mph) provide ideal telescope performance with stable views and “good seeing” conditions, plus they help achieve thermal equilibrium faster.
- Moderate winds (5-15 mph) introduce vibrations that blur star images, especially in larger scopes and Dobsonians.
- High winds (15+ mph) severely compromise image quality through constant shaking, making focusing nearly impossible.
- Telescope type matters – smaller refractors resist wind better than larger telescopes due to reduced surface area catching airflow.
Understanding these wind effects helps you plan sessions when conditions will maximize your viewing experience.
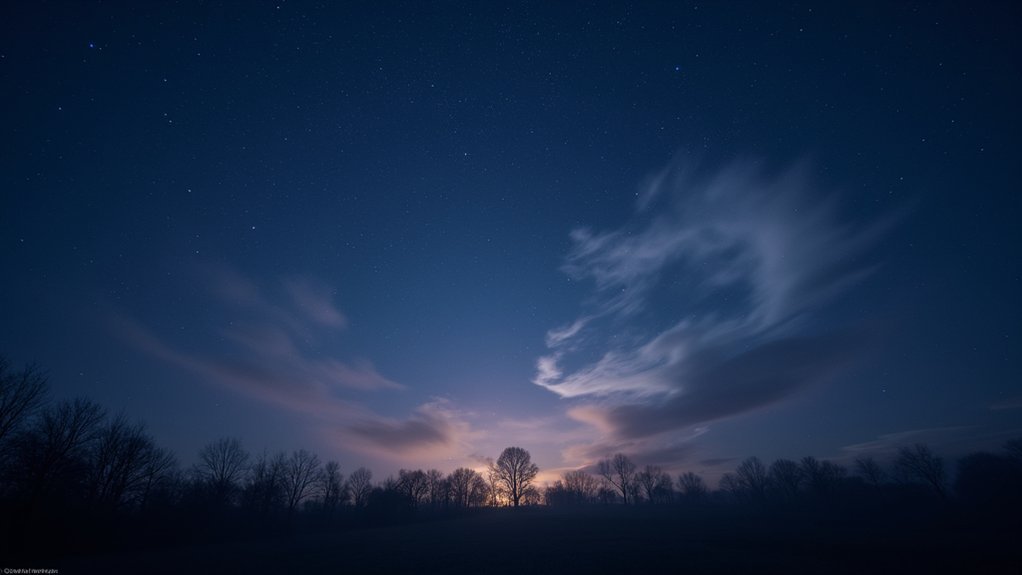
Finding Shelter: Strategic Locations for Windy Nights
When stargazing on windy nights, you’ll want to seek sheltered locations like forestry commission fire roads or enclosed car parks that naturally block gusts.
Strategic positioning behind terrain features can dramatically improve your viewing experience, as hills, valleys, and dense tree lines serve as effective natural windbreaks.
Setting up near walls or in areas with favorable geography allows you to focus on celestial objects rather than fighting to keep your equipment stable.
Sheltered Observing Spots
Finding the right location can transform a wind-challenged night into a productive stargazing session. When seeking sheltered locations, prioritize forestry commission fire roads or enclosed car parks oriented against prevailing winds to minimize wind impact while maintaining dark sky access.
For comfortable viewing with ideal observation stability:
- Choose sites with natural geography offering wind protection – enclosed areas rather than open fields.
- Position your equipment at the lowest possible height to reduce wind catch.
- Set up near natural barriers like tree lines or hills that block wind without obstructing your view.
- Consider the site’s accessibility for quick returns if weather deteriorates.
Understanding local geography helps identify spots where you’ll experience improved visibility without fighting gusts.
The right sheltered location often means the difference between frustration and a rewarding night under the stars.
Terrain as Windbreak
Natural landscape features serve as your best allies against disruptive winds during nighttime astronomy. When you’re selecting an observing site, look for geographic features that create natural windbreaks—hills, valleys, and tree lines can dramatically reduce wind exposure while maintaining your view of the night sky.
Position yourself on the leeward side of terrain elevations where you’ll find calmer air for stargazing. Forestry commission fire roads often provide excellent protection as they cut through sheltered corridors.
If you’re in flat areas, seek out slight depressions or embankments that disrupt airflow. Understanding prevailing wind directions helps you strategically choose locations where terrain works to your advantage.
Remember to set up your equipment at the lowest practical height to minimize wind catch while maintaining your view of celestial wonders.
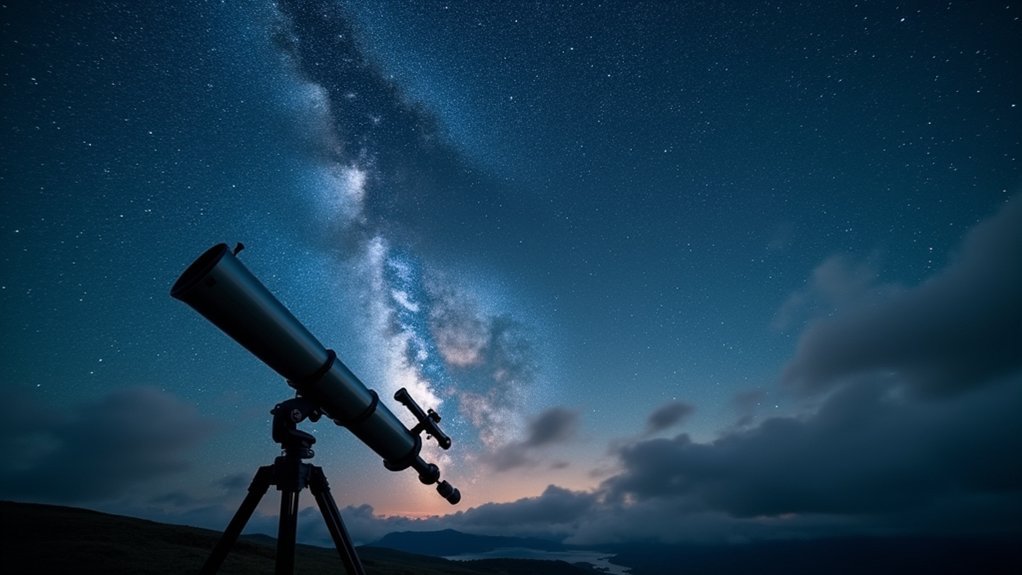
Equipment Modifications to Combat Gusty Conditions
Although stargazing requires clear skies, wind often proves to be an overlooked adversary for amateur astronomers. To improve your night sky views in windy conditions, consider these equipment modifications:
Clear skies aren’t enough – savvy astronomers must also contend with the unseen enemy of turbulent winds.
- Upgrade your Dobsonian base – Adding significant weight enhances stability and prevents tipping during gusts.
- Switch to smaller refractors – Their reduced tube diameter creates less wind resistance compared to larger telescopes.
- Add weight to portable equipment – Even small telescopes benefit from additional ballast at the base.
- Use binoculars instead – They’re easier to handle in blustery conditions and require minimal setup time.
For a permanent solution, consider constructing a run-off roof observatory that serves dual purposes as a windbreak and shield against light pollution, dramatically improving your observing experience.
Reading Weather Patterns to Predict Optimal Viewing Windows
You’ll find that rising barometric pressure often signals perfect stargazing conditions, with readings above 30 inches of mercury typically indicating clear, stable skies.
Watch for consistent wind patterns from the north or northwest, which frequently usher in drier air masses that enhance celestial visibility.
Barometric Pressure Signals
While experienced stargazers often check the weather forecast before planning an observation session, monitoring barometric pressure provides even more reliable insights into upcoming sky conditions.
High pressure systems typically bring clear skies and stable atmospheric conditions ideal for stargazing, while falling pressure often signals increasing cloud cover.
You can track these crucial atmospheric shifts in several ways:
- Use a manual barometer or digital weather station to monitor pressure changes
- Watch for steady pressure increases, which often precede clearing skies after storms
- Track pressure trends alongside forecasts using a stargazing app to identify prime viewing windows
- Pay attention to multi-day pressure patterns to anticipate nights with low winds and superior visibility
For amateur astronomers, understanding these barometric pressure signals transforms weather watching into a strategic advantage for planning successful observation sessions.
Wind Pattern Interpretation
Beyond merely checking the forecast, learning to interpret wind patterns reveals a deeper understanding of night sky viewing potential. High pressure systems typically bring calm winds and clearer skies, greatly improving your viewing quality.
Track wind speed using weather data apps or handheld anemometers—lower speeds mean less atmospheric turbulence and more stable equipment. Pay attention to wind direction too; ocean breezes often carry moisture that creates cloud cover, while land breezes may deliver clear sky forecast conditions.
Consider geographic features when selecting ideal locations. Mountains and forests create natural windbreaks that shelter your observation site. These protected areas minimize equipment vibration and atmospheric distortion, providing remarkably better viewing experiences.
With practice, you’ll anticipate cloud movement and identify prime viewing windows before they appear in standard forecasts.
Wind’s Effect on Seeing Conditions vs. Transparency
When observing the night sky, understanding the distinct impacts of wind on seeing conditions versus transparency can dramatically improve your stargazing experience.
Wind creates atmospheric turbulence that makes stars twinkle and blur, reducing detail in your observations. However, the same wind can enhance transparency by clearing humidity and dust from the air.
- Seeing conditions deteriorate with high winds as turbulence increases, particularly affecting larger telescopes and fine detail visibility.
- Low wind speeds are ideal for better seeing, minimizing atmospheric disturbances and maintaining telescope stability.
- Transparency often improves after windy weather as moisture and particulates are dispersed.
- Sheltered locations protect your equipment while allowing you to view celestial objects with minimal wind interference.
Frequently Asked Questions
How Does Wind Affect Stargazing?
Wind affects your stargazing by destabilizing equipment, increasing atmospheric turbulence that blurs stars, and causing discomfort. You’ll get clearer views by using weighted mounts, seeking sheltered locations, and lowering your tripod height.
How Much Does a 20 Mph Wind Affect Temperature?
A 20 mph wind makes you feel 10-15°F colder than the actual temperature. You’ll experience this wind chill effect as your body loses heat faster when moisture evaporates from your skin in moving air.
Does Wind Increase or Decrease at Night?
Wind typically increases at night in open areas due to temperature inversions, but it’s location-dependent. You’ll notice sheltered spots often experience calmer conditions, while areas near geographic features might have unique nighttime wind patterns.
Does Wind Affect Light Rays?
Yes, wind affects light rays by creating atmospheric turbulence that distorts light passing through air layers. You’ll notice this as the “twinkling” of stars and blurry images when viewing celestial objects through telescopes.
In Summary
You’ll notice wind’s impact on your stargazing extends far beyond just feeling cold. By understanding atmospheric dynamics, adapting your equipment, and choosing strategic locations, you’re now equipped to work with—not against—this powerful force. Remember, patience is key; even gusty nights offer viewing opportunities between breaths of air. Monitor forecasts, find shelter when needed, and you’ll transform what was once frustration into astronomical success.


Leave a Reply