To capture stunning star clusters, opt for a Newtonian reflector telescope with 600-1200mm focal length for those attractive diffraction spikes. Keep exposures shorter (around 30 seconds) to prevent star saturation, and consider using a cooled monochrome camera for superior detail and noise reduction. During post-processing, apply selective sharpening and restrained vibrance adjustments to enhance cluster definition while maintaining a natural appearance. These fundamental techniques will transform your celestial images from ordinary to extraordinary.
Equipment Selection for Crisp Star Cluster Detail
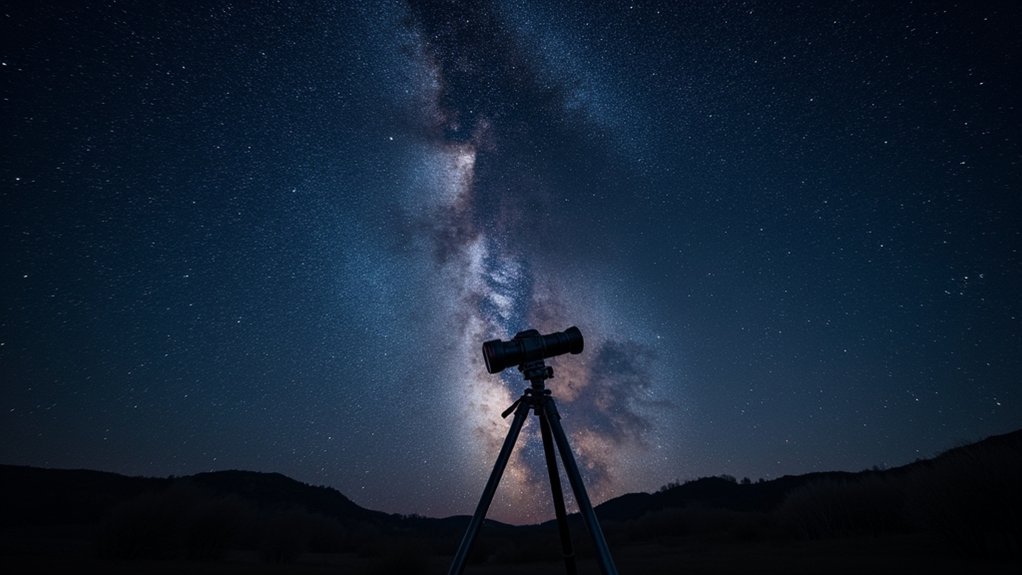
Three key equipment choices will greatly impact your star cluster photography results.
First, consider using a Newtonian reflector telescope, which creates attractive diffraction spikes that enhance star images. While refractors work too, they’ll need modifications like adding strings across the aperture to achieve similar visual effects.
Newtonian reflectors naturally produce those stunning star spikes that make cluster images truly pop.
For ideal focal length, aim for 600-1200mm when shooting open star clusters. This range delivers the perfect balance between capturing fine details and maintaining an adequate field of view.
Your camera selection matters considerably—opt for a monochrome model if you’re new to astrophotography. It offers superior control over exposure time and image quality.
To further enhance your results during long exposures, invest in a cooled camera system that reduces noise and preserves the delicate details within star clusters.
Star Cluster Exposure Techniques for Vibrant Colors
With your equipment properly selected, mastering exposure techniques becomes your next challenge for capturing the true beauty of star clusters. Contrary to common practice, aim for shorter exposures around 30 seconds to prevent star saturation while preserving the natural colors of the stars.
Monochrome cameras offer excellent initial practice, providing clearer details for post-processing color adjustments. When shooting long exposure images of star clusters, carefully balance your settings—even slightly overexposed stars may reveal color halos you can enhance later.
During post-processing, apply vibrance and saturation adjustments with restraint to maintain a natural appearance.
Try dithering while stacking your images to considerably improve color retention and reduce noise. This technique helps you achieve those vibrant, authentic star colors that make cluster photography so rewarding.
Post-Processing Methods to Enhance Cluster Definition

Once you’ve captured your raw star cluster images, proper post-processing becomes essential for revealing the intricate details that remain hidden in unprocessed data.
Start by stacking your exposures in Astro Pixel Processor to greatly enhance cluster definition and clarity.
In Photoshop, apply the HLVG plugin to eliminate unwanted green tint, ensuring your star clusters display their authentic colors.
Adjust black points and curves to improve contrast, making cluster details more prominent. Be judicious with vibrance and saturation adjustments—you’ll want to enhance stellar colors without creating an artificial appearance.
For final refinements, experiment with selective sharpening techniques to bring out individual stars within your clusters.
This targeted approach helps distinguish stars of varying magnitudes while maintaining a natural aesthetic in your final image.
Frequently Asked Questions
What Is the Best Magnification for Star Clusters?
For star clusters, you’ll want 20x-100x magnification. Use 20x-40x for open clusters like the Pleiades to see the full structure, and 60x-100x for globular clusters like M13 to resolve individual stars.
How Do You Observe Star Clusters?
You’ll observe star clusters best from dark skies using binoculars or small telescopes. Find them with star maps, focus on winter months when they’re highest, and start with bright clusters like the Pleiades.
What Is the Best Exposure Time for Globular Clusters?
For globular clusters, you’ll want to use 30-second to 2-minute exposures to avoid star saturation. Stack multiple shots for a total integration time of 1-2 hours to capture intricate details and preserve star colors.
What Are the 7 Huge Clusters of Stars?
You’re likely referring to the Seven Sisters (Pleiades), Hyades, Double Cluster, Beehive (M44), Jewel Box, Ptolemy’s Cluster, and Omega Centauri. These are among the most spectacular star clusters visible from Earth.
In Summary
With the right equipment, exposure techniques, and post-processing skills, you’ll transform ordinary night sky images into breathtaking star cluster masterpieces. Don’t be afraid to experiment with different ISO settings, exposure times, and focal lengths to find your unique style. Remember, patience is key—you won’t perfect astrophotography overnight. Keep practicing these tips, and you’ll soon capture the celestial beauty that’s captivated stargazers for centuries.

Leave a Reply