
Common telescope imaging errors that cost you success include poor polar alignment causing star trails, improper focusing resulting in blurry stars, and underestimating light pollution‘s impact on image quality. You’ll also struggle with inadequate calibration frames, incorrect camera settings, and neglected flat-fielding. Optical misalignment and poor collimation further degrade results, while choosing targets unsuitable for your equipment leads to frustration. Addressing these key issues will transform your astrophotography results dramatically.
What Common Telescope Imaging Errors Cost You Success?
Why do some astrophotographers consistently capture stunning images while others struggle with mediocre results? The difference often lies in identifying and correcting common technical errors.
Poor polar alignment is perhaps the most fundamental mistake, causing star trails that ruin long exposures and waste valuable imaging time. This becomes increasingly problematic with longer focal lengths, greatly reducing your usable frame count.
Vignetting creates uneven illumination, darkening your image edges and diminishing overall quality. Without proper flat frame calibration, this effect can severely limit the aesthetic appeal of your final image.
Other costly errors include field curvature creating distorted stars, hot pixels creating unwanted artifacts, and mechanical issues producing half-dark frames. Each problem requires specific solutions—from coma correctors to dark frame subtraction—that separate average results from truly stunning astrophotography.
Poor Polar Alignment: The Silent Image Killer
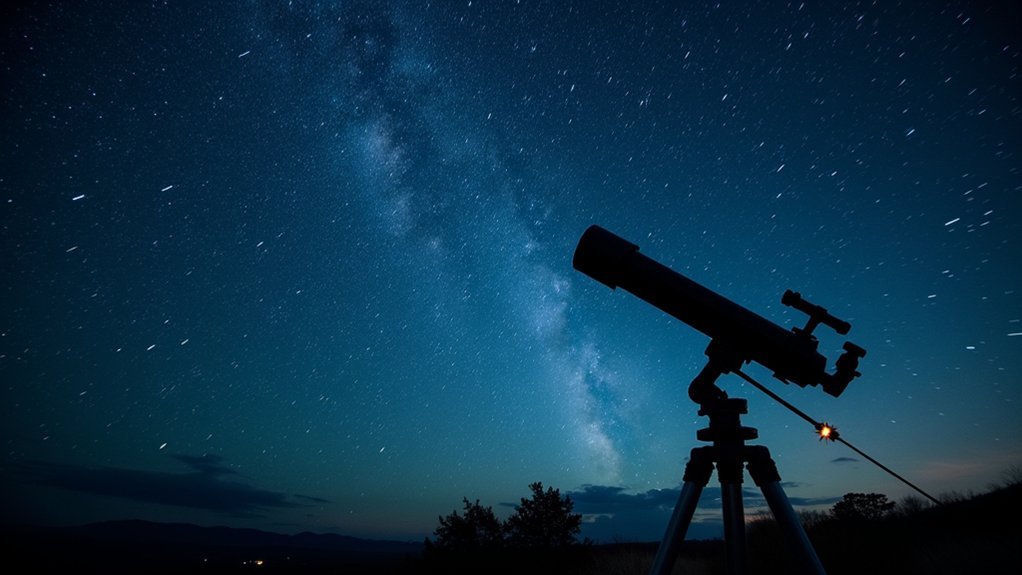
Poor polar alignment can transform your promising astrophotography session into a frustrating exercise as star trails creep into your images, ruining hours of setup and patience.
You’ll notice tracking errors manifest as elongated stars instead of crisp points of light, with the problem becoming more pronounced at longer focal lengths and exposure times.
While quality equipment like German Equatorial Mounts can improve your results, they can’t overcome fundamentally flawed alignment, making this often-overlooked step the foundation of successful imaging.
Star Trails Ruin Everything
When you’ve spent hours setting up your telescope for that perfect deep-sky shot, nothing deflates your enthusiasm faster than discovering star trails marring your images. These elongated stars are the telltale sign of poor polar alignment, turning what should be pinpoint stars into distracting streaks.
| Exposure Factor | Good Alignment | Poor Alignment |
|---|---|---|
| Short exposures | Pinpoint stars | Slightly oval |
| Long exposures | Round stars | Obvious trails |
| High magnification | Detailed | Unusable blur |
Your tracking errors become more pronounced with longer exposures and higher focal lengths. While you might be tempted to rely on autoguiding to fix these issues, it can’t compensate for fundamental polar alignment problems. Even with advanced equipment, those few minutes spent perfecting your alignment will save hours of frustration later.
Tracking Accuracy Matters
Accurate polar alignment represents the foundation of successful astrophotography, yet many beginners underestimate its importance until their images reveal the telltale signs of tracking errors.
When your mount isn’t properly aligned with the celestial pole, stars stretch into trails during longer exposures, ruining otherwise promising photos.
You’ll notice these problems worsen at longer focal lengths, where even slight misalignments become glaringly obvious.
While autoguiding systems can compensate for minor tracking issues, they’re no substitute for proper polar alignment. Your German Equatorial Mount requires precise alignment for peak performance.
Don’t fall into the trap of thinking shorter exposures or wider fields will solve everything. These are temporary workarounds, not solutions.
For consistent results, you must invest time perfecting your tracking accuracy through meticulous polar alignment before beginning your imaging session.
Improper Focusing Techniques That Blur Potential
Focusing your telescope properly represents one of the most critical yet challenging aspects of astrophotography. When you employ improper focusing techniques, bright stars appear as fat or ring-shaped blobs instead of crisp points of light, dramatically degrading your images.
Precise focus transforms fuzzy stellar blobs into the pinpoint stars that breathe life into exceptional astrophotography.
Atmospheric turbulence compounds these challenges, requiring high-quality eyepieces to achieve visual clarity during bad seeing conditions.
You’ll find a Bahtinov mask invaluable for precise focusing, as its distinctive diffraction pattern clearly indicates when you’ve hit the sweet spot.
Don’t overlook collimation—misaligned optics create asymmetrical stars that no amount of focusing can fix.
Consider implementing live stacking software to help with real-time focus adjustments during your imaging sessions, ensuring you capture the universe with the sharpness it deserves.
Underestimating the Impact of Light Pollution
You’ll find your painstakingly captured nebulae photos appear washed-out and lackluster when you ignore the severe impact of light pollution on deep sky imaging.
Critical galactic details often vanish completely beneath the artificial sky glow, transforming what should be spectacular cosmic features into barely discernible smudges against a bright background.
Urban astrophotographers face particularly tough challenges, requiring specialized filters, strategic timing, and post-processing techniques to extract meaningful detail from skies drowning in artificial light.
Washed-out Nebulae Photos
Why do many enthusiastic astrophotographers end up with disappointingly faint, washed-out nebulae images despite using quality equipment?
Light pollution is often the hidden culprit. Urban skyglow can increase background brightness by up to 100 times, dramatically reducing the contrast between delicate nebulae and the sky.
To rescue your nebulae from washing out:
- Use narrowband filters that isolate specific wavelengths emitted by nebulae while rejecting unwanted light pollution.
- Create a stacked image from multiple exposures to average out noise and enhance faint details.
- Schedule your imaging sessions during moonless nights to minimize natural light interference.
- Choose your observation location carefully, avoiding areas with significant artificial lighting whenever possible.
These techniques will help preserve the vibrant details that make nebulae photography so rewarding.
Lost Galactic Detail
Three critical details are frequently lost in galaxy photographs due to the severe impact of light pollution.
First, the delicate spiral arms and dust lanes that give galaxies their character become washed out when artificial skyglow overwhelms their faint light.
Second, the subtle contrast variations that reveal star-forming regions and galactic structure disappear, leaving you with flat, uninspiring images.
When you’re imaging from light-polluted areas, you’ll find yourself increasing exposure time to compensate, but this introduces new problems like thermal noise and tracking errors that further degrade your results.
While narrowband filters can help with emission nebulae, they’re less effective for galaxies’ broadband light.
Your best strategy is planning sessions around new moons or traveling to dark-sky locations where galactic details can truly shine through your telescope.
Urban Imaging Challenges
When attempting astrophotography from city locations, many astronomers dramatically underestimate light pollution‘s destructive influence on their imaging results.
The urban sky glow creates considerable barriers between you and successful deep sky photography.
Light pollution affects your imaging in four critical ways:
- Drastically reduces visibility of faint celestial objects, making deep sky details nearly impossible to capture.
- Creates uneven brightness gradients across your frame, complicating post-processing efforts.
- Forces you to use shorter exposures to avoid sensor saturation, resulting in more unusable, underexposed frames.
- Requires specialized narrowband filters that isolate specific wavelengths, adding complexity and cost.
Even with advanced equipment, urban light pollution often forces multiple imaging sessions before achieving satisfactory results, markedly decreasing your success rate compared to dark-sky locations.
Inadequate Calibration Frame Collection and Processing
Although many astrophotographers focus primarily on capturing stunning deep-sky objects, the quality of your final images depends heavily on proper calibration frame collection and processing.
Without adequate dark frames taken at the same temperature and exposure settings as your light frames, persistent noise and hot pixels will degrade your results.
You’ll need at least 10 flat field frames averaged together to effectively correct vignetting and pixel irregularities.
When you skip this step or capture flats under non-uniform lighting, dark rings or “doughnuts” appear in your images—a telltale sign of poor calibration.
Exposure Time Miscalculations for Different Celestial Objects
You’ll frequently encounter vastly different exposure requirements when imaging the bright Moon or planets compared to faint deep sky objects like galaxies and nebulae.
Your camera settings must adapt to varying light conditions, with lunar photography often needing exposures measured in milliseconds while distant galaxies might require minutes to hours of integration time.
When shooting through light pollution, you’ll need to extend exposure times even further or employ narrowband filters to achieve adequate signal-to-noise ratios that reveal celestial details.
Deep Sky vs. Planets
Despite sharing the same night sky, deep sky objects and planets demand vastly different imaging approaches. Misunderstanding these differences leads to poor results and frustration.
When capturing celestial objects, remember:
- Deep sky objects require minutes to hours of exposure time while planets need just milliseconds to seconds.
- Deep sky imaging depends on maximizing signal-to-noise ratio through multiple stacked exposures, whereas planetary imaging thrives on high frame rates.
- Long exposures for galaxies and nebulae suffer more from tracking errors and atmospheric turbulence, while quick planetary captures sidestep these issues.
- Calibration frames are essential for deep sky work but less critical for planetary imaging due to the shorter exposures.
These fundamental differences explain why your equipment settings must adapt to your target, not the other way around.
Moon Phase Considerations
When the moon’s brightness dominates the night sky, amateur astronomers often miscalculate exposure times, resulting in washed-out images or lost details.
Your telescope’s imaging success depends heavily on understanding how moon phases affect exposure settings.
During a full moon, you’ll need shorter exposure times to prevent bright backgrounds from overwhelming faint objects. Conversely, new moon conditions allow for longer exposures that reveal dim targets without interference.
When capturing bright planets or the Moon itself, keep exposures brief to preserve detail and prevent saturation.
Crescent and gibbous phases offer a middle ground, requiring moderate exposure times that balance detail and contrast.
Before planning your next imaging session, check the moon phase calendar—it’s not just about when you observe, but how you adjust your camera settings to match the night sky’s conditions.
Light Pollution Adjustments
Light pollution presents a different challenge than moon phases for astrophotographers. When you miscalculate exposure times under light-polluted skies, you’re fundamentally throwing away valuable imaging data.
The consequences vary depending on your target:
- Faint deep-sky objects – Insufficient exposure times leave galaxies and nebulae invisible against the brightened background, requiring minutes rather than seconds to detect.
- Solar system objects – Overexposure blows out details on planets and the Moon when you don’t adjust for their relative brightness.
- Star clusters – Objects like Pal 4 remain hidden without the extended exposures needed to overcome urban light glow.
- Emission nebulae – Without narrowband filters and properly lengthened exposures, these objects disappear completely.
Understanding your local light pollution levels helps you adjust exposure times appropriately for each celestial target type.
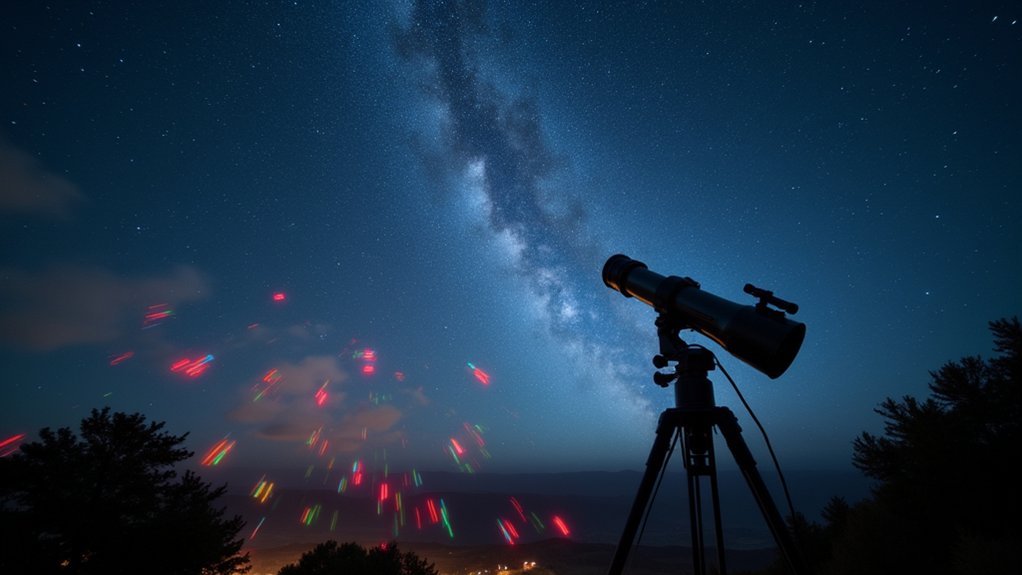
Vibration Issues: Turning Sharp Stars Into Trails
Astrophotographers frequently encounter the frustrating problem of vibration effects transforming what should be pinpoint stars into elongated trails in their images.
These vibration issues typically stem from imperfect polar alignment, drive errors, or external factors like wind buffeting your setup.
You’ll notice star trails become more pronounced with longer focal lengths and exposure times, as these amplify even the slightest movement.
Investing in a quality German Equatorial Mount (GEM) is essential for minimizing these tracking errors and stabilizing your imaging platform.
While autoguiding systems can improve tracking precision, they can’t compensate for fundamental alignment problems.
If you’re struggling with persistent vibration issues, try reducing your exposure time or focal length until you resolve the underlying stability problems in your setup.
Failing to Dither Between Frames
Many beginners overlook the critical technique of dithering between exposures, resulting in stacked images plagued by stubborn noise patterns that refuse to disappear.
Dithering transforms your stacked images from noisy disappointments into clean, detail-rich astronomical portraits.
When you don’t dither, you’re fundamentally layering identical noise on top of itself, undermining the signal-to-noise benefits that stacking provides.
Dithering’s impact on your astrophotography success:
- It shifts your camera position slightly between frames, allowing signal to accumulate while noise averages out.
- It reduces tracking errors and thermal noise that would otherwise corrupt your data.
- It yields markedly sharper details and more accurate colors in your final image.
- It’s easily implemented through automation software, making your imaging sessions more efficient.
Don’t let fixed noise patterns ruin hours of imaging work—incorporate dithering into your routine for dramatically cleaner results.
Incorrect Camera Settings for Astrophotography
While mastering astrophotography techniques requires patience, your camera settings alone can make or break an imaging session regardless of your telescope’s quality. Failing to optimize these parameters often leads to disappointing results that even skilled image processing can’t fully recover.
| Setting | Common Error | Consequence |
|---|---|---|
| ISO | Too low | Underexposed images missing faint details |
| Exposure Time | Inappropriate duration | Star trails or insufficient light capture |
| File Format | Using JPEG instead of RAW | Limited post-processing flexibility |
| Calibration | Neglecting dark/flat frames | Hot pixels and vignetting in final image |
Don’t overlook gain settings either—improper adjustment causes excess noise, especially during long exposures where thermal interference becomes problematic. Remember that incorrect camera settings early in your workflow create problems that compound throughout the image processing pipeline.
Neglecting Flat Frames and Field Uniformity
Even the most advanced telescopes can’t overcome the optical reality that flat frames represent one of astrophotography’s critical calibration steps.
Without proper flat-fielding, your images will suffer from vignetting, uneven illumination, and compromised quality with dimmer stars at the edges.
When you neglect field uniformity, you’ll face:
- Distracting dust “doughnuts” that obscure celestial details
- Uneven brightness distribution across your image frame
- Persistent color gradients and artifacts, especially in deep-sky shots
- Visible sensor irregularities and dead pixels that detract from your subject
Optical Train Misalignment and Collimation Errors
Because precision is paramount in astrophotography, optical train misalignment and poor collimation can devastate your imaging results. When your telescope’s components aren’t perfectly aligned, stars appear distorted and detail is lost across your field of view.
| Issue | Symptoms | Solution |
|---|---|---|
| Optical train misalignment | Elongated stars, field curvature | Check component spacing and centering |
| Collimation errors | Comet-shaped stars, poor contrast | Use laser collimator or collimation cap |
| Focus inconsistency | Soft details, variable sharpness | Guarantee perpendicular sensor alignment |
You’ll need to perform regular collimation checks, especially after transporting your equipment. Even minor misalignments become magnified at higher powers, dramatically reducing image quality. Proper alignment guarantees maximum light collection and contrast, giving you those pinpoint stars that define successful astrophotography.
Target Selection Pitfalls for Your Equipment Capabilities
Beyond ensuring your optical system is properly aligned, matching your targets to your equipment’s capabilities represents another fundamental challenge in astrophotography. Your target selection must align with your telescope’s limitations to avoid frustration and wasted nights.
Choose targets that match your equipment’s capabilities—avoid this mismatch and save yourself nights of frustration.
- Overambitious magnification – Beginners often select targets requiring high magnification when their wide-field telescopes excel at low-power observations.
- Incompatible field of view – Smaller telescopes capture stunning nebulae and star clusters but struggle with detailed views of planets or distant galaxies.
- Exposure limitations – Plan imaging sessions around your equipment’s focal length and maximum exposure time capabilities.
- Meridian flip complications – Choose targets that remain accessible for hours without interruption to avoid data loss.
Use planetarium apps like Stellarium to identify suitable targets based on your specific equipment and location.
Frequently Asked Questions
What Would Cause a Telescope to Experience Bad Seeing?
You’ll experience bad seeing when atmospheric turbulence, high humidity, temperature fluctuations, wind vibrations, or observing near the horizon distort light paths. These conditions break down image stability and clarity during observations.
What Are the Three Main Factors That Should Be Considered When Choosing a Telescope?
When choosing a telescope, you’ll want to evaluate the focal length (shorter is more forgiving), optical design (wide-field refractors are beginner-friendly), and mount type (stable GEMs or Alt-Az mounts for serious imaging).
What Are Problems With Telescopes?
You’ll encounter several telescope problems: poor collimation creating comet-shaped stars, stuck shutters causing half-dark images, optical aberrations producing color fringing, vignetting darkening image edges, and hot pixels without proper dark frame subtraction.
What Did NASA Do to Correct the Problem With the Hubble Space Telescope?
NASA fixed Hubble’s blurry vision by sending astronauts to install COSTAR, a system of corrective mirrors. This space repair mission in 1993 compensated for the primary mirror’s manufacturing flaw, giving you crystal-clear cosmic images.
In Summary
You’re now equipped to avoid the most damaging telescope imaging errors. By properly aligning, focusing, and calibrating your equipment, you’ll capture sharper, more detailed images. Don’t let light pollution, incorrect settings, or poor target selection sabotage your efforts. Remember, attention to these technical details isn’t just busywork—it’s the difference between mediocre snapshots and stunning astrophotography that truly showcases the night sky’s beauty.


Leave a Reply