Image stacking combines multiple night photos to reduce noise and reveal hidden details without star trails. For beginners, try free software like DeepSkyStacker or Sequator, which offer user-friendly interfaces. Capture 10-second exposures at ISO 800-1600 on a sturdy tripod, ensuring consistent settings across all frames. Use alignment tools to correct positioning issues, then finalize with post-processing for contrast and color adjustments. Our extensive guide will transform your ordinary night shots into spectacular celestial masterpieces.
What Is Image Stacking and Why It Matters for Night Sky Photos
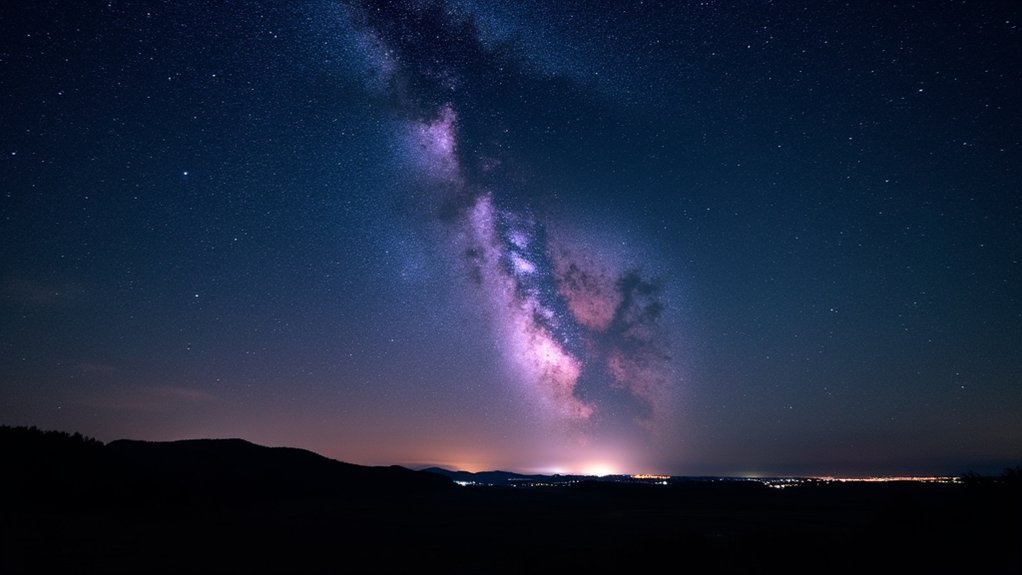
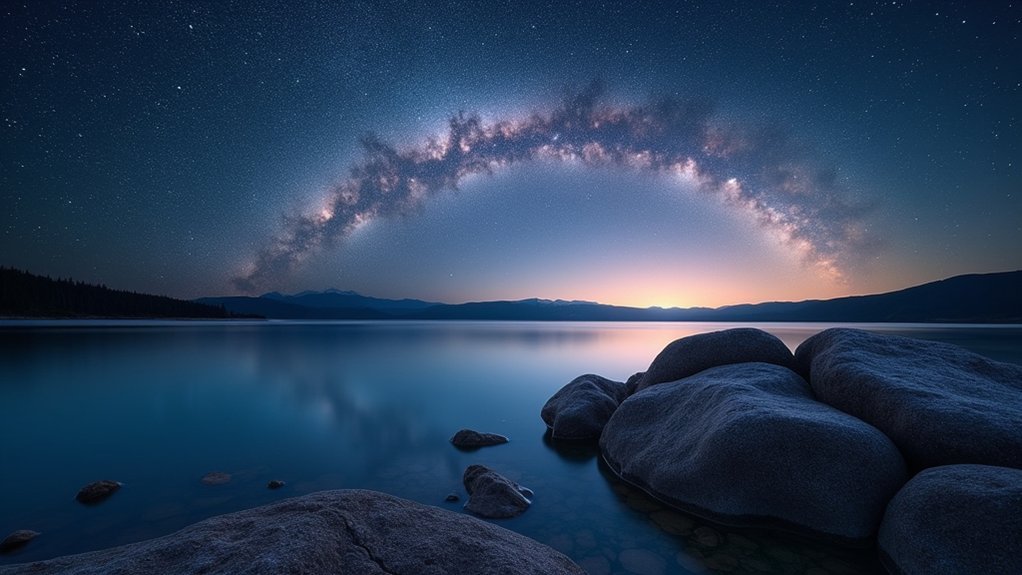
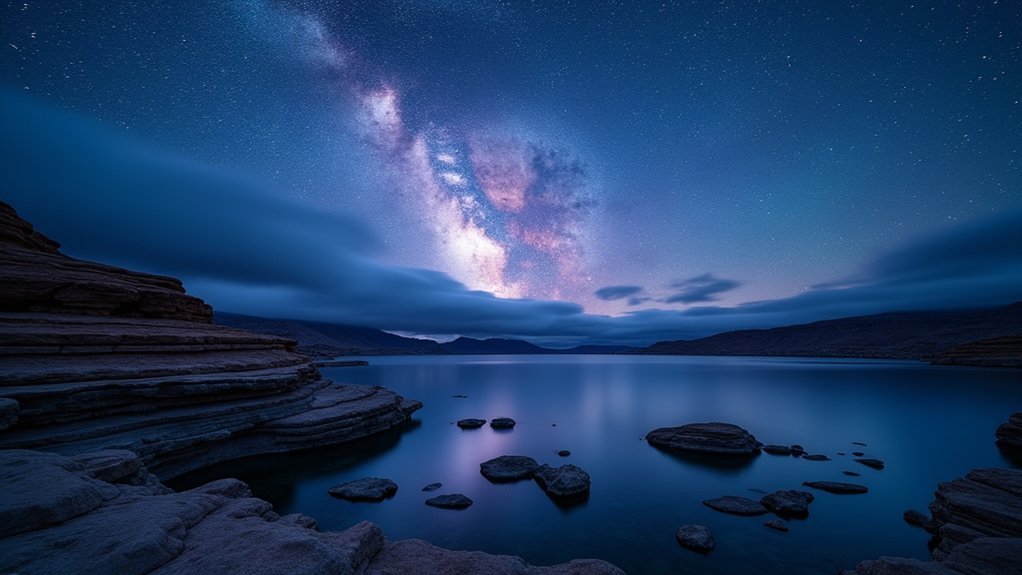
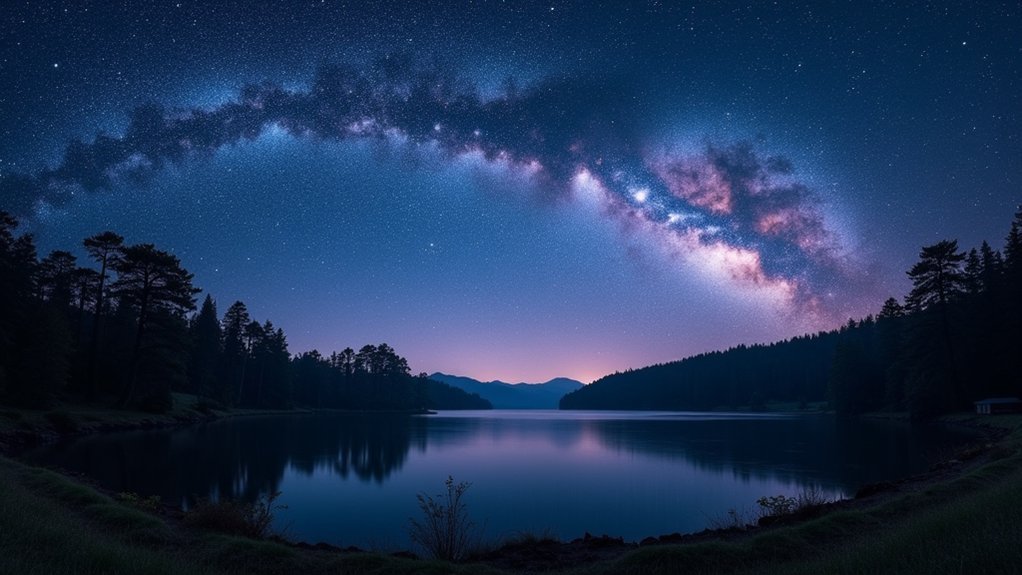
Magic happens when you combine multiple photographs of the night sky. This technique, called image stacking, greatly improves the signal-to-noise ratio in your astrophotography.
Rather than relying on a single long exposure that risks star trails, you’ll capture several shorter exposures and blend them together.
Why incorporate this into your stacking workflow? When you shoot the night sky, random noise from thermal vibrations and stray signals interferes with capturing faint celestial objects. By averaging pixel values across multiple images, you’ll reduce this noise considerably.
Random noise sabotages your view of the cosmos, but image stacking reveals what darkness conceals.
The result? Your photo of the night reveals details invisible in single shots.
Image stacking lets you achieve ultra-long integrated exposure times without sacrificing quality, revealing subtle colors and dim objects that would otherwise remain hidden in the darkness.
Popular Free Stacking Software Options for Beginners
For beginners venturing into astrophotography, several free stacking software options offer accessible entry points without financial investment.
DeepSkyStacker stands out with its user-friendly interface and automated workflow, while alternatives like ASIDeepStack and Sequator provide faster processing times for those prioritizing efficiency.
Your choice ultimately depends on your specific needs—whether you’re capturing deep-sky objects, wide-field nightscapes, or planetary images—as each program offers distinct advantages for different night photography scenarios.
Free Beginner-Friendly Options
Anyone starting their night photography journey needs reliable stacking software without breaking the bank.
Deep Sky Stacker (DSS) stands out as a user-friendly option that automates your image processing workflow while delivering excellent noise reduction results.
If you prefer open-source alternatives, Siril offers robust stacking capabilities for both deep-sky images and wide-field nightscapes.
ASIDeepStack impresses with its simple interface and fast processing speeds, perfect when you’re just learning the ropes.
Sequator provides quick, straightforward operations specifically designed for deep-sky photography.
For planetary imaging enthusiasts, Autostakkert! lets you select the best frames from video captures to enhance detail.
These free beginner-friendly options give you professional-quality results without the learning curve or expense of commercial alternatives.
DeepSkyStacker vs. ASTAP
When comparing free stacking software options, DeepSkyStacker (DSS) and ASTAP emerge as leading contenders for beginners entering the night photography domain.
DSS offers a user-friendly interface with automated workflows that’ll get you stacking images quickly. Its streamlined process produces results that are ready for further editing in Photoshop with minimal effort. You’ll appreciate its efficiency when processing multiple image files.
ASTAP, meanwhile, includes advanced features like plate-solving, giving you more control over your stacked images. While it may require a steeper learning curve, you’ll benefit from its impressive speed and accuracy during the stacking process.
Both programs are completely free, making them perfect for experimentation. If you’re just starting out, DSS’s straightforward approach might be your best first choice, while ASTAP awaits when you’re ready for more advanced techniques.
Paid Software Solutions: Features Worth the Investment

Investing in paid astrophotography stacking software like APP, PixInsight, or ASIDeepStack releases advanced calibration features that greatly enhance your night sky images.
You’ll find that each option balances user-friendliness, processing speed, and sophisticated editing capabilities at different price points ranging from free to $240.
Your choice ultimately depends on whether you need APP’s mosaic handling, PixInsight’s all-encompassing editing suite, or ASIDeepStack’s streamlined efficiency for your specific photography goals.
Specialized Features Comparison
Although free stacking software options provide solid foundations for night photography, paid solutions like AstroPixel Processor and PixInsight offer specialized features that can dramatically enhance your final images.
When comparing specialized features, AstroPixel Processor ($175) stands out with its intuitive user interface and exceptional mosaic creation capabilities for stacking images of various data sets.
PixInsight ($240) delivers advanced tools like automatic noise reduction and sophisticated color calibration that serious astrophotographers will appreciate.
While Deep Sky Stacker and ASIDeepStack offer free alternatives with quick results, you’ll find the paid options provide batch processing and enhanced calibration tools that streamline your workflow.
If you’re an advanced user seeking superior image quality, the investment in software for stacking might be justified by the time saved and the professional results you’ll achieve.
Budget-to-Value Analysis
Three key factors determine whether paid stacking software justifies its price tag: processing speed, feature depth, and workflow efficiency.
When conducting a budget-to-value analysis, consider that AstroPixel Processor ($175) does a great job of stacking while offering an intuitive interface and excellent mosaic capabilities—making it worthwhile for serious photographers.
PixInsight ($240) delivers the most extensive toolset despite being the slowest option.
Meanwhile, Nebulosity provides good stacking features at just $60, striking a balance between functionality and affordability.
For beginners, free alternatives like ASIDeepStack and Deep Sky Stacker remain the best choice if you’re on a tight budget.
Both are surprisingly easy to use with DSS offering automation benefits, while ASIDeepStack impresses with processing times under 2 minutes—exceptional value for those entering astrophotography.
Step-by-Step Process for Capturing Stackable Images
Successful night sky stacking begins with proper image capture techniques. Set your digital camera to a higher ISO between 800-1600 to balance sensitivity and noise in your final image. Use approximately 10-second exposures to gather sufficient light without creating star trails.
Manually focus to infinity or use a bright star for precise focus before shooting. A sturdy tripod is essential to eliminate camera movement during these longer exposures.
Don’t forget to capture dark frames by taking photos with your lens cap on. These frames are invaluable during batch processing, as they help your editing software identify and remove noise patterns.
When properly implemented, this systematic approach guarantees you’ll capture high-quality raw material for stacking, resulting in cleaner, more detailed astrophotography.
Common Stacking Methods and Their Applications
While capturing quality raw images forms the foundation of night photography, understanding different stacking methods truly elevates your results.
Median stacking averages pixel values across multiple frames, greatly reducing noise while preserving detail—essential for deep-sky objects. For planetary imaging, maximum stacking highlights the brightest features, revealing surface details often lost in single exposures.
The best software automatically aligns your images and incorporates calibration frames. Including a dark frame removes sensor noise and hot pixels, dramatically improving your final image.
Many programs offer live stacking, allowing you to see results in real-time as frames accumulate. This immediate feedback helps you adjust settings on the fly.
Different subjects benefit from specific techniques: deep-sky nebulae favor median methods, while planets and the moon often benefit from maximum value composites.
Troubleshooting Alignment and Noise Issues
Even with the best equipment, you’ll inevitably encounter alignment problems and noise issues when stacking night photography images. Guarantee all frames share identical focal length and exposure settings to maintain consistency during processing.
| Problem | Solution |
|---|---|
| Misalignment | Use “auto-align” or manual alignment tools |
| Star trails | Check for consistent focal length across frames |
| Persistent noise | Incorporate dark frames during stacking |
| Poor quality | Discard low-SNR subframes before processing |
When troubleshooting alignment issues, focus on utilizing your software’s alignment features to correct frame positioning. For stubborn noise problems, consider capturing additional frames to improve the averaging effect or re-evaluate your exposure settings. Remember to assess each subframe’s quality—removing poor frames often dramatically enhances your final stacked image’s clarity.
Post-Processing Your Stacked Images for Maximum Impact
Once you’ve successfully stacked your night photography images, the real magic begins in the post-processing phase.
Start with global adjustments in Lightroom to enhance contrast and color balance across your stacked results. Then move to Photoshop where the Lighten blending mode reveals stars from each frame, creating more detailed images.
Watch for moiré patterns during processing—disable lens corrections or re-stack in Lightroom if they appear.
When saving your project, choose between PSD or TIFF formats for future editing, or PSB for larger files.
Finally, inspect your stacked image carefully for artifacts like airplane trails.
Use masking techniques in Photoshop to isolate and correct these areas, ensuring your stacking software’s hard work yields professional-quality night photography results.
Frequently Asked Questions
What Is the Easiest Astrophotography Stacking Software?
For the easiest astrophotography stacking software, you’ll want ASIDeepStack. It offers a simple interface and processes images in under 2 minutes. Deep Sky Stacker and ASTAP are also user-friendly, free alternatives you’ll appreciate.
How to Do Image Stacking in Astrophotography?
To do image stacking in astrophotography, you’ll need to capture multiple exposures of your target, import them into software like Deep Sky Stacker, align the frames, and combine them to reduce noise and enhance details.
What Is the Best Software for Image Stacking?
The best stacking software depends on your needs. As a beginner, try free Deep Sky Stacker. For speed, use ASIDeepStack. If you want extensive control and don’t mind paying, PixInsight or AstroPixel Processor work well.
What Is the App That Lets You Stack Images?
You’re looking for image stacking apps? Deep Sky Stacker, PixInsight, ASIDeepStack, AstroPixel Processor, Siril, and Sequator all let you stack images. DSS and Sequator are great free options for beginners.
In Summary
You’ve now got the tools to transform your night photography through stacking. Don’t be afraid to experiment with different software and techniques as you grow. Remember, even simple stacking dramatically improves your results by reducing noise and enhancing details. With practice, you’ll quickly develop your own workflow and signature style. The night sky is waiting for your improved captures!


Leave a Reply