
A T-ring camera mount is essential if you’re venturing into astrophotography with your DSLR. It creates the critical connection between your camera and telescope, ensuring a light-tight seal and proper alignment for capturing detailed celestial images. With a T-ring, you’ll transform your telescope into a powerful telephoto lens, allowing the full light cone to reach your camera’s sensor unobstructed. Pair it with a 2-inch T-adapter for peak results and fewer vignetting issues. The right setup makes all the difference in your cosmic photography journey.
What Is a T-Ring Mount and How Does It Work?
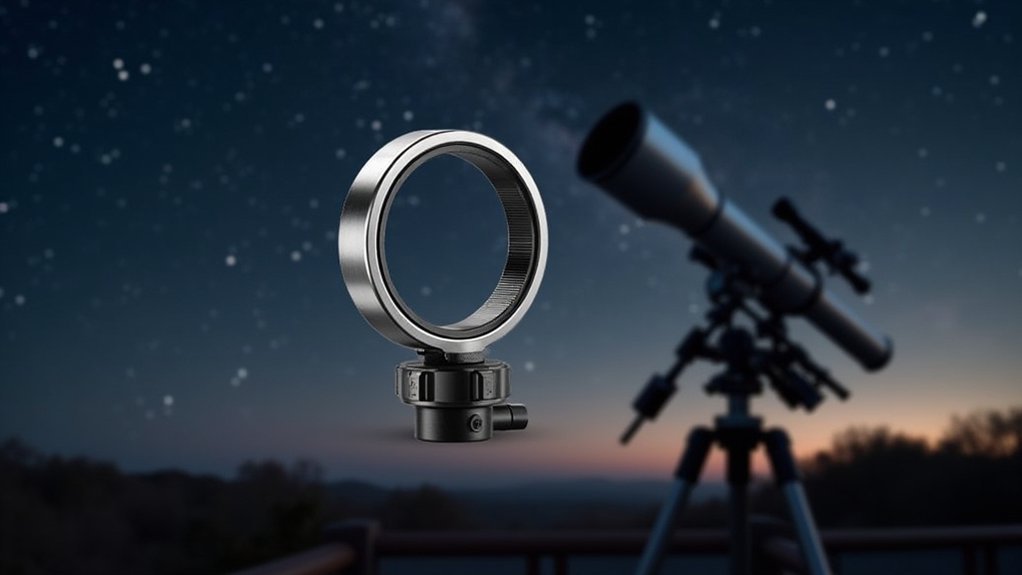
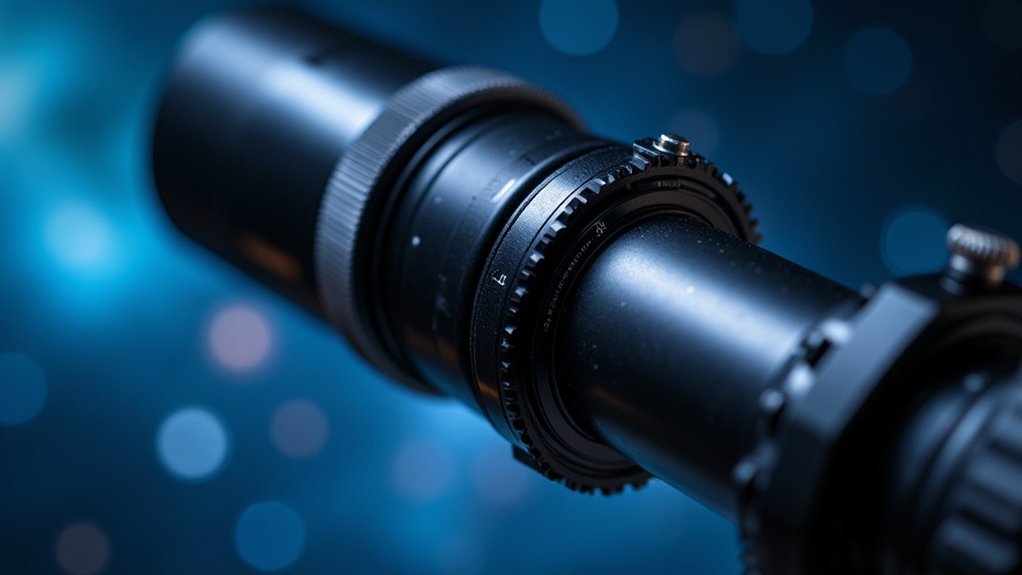
Astrophotographers understand that capturing the night sky requires specialized equipment. At the core of this setup is the T-ring mount, an essential accessory that bridges your DSLR camera to your telescope. This simple yet vital device attaches directly to your camera’s lens mount where you’d normally connect a photography lens.
The T-ring works in conjunction with a T-adapter to complete the connection. While the T-ring is camera-specific (like a dedicated Nikon D3500 version), the T-adapter connects to your telescope’s focuser.
A 2-inch T-adapter is typically recommended for superior image quality and reduced vignetting.
This combination effectively transforms your telescope into a powerful telephoto lens for your camera, allowing you to focus on and capture detailed images of distant celestial objects in astrophotography.
Connecting Your DSLR to Different Telescope Types
Selecting the right T-ring for your DSLR requires consulting a compatibility matrix to match your camera brand with appropriate telescope attachments.
You’ll achieve prime focus mounting by connecting your Nikon D3500 or similar camera directly to the telescope’s focal plane using both a T-ring and T-adapter specific to your equipment.
Adding a field flattener to your setup will correct curvature distortion at the image edges, particularly beneficial for wide-field astrophotography with refractor telescopes.
T-Ring Compatibility Matrix
When connecting your DSLR to various telescope types, understanding the compatibility matrix for T-rings becomes essential for successful astrophotography. Your Nikon D3500 requires a specific T-ring designed for that model to guarantee a proper fit and secure connection to your telescope.
| Telescope Type | Required Adapter |
|---|---|
| Refractor | 2″ T-adapter |
| Reflector | 2″ T-adapter |
| SCT | SCT-specific adapter |
| Dobsonian | 2″ T-adapter |
Always check your telescope’s focuser dimensions before purchasing any adapters. The 2″ T-adapters are recommended over 1.25″ alternatives as they reduce vignetting and provide more stability. If you’re unsure about compatibility, don’t hesitate to consult astronomy forums where experienced astrophotographers can offer guidance based on their experiences with similar equipment combinations.
Prime Focus Mounting
Prime focus mounting represents the most direct method for connecting your DSLR to a telescope, creating a system where your telescope fundamentally becomes a giant camera lens.
This approach offers maximum light transmission for your astrophotography pursuits, but requires proper equipment matching.
When setting up your prime focus system:
- Select a T-ring specifically designed for your camera (like Nikon D3500) to guarantee secure attachment
- Pair with a 2-inch T-adapter to minimize vignetting and maximize field of view
- Verify both components are compatible with your telescope’s focuser dimensions
- Consider adding a field flattener for edge-to-edge sharpness, especially in wide-field imaging
The prime focus method creates the most direct light path from celestial objects to your camera’s sensor, yielding the sharpest possible astrophotography results.
Field Flattener Benefits
Although prime focus mounting provides excellent light transmission, incorporating a field flattener into your astrophotography setup will greatly enhance image quality across your entire frame.
This specialized lens reduces distortion and improves sharpness throughout your images, particularly when using refractor telescopes that naturally produce curved focal planes.
You’ll notice markedly reduced vignetting and crisper edge details when you pair a field flattener with your T-ring and adapter.
This combination guarantees even illumination across your field of view, allowing for longer exposure times without sacrificing image quality.
For serious astrophotography, a field flattener isn’t just an optional accessory—it’s essential equipment that addresses the inherent optical limitations of telescopes.
Essential Compatibility Factors for Your Camera and Telescope
When attaching your DSLR to a telescope, you’ll need to achieve proper focus by adjusting the focuser’s position until stars appear as sharp points rather than blurry discs.
You can prevent vignetting by using a 2-inch T-adapter that provides a wider light path than standard 1.25-inch models.
For best results, make sure you’ve measured your camera’s back-focus distance and matched it with your telescope’s focal plane to capture crisp, fully illuminated astronomical images.
Proper Focus Adjustment
Even with the perfect T-ring connection between your Nikon D3500 and Sky-Watcher Evostar 72 ED telescope, you’ll struggle to capture stunning astrophotography without proper focus adjustment.
Achieving precise focus requires understanding the complete optical pathway created by your T-ring setup:
- Measure the backfocus distance between your T-ring and camera sensor to determine if additional spacers are needed.
- Use the 2-inch T-adapter with your T-ring to create ideal spacing and minimize vignetting in your images.
- Consider adding a field flattener lens to your optical train for sharper stars across the entire frame.
- Test your focus at different positions along the focuser’s travel to find the sweet spot where your Nikon D3500 captures the clearest celestial details.
Vignetting Prevention Techniques
Despite having the proper T-ring and focus adjustment, dark corners in your astrophotography can quickly ruin an otherwise perfect image of the night sky. To prevent vignetting, verify you’re using a T-ring specifically designed for your camera model, like the Nikon D3500, which guarantees proper attachment and light transmission.
Opt for a 2-inch T-adapter instead of a 1.25-inch version. The wider diameter provides a better light path and creates a more stable connection to your telescope’s focuser.
Adding a field flattener lens will correct optical distortions and sharpen focus across the entire frame.
Always measure both your focuser and T-adapter dimensions before purchasing to confirm compatibility.
Remember that with a 1.25-inch setup, you’ll likely need to crop images regularly due to increased vignetting, making it less suitable for serious astrophotography.
Choosing Between 1.25-inch vs. 2-inch T-Adapters
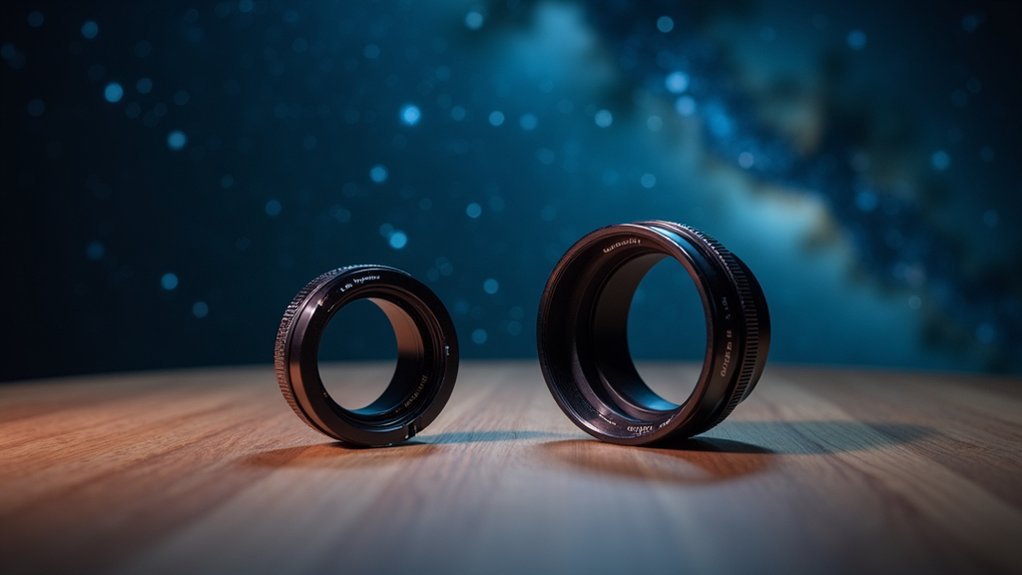
The decision between a 1.25-inch and 2-inch T-adapter greatly impacts your astrophotography results.
While the smaller adapter works for occasional imaging, serious astrophotographers should opt for the 2-inch version to minimize vignetting and maximize image quality.
- Field of view – 2-inch T-adapters provide wider fields without the light falloff that often requires cropping with 1.25-inch models.
- Stability – Larger adapters offer a stronger, more secure connection to your telescope’s focuser.
- Future-proofing – Investing in 2-inch equipment now saves you from inevitable upgrades later.
- Compatibility – Pair your 2-inch T-adapter with a field flattener lens for edge-to-edge sharpness, especially important for wide-field astrophotography.
Consider your long-term goals when choosing your T-adapter size.
Reducing Vignetting With the Right T-Ring Setup
While many astrophotographers focus primarily on telescope selection, your T-ring setup plays an essential role in preventing unwanted vignetting—that dark shadowing around image edges.
You’ll achieve considerably better results by using a 2-inch T-adapter instead of the narrower 1.25-inch version. This wider diameter allows the complete light cone to reach your camera sensor unobstructed.
Choose a T-ring specifically designed for your camera model (like a Nikon D3500) to guarantee proper alignment and a light-tight seal.
For even better results, consider adding a field flattener to your astrophotography chain. This optical element not only reduces vignetting but also improves sharpness across your entire frame.
Don’t forget to regularly check your images for signs of vignetting and adjust your setup accordingly for peak performance.
Balancing Your Equipment for Stable Imaging
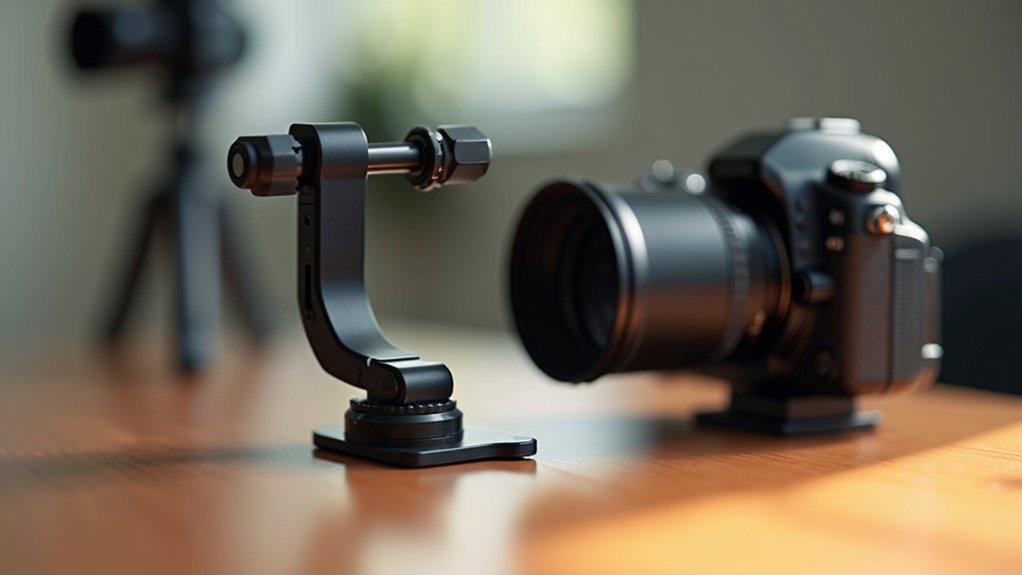
You’ll need to properly distribute weight across your setup when attaching your camera through a T-ring to achieve sharp astrophotography results.
Positioning your telescope correctly on the dovetail rail prevents unwanted vibrations and strain on motors during tracking.
Your imaging system’s balance directly impacts exposure capabilities, with a well-balanced rig allowing longer exposure times without star trails or motion blur.
Subheading Discussion Points
Achieving perfect balance with your T-ring camera mount setup is arguably the most critical factor for successful astrophotography. When you connect your DSLR to your telescope using a T-ring, proper weight distribution becomes essential for capturing crisp, detailed images of celestial objects.
- Use a 2-inch T-adapter with your T-ring to minimize vignetting and guarantee a wider field of view across your entire frame.
- Install a compatible dovetail rail that allows for precise adjustments to counterbalance your camera’s weight.
- Regularly verify the dimensions of your focuser and T-ring components to prevent compatibility issues.
- Test your setup’s stability before long exposure sessions to eliminate vibrations that can blur your astrophotography.
Weight Distribution Fundamentals
Because every ounce matters in astrophotography, mastering weight distribution fundamentals becomes the cornerstone of successful imaging sessions. Your iOptron Skyguider Pro has an 11-pound weight limit, making proper balance essential for tracking accuracy and image clarity.
A T-ring considerably reduces camera-end weight, allowing you to optimize your setup’s balance while staying within your mount’s capacity. When your equipment is properly balanced, you’ll experience fewer vibrations and greater stability during long exposures.
You should regularly check your telescope’s balance by adjusting the dovetail rail position or adding counterweights as needed. Even minor weight shifts can compromise tracking precision.
Remember that consistent balance maintenance isn’t just good practice—it’s the difference between capturing stunning celestial details and dealing with blurred, unusable images.
Budget-Friendly T-Ring Options for Beginners
When starting your astrophotography journey, finding affordable T-ring solutions doesn’t mean sacrificing quality. Camera-specific T-rings, like those for your Nikon D3500, typically cost just $20-30 but are essential for proper telescope connection.
- Basic Setup – Begin with a camera-specific T-ring plus a 1.25-inch adapter ($15) for immediate astrophotography with minimal investment.
- Upgrade Path – Consider a 2-inch T-adapter to reduce vignetting while maintaining budget-friendly status.
- Try Before Committing – Use online marketplaces with good return policies to test different budget-friendly T-ring combinations.
- Optional Enhancements – Add a field flattener later when you’re ready to improve image sharpness without breaking the bank initially.
This budget-friendly approach lets you start capturing celestial images while allowing for gradual equipment improvements.
Step-by-Step Installation Guide for First-Time Users
Many first-time astrophotographers find the T-ring installation process intimidating, but it’s actually straightforward with the right guidance.
Begin by selecting a T-ring specifically designed for your camera model to guarantee proper mounting compatibility.
Attach the T-ring to your camera’s lens mount by aligning the markers and rotating until it clicks into place.
Next, connect a 2-inch T-adapter to your T-ring—this size offers better performance and reduces vignetting in your astrophotography images.
Secure the T-adapter to your telescope’s focuser, making certain it’s firmly attached to prevent any movement during use.
Finally, check your setup’s alignment and balance to maintain stability while capturing images.
With this simple connection process, you’ll be ready to photograph celestial objects in no time.
Common T-Ring Connection Problems and Solutions
Three primary issues typically frustrate astrophotographers when setting up T-ring connections.
Camera-specific compatibility problems occur most frequently when users purchase generic T-rings that don’t precisely fit their model. With your Nikon D3500 or similar camera, always verify the T-ring is designed specifically for your brand and mount.
- Vignetting issues – Upgrade from a 1.25-inch to a 2-inch T-adapter to reduce dark corners in your images.
- Size mismatches – Measure both your telescope’s focuser and T-ring dimensions before purchasing.
- Poor connections – Use a 1.25 to 2-inch adapter for more secure mounting.
- Incompatible components – Buy from retailers with good return policies to test compatibility.
Remember that proper equipment pairing prevents frustration and yields better astrophotography results.
Enhancing Image Quality With Field Flatteners
Although your telescope and T-ring connection might be secure, stars at the edges of your images can appear distorted without proper optical correction. Field flatteners are essential accessories that correct curvature of field issues in astrophotography, guaranteeing stars remain sharp across your entire frame.
| Benefit | Without Flattener | With Flattener |
|---|---|---|
| Star Shape | Elongated at edges | Uniformly round |
| Vignetting | Noticeable darkening | Minimal to none |
| Focus Quality | Center-only sharpness | Edge-to-edge clarity |
| Post-Processing | Extensive correction needed | Minimal correction required |
| Detail Retention | Reduced fine detail | Enhanced structure visibility |
You’ll find these devices particularly valuable when using wide-field telescopes like the Sky-Watcher Evostar 72 ED with DSLR cameras. For peak image quality, verify your field flattener matches both your telescope’s focal length and camera’s sensor size.
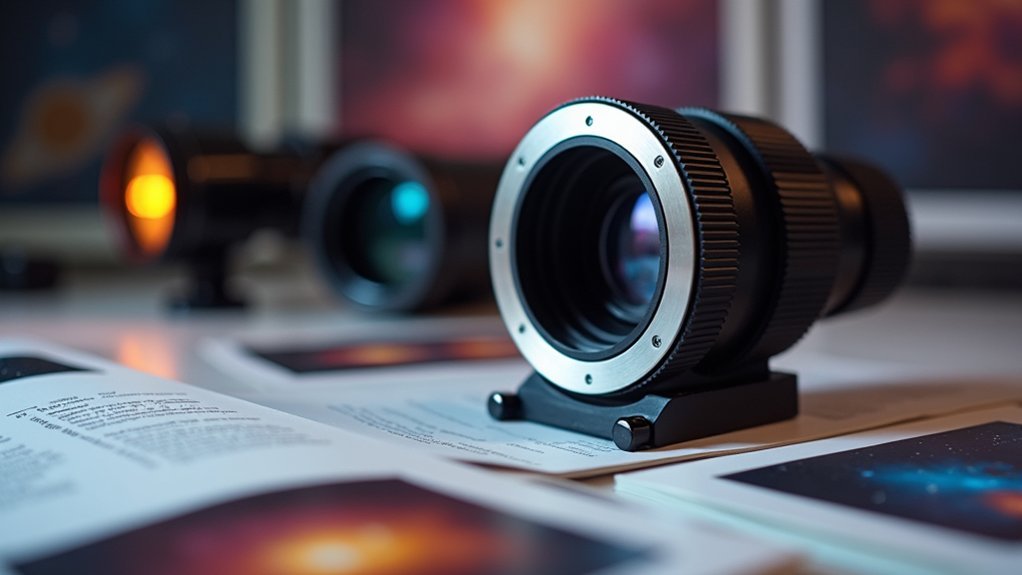
Measuring Your Equipment for Perfect T-Ring Fit
Precisely measuring your camera and telescope equipment guarantees a flawless T-ring fit that prevents light leaks and maintains optical alignment.
When selecting a T-ring for your camera, accuracy matters down to the millimeter.
- Use precision calipers to measure the outer diameter of your camera’s lens mount rather than estimating by eye.
- Verify T-ring compatibility with your specific camera model (like Nikon D3500) before purchasing.
- Measure both the inner diameter of the T-ring and outer diameter of your telescope’s focuser to confirm proper connection.
- Factor in the thickness of additional accessories like field flatteners when measuring, as these affect the spacing required for ideal focus.
Don’t risk equipment damage or poor imaging results with imprecise measurements or incompatible T-ring adapters.
Progressing From Basic to Advanced Astrophotography Setups
Many astrophotographers begin their journey with a simple telescope-DSLR combination connected by a T-ring, yet this foundational setup offers tremendous potential for growth. As you gain experience, you’ll identify specific areas where image quality can be improved.
Start by upgrading to a high-quality 2-inch T-adapter that reduces vignetting. Then consider adding a field flattener to sharpen stars across your entire frame. Monitor your results carefully—each enhancement will reveal new possibilities and challenges in your astrophotography.
As your skills advance, you might explore more sophisticated mounts or larger telescopes, but these upgrades should address specific limitations you’ve encountered.
Don’t hesitate to seek advice from online communities when troubleshooting issues or planning your next equipment addition. This gradual progression guarantees each investment meaningfully improves your astronomical imaging capabilities.
Frequently Asked Questions
What Is the Difference Between T-Mount and T Ring?
A T-ring attaches specifically to your camera body, while a T-mount refers to the complete system including both the T-ring and T-adapter that connects your camera to a telescope for astrophotography.
Do You Need a Mount for a Ring Camera?
While you don’t absolutely need a mount for your Ring camera, it’s highly recommended. Mounts enhance flexibility, provide secure positioning, and improve camera coverage with 360° panning and 117° tilt capabilities for better surveillance.
What Is a Camera T-Mount?
A camera T-mount is an adapter that connects your DSLR camera to telescopes for astrophotography. It’s specific to your camera brand and provides the threaded interface needed for proper alignment and focus during astronomical imaging.
What Is the Purpose of the Camera Mount?
A camera mount’s purpose is to securely attach your camera to your telescope, allowing you to capture astrophotography images. It guarantees proper alignment and stability while eliminating the need for multiple adapters during your imaging sessions.
In Summary
You’ll transform your stargazing experience with a T-ring camera mount that bridges your DSLR to your telescope. It’s not just an accessory but an essential tool for your astrophotography journey. Whether you’re capturing lunar details or deep-sky objects, the right T-ring guarantees proper focus, reduces vignetting, and maximizes image quality. Don’t let connection issues limit your cosmic photography—invest in a quality T-ring system.
Leave a Reply