
To capture the Milky Way, use your camera in full manual mode with settings: aperture as wide as possible (f/1.4-f/2.8), ISO between 1600-6400, and exposure time of 15-25 seconds (using the 500 Rule to prevent star trails). Set white balance to 3900K and shoot in RAW format. Focus manually using Live View to zoom in on a bright star. Finding a dark sky location away from light pollution will dramatically improve your results. These foundational techniques are just the beginning of your astrophotography journey.
Essential Equipment for Milky Way Photography
When venturing into Milky Way photography, having the right equipment makes all the difference between capturing stunning celestial details or ending up with grainy, underwhelming shots.
The difference between awe-inspiring cosmic portraits and mediocre night shots often comes down to your gear choices.
You’ll need a DSLR or mirrorless camera with full manual control—Canon EOS R or Nikon Z series work exceptionally well.
Pair your camera with a fast lens featuring a wide aperture (f/1.4-f/2.8), like the Sigma 24mm F/1.4 or Rokinon 14mm F/2.8, ideal for low-light astrophotography.
Mount everything on a sturdy tripod to eliminate camera movement during long exposures.
For enhanced results, consider a star tracker to minimize star trailing and allow longer exposure times.
Don’t forget a remote shutter release or intervalometer to prevent vibrations when triggering the camera, ensuring maximum sharpness in your celestial masterpieces.
Finding Dark Sky Locations: Minimizing Light Pollution
Light pollution presents the greatest obstacle to capturing stunning Milky Way images, even with the best equipment. To minimize light interference, use the Dark Sky Finder website to locate areas with minimal light pollution.
Focus on finding Bortle Class 1-3 locations where the Milky Way’s details shine through remarkably. National parks and remote areas far from urban centers provide excellent astrophotography conditions.
Schedule your shoots during new moon phases when darkness reaches its peak, considerably enhancing visibility of celestial details.
Leverage astronomy apps like Stellarium and PhotoPills to plan ideal shooting times based on your location.
These tools help you identify when and where the Milky Way will appear most prominently, ensuring you’re in position to capture the galaxy’s breathtaking structure.
Manual Focus Techniques for Sharp Stars
Why do perfectly composed Milky Way shots often fail? The culprit is almost always poor focus. Auto-focus simply won’t work in the dark, making manual focus your essential skill for astrophotography.
Use your camera’s Live View mode to zoom in on a bright star until it appears as a crisp point of light. The digital focus magnifier feature enhances this precision dramatically. Once focused, switch to manual focus to lock your settings.
| Technique | Why It Works | Common Mistake | Result |
|---|---|---|---|
| Live View | Shows real-time detail | Using viewfinder | Razor-sharp stars |
| Hyperfocal distance | Maximizes depth of field | Focusing to infinity | Maximum sharpness |
| Focus magnifier | Enables precise adjustments | Trusting the LCD | Clear star detail |
| Test shots | Verifies focus success | Skipping verification | Confidence in results |
Always review test shots at 100% magnification before committing to your final camera settings.
Optimal Camera Settings: Aperture, ISO, and Shutter Speed
Capturing the Milky Way requires a delicate balance between three critical camera settings: aperture, ISO, and shutter speed.
Open your aperture as wide as possible (f/1.4-f/2.8) to maximize light intake in the dark conditions. This wide aperture collects the faint light from distant stars and galactic structures.
In astrophotography, a wide-open aperture serves as your telescope to the cosmos, gathering every precious photon from the vast galactic canvas.
Set your ISO between 1600-6400, depending on your camera’s capabilities. Higher ISOs increase sensitivity but remember that excessive values introduce noise.
For shutter speed, use the 500 or NPF Rule to calculate the ideal exposure time (typically 8-20 seconds) to prevent star trailing while gathering sufficient light.
Don’t forget to set white balance around 3900K for accurate color representation and always shoot in RAW for maximum flexibility during post-processing your Milky Way photos.
Composition Strategies: Balancing Foreground and Sky
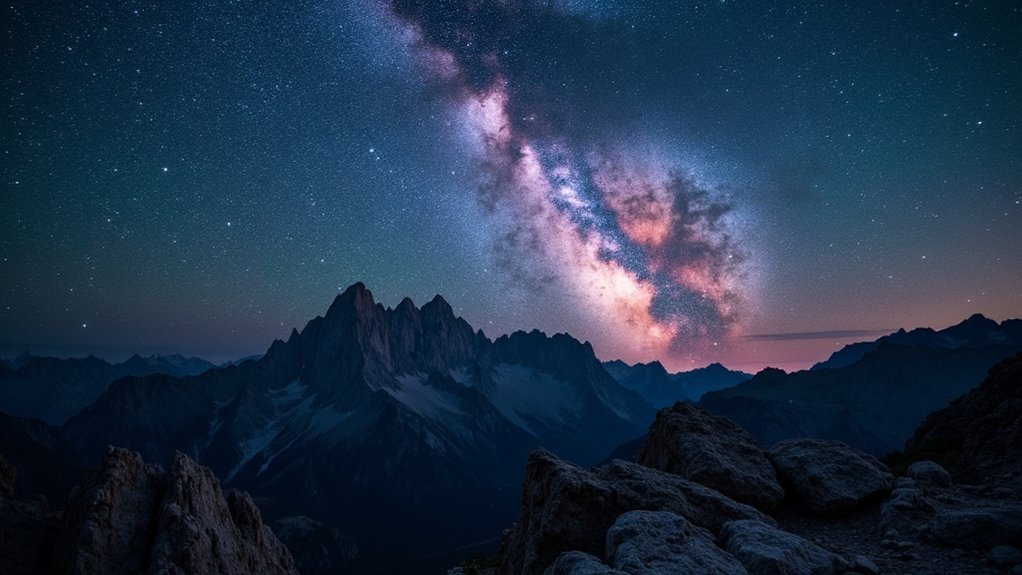
When composing your Milky Way shots, you’ll need to thoughtfully frame landscape elements like mountains or trees to create visual depth against the starry backdrop.
Position your galactic core using the rule of thirds, allowing both the celestial display and your chosen foreground to share balanced prominence in the frame.
Silhouettes work particularly well in night photography, creating dramatic dark shapes that add dimension while maintaining focus on the luminous details of our galaxy overhead.
Framing Landscape Elements
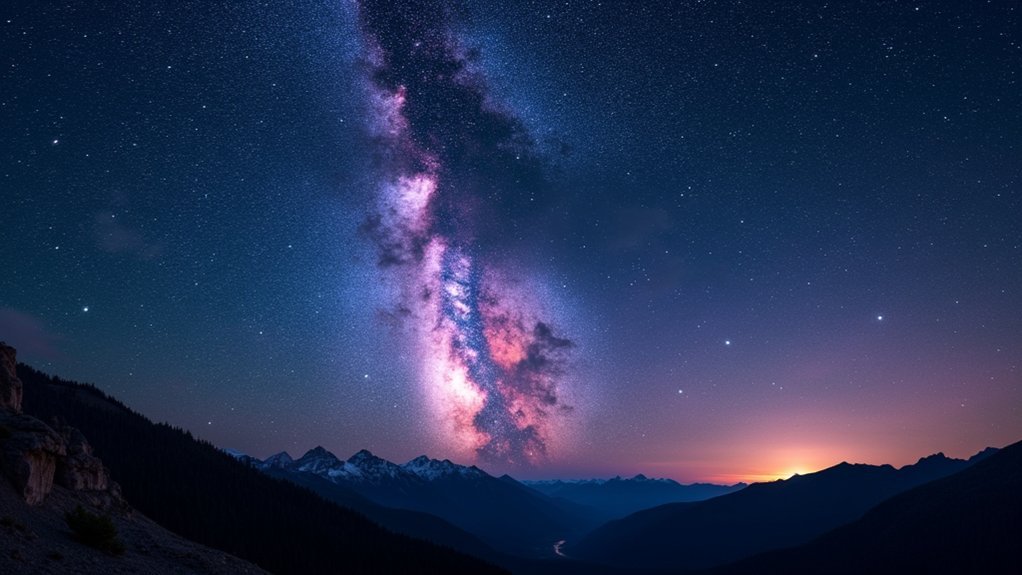
The perfect Milky Way shot combines celestial wonder with earthly beauty. When framing landscape elements for your composition, you’ll need to create balance between foreground interest and the galactic spectacle above. Use apps like PhotoPills to scout ideal locations where earthly and heavenly elements complement each other perfectly.
For striking compositions, consider:
- Incorporating mountains, lakes, or trees to create depth while ensuring they don’t overpower the Milky Way.
- Applying the rule of thirds to position the Milky Way along an imaginary grid line, guiding your viewer’s eye through the frame.
- Using subtle moonlight or artificial lighting to illuminate foreground details while adjusting exposure settings to maintain celestial visibility.
These techniques create compelling sky combinations that transform standard night photography into breathtaking visual stories with perfect balance between earth and cosmos.
Rule of Thirds
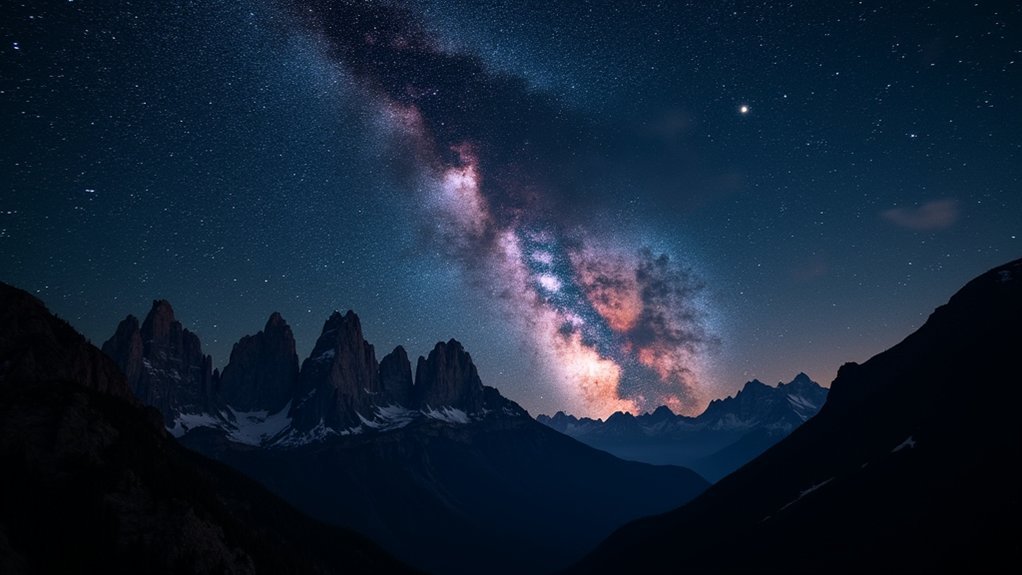
Why do some Milky Way photographs immediately captivate viewers while others fall flat? The answer often lies in thoughtful composition using the Rule of Thirds. Divide your frame into a 3×3 grid and position the Milky Way along one of the horizontal lines or at intersection points for balanced composition.
Place the horizon along the bottom third to emphasize the sky’s vastness and showcase more of the galactic display. You’ll create dynamic tension by aligning the Milky Way’s core with one of these intersecting lines, naturally drawing your viewer’s eye through the image.
Don’t forget to incorporate interesting foreground elements like mountains or reflective lakes that lead the eye toward your celestial subject.
Experimenting with different arrangements while adhering to this principle will help you create unique perspectives that make your Milky Way shots more immersive and enhance their visual appeal.
Silhouettes Add Depth
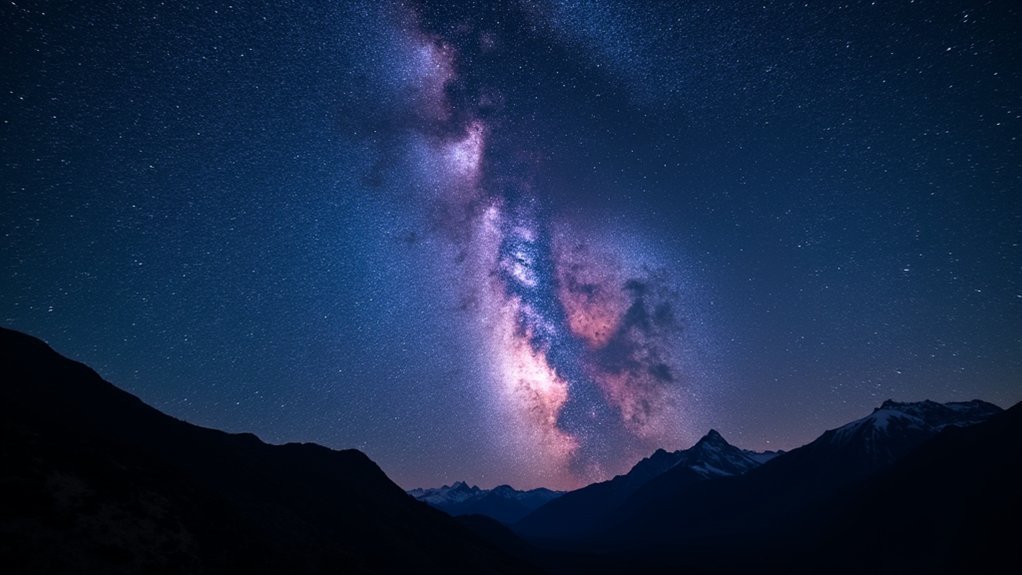
Creating silhouettes against the glowing arc of the Milky Way transforms an ordinary night sky photograph into a story with visual depth.
When composing your shot, balance the foreground elements with the celestial backdrop to guarantee silhouettes enhance rather than dominate the Milky Way’s splendor.
For maximum visual appeal in your night sky compositions:
- Position interesting shapes – Trees, mountains, or rock formations create compelling silhouettes that anchor your Milky Way shot.
- Use a wide aperture (f/2.8 or lower) with exposure times up to 30 seconds to capture both foreground and stars without creating star trails.
- Experiment with angles to find the perfect relationship between silhouetted elements and the galaxy’s core.
Subtle moonlight can illuminate foreground details, but plan around moon phases to maintain the Milky Way’s visibility and brilliance.
Post-Processing Methods to Enhance Celestial Details
After capturing your Milky Way images, you’ll need to stack multiple exposures to greatly reduce noise while preserving delicate star details.
Adjust your color balance, typically starting around 3900K, to bring out the natural blue and purple hues of the galaxy while maintaining realistic tones in your foreground elements.
Apply local contrast enhancements selectively to make celestial features pop without affecting darker areas, revealing subtle nebulae and star clusters that might otherwise remain hidden in your raw files.
Stacking For Noise Reduction
While capturing a single exposure of the Milky Way can produce stunning results, image stacking takes your astrophotography to an entirely new level. By combining 10-20 long exposures of the same scene, you’ll greatly improve the signal-to-noise ratio, revealing faint details that would otherwise remain hidden.
To achieve professional results with stacking:
- Shoot in RAW format to maximize flexibility during post-processing.
- Use dedicated software like Sequator for automated alignment and blending.
- Consider manual stacking in Photoshop for finer control over foreground/background blending with feathered masks.
This technique illuminates subtle nebulae and star clusters while considerably reducing noise.
You’ll preserve celestial details that single exposures simply can’t capture, resulting in cleaner, more detailed Milky Way images that truly showcase the night sky’s complexity.
Color Balance Adjustments
Once you’ve captured and stacked your Milky Way images, proper color balance becomes the key to disclosing the night sky’s true beauty.
Start by adjusting your white balance to approximately 3900K in your post-processing software, which yields more natural colors in the galactic core and surrounding stars.
Use Levels or Curves tools to enhance contrast, making celestial details pop against the dark background.
While working with your high ISO images, apply targeted noise reduction to improve the signal-to-noise ratio without sacrificing star definition.
Don’t hesitate to experiment with color adjustments—subtle tweaks can reveal hidden nebulae colors and star clusters that weren’t visible in your original capture.
The stacking process you’ve already completed provides a solid foundation for these enhancements, allowing you to fine-tune your Milky Way’s appearance without introducing unwanted artifacts.
Local Contrast Enhancement
The true magic of Milky Way photography emerges during local contrast enhancement, where subtle details transform from faint smudges into striking celestial features.
Your post-processing toolkit should include Adobe Lightroom’s Clarity and Dehaze sliders, which cut through atmospheric haze and reveal hidden stars.
For precise control over brightness and contrast, use Curves adjustment layers in Photoshop with these techniques:
- Apply local adjustments with layer masks to separately enhance the Milky Way while preserving foreground elements.
- Use image stacking to merge multiple exposures, dramatically reducing noise while revealing finer celestial details.
- Implement targeted contrast enhancement to specific regions, bringing depth to galactic structures without overexposing bright stars.
These methods will transform your night sky images from flat captures to dimensional cosmic portraits.
Frequently Asked Questions
What Are the Best Settings for Photographing the Milky Way?
For photographing the Milky Way, you’ll need manual mode, a wide aperture (f/1.4-f/2.8), ISO 3200-6400, and 10-25 second exposures based on the 500 Rule. Shoot in RAW for better post-processing flexibility.
What Is the Best ISO for Milky Way Photography?
For Milky Way photography, you’ll want to set your ISO between 3200-6400 on high-end cameras. If you’re using an entry-level camera, stick to 1600-3200 to minimize noise while capturing enough light.
What F Stops for Milky Way?
You’ll want to use wide f-stops between f/1.4 and f/2.8 for Milky Way photography. These apertures maximize light collection while minimizing noise, letting you capture detailed stars with shorter exposure times.
How to Get a Good Picture of the Milky Way?
For a good Milky Way shot, use a wide aperture (f/1.4-f/2.8), high ISO (1600-6400), and 10-25 second exposures. Focus manually on a bright star and shoot in RAW format for better post-processing flexibility.
In Summary
You’re now equipped to photograph our galaxy’s spectacular light show. Remember, it’s not just about technical settings—it’s about connecting with the night sky through your viewfinder. Don’t be discouraged by early attempts. Each session under the stars will improve your skills. So pack your tripod, scout your location, and prepare to capture one of nature’s most breathtaking displays. The Milky Way awaits your unique perspective.


Leave a Reply