To read the night sky effectively, you’ll need planispheres, star charts or mobile apps, quality binoculars, red flashlights, star atlases, green laser pointers, sketching materials, star diagonal finders, simple telescopes, and astronomy community connections. These tools transform stargazing from confusing to enlightening by helping you locate, identify, and track celestial objects. Each item serves a specific purpose in your astronomical journey, with options available for every budget and experience level.
Planispheres: Your Rotating Star Map

Although modern smartphone apps can map the night sky digitally, a planisphere remains one of the most practical tools for beginning stargazers. This simple yet effective device consists of two rotating disks that you can align to match the current date and time, revealing which stars and constellations are visible from your location.
Your planisphere works best when customized for your specific latitude, ensuring accuracy for your geographical position. As you rotate the top disk against the bottom, you’ll immediately see which celestial objects will appear in tonight’s sky.
Most planispheres include labels for prominent stars and constellations, helping you identify these patterns quickly. They’re lightweight, portable, and don’t require batteries or internet connection—making them reliable companions for any nighttime observation session.
Digital Star Charts and Mobile Apps
While traditional planispheres offer reliability, digital star charts and mobile apps have revolutionized how we interact with the night sky. Apps like Sky Guide and Star Walk transform your smartphone into a real-time celestial navigator, helping you identify stars and planets instantly.
When using a telescope, Celestron SkyPortal enhances your viewing experience with detailed mapping and tracking features. Google Sky App simplifies constellation recognition—just point your device skyward to see what’s above you.
Most astronomy apps include compass lock modes to align your device with the night sky, though you might find it challenging to match digital displays with actual celestial objects.
For a complementary resource, download free monthly PDF maps from Skymaps.com to help navigate current night sky conditions.
Quality Binoculars for Celestial Viewing

Beyond digital apps, physical tools offer a more immersive connection to the night sky. Quality binoculars for celestial viewing are an excellent first investment, providing advantages even in areas with light pollution.
Choose models with 7x to 10x magnification, which balance power with stability when observing bright stars and lunar features. Larger objective lenses (40-50mm) enhance light-gathering capabilities, essential for spotting fainter objects in darker conditions.
Look for fully multi-coated optics that maximize light transmission and produce sharper images. A field of view exceeding 6 degrees helps you track moving objects and locate constellations more efficiently.
For year-round stargazing, select waterproof and fog-proof models that withstand varying weather conditions.
With quality binoculars, you’ll reveal celestial details invisible to the naked eye without the complexity of a telescope.
Red Flashlights for Night Vision Preservation
One essential tool for any serious stargazer is a red flashlight. While you’re exploring the night sky, you’ll need to consult star charts or adjust equipment without ruining your night vision.
Red flashlights emit light in the red spectrum, which doesn’t disrupt your dark adaptation like white light does. Your eyes typically need about 30 minutes to fully adapt to darkness. Using a red flashlight helps maintain this adaptation, allowing you to see fainter celestial objects.
Look for models with adjustable brightness settings so you can use just enough light for your task at hand. The lightweight, efficient LED versions are particularly popular among astronomers for their long battery life—perfect for extended observing sessions.
Keep one in your stargazing kit for reading charts and making notes without compromising visibility.
Star Atlases and Reference Books
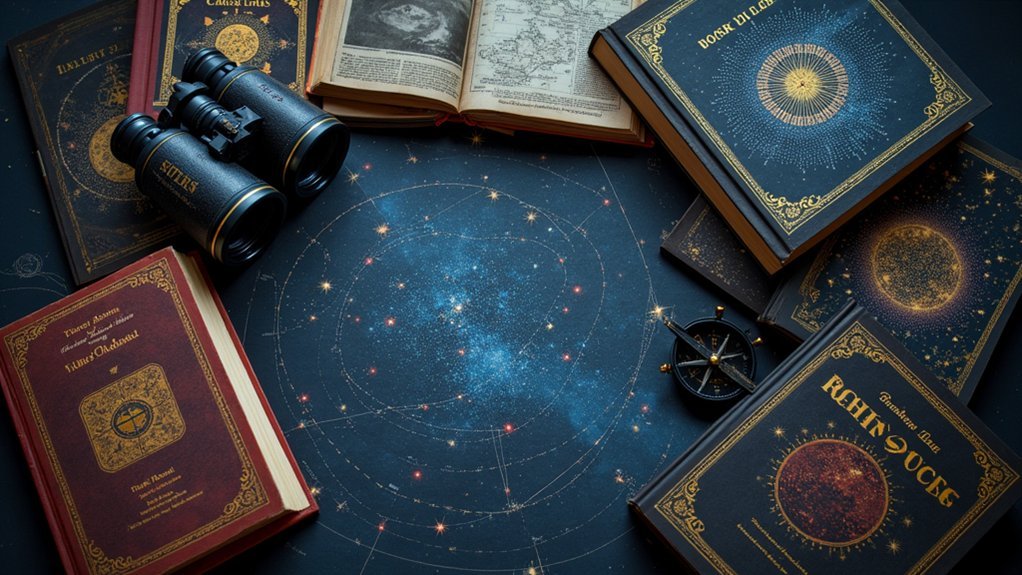
You’ll find star atlases like the *Sky & Telescope Pocket Sky Atlas* and planispheres essential for mapping constellations across different seasons and locations.
These visual navigation tools can be customized to show the night sky for your specific viewing spot and date, making stargazing more accessible.
Beginner-friendly references such as *Turn Left at Orion* and *Chandler’s Sky Atlas* offer step-by-step guidance that helps you locate celestial objects with confidence at star parties.
Essential Print Companions
While digital tools have revolutionized astronomy, traditional print resources remain indispensable for stargazers of all levels. Your collection of essential print companions should include reliable star charts that work regardless of battery life or internet connectivity.
- A durable planisphere offers customizable viewing for your specific location and date, making it a practical tool for quickly identifying celestial objects.
- The Sky & Telescope Pocket Sky Atlas provides detailed charts that help you navigate the night sky whether you’re a beginner or experienced observer.
- Chandler’s Sky Atlas simplifies locating deep-sky objects through binoculars or small telescopes.
- “Turn Left at Orion” delivers step-by-step guidance perfect for beginners attending their first star parties.
Don’t overlook free resources like Skymaps.com, which offers downloadable monthly guides to current night sky conditions.
Visual Navigation Guides
Despite the digital revolution in astronomy tools, quality printed star atlases and reference books remain fundamental for serious stargazers. The “Sky & Telescope Pocket Sky Atlas” offers detailed charts that help you identify constellations and celestial objects regardless of your experience level.
For real-time navigation, consider investing in a durable planisphere that you can customize to your specific location and observation time. Books like “Turn Left at Orion” provide practical, step-by-step guidance for locating celestial features during star parties or solo sessions.
To enhance field durability, opt for laminated star atlases that withstand dew and occasional handling with dirty hands.
While online resources allow you to create personalized star maps for different conditions, having reliable print references guarantees you’ll never be left in the dark when technology fails.
Beginner-Friendly Reference Choices
For those just beginning their astronomical journey, selecting the right reference materials can transform frustrating searches into rewarding discoveries. A durable planisphere should be your first acquisition, enabling naked eye identification of celestial objects based on your location and time.
Enhance your stargazing toolkit with these essential references:
- “Sky & Telescope Pocket Sky Atlas” offers detailed charts for deeper exploration beyond naked eye viewing.
- Chandler’s “Sky Atlas for Small Telescopes and Binoculars” features simplified charts perfect for novices.
- “Turn Left at Orion” provides practical guidance for locating objects at star parties.
- Custom planispheres from online resources create tailored maps for specific dates and locations.
These carefully selected references will guide you through the night sky with increasing confidence and knowledge.
Compass and Horizon Measurement Tools

A compass serves as your foundational tool for orienting yourself to cardinal directions and finding azimuth bearings when you’re searching for specific celestial objects.
You’ll need a horizon measurement tool or inclinometer to determine the altitude in degrees above the horizon where planets, stars, and other night sky objects can be found.
When you combine these measurements with your knowledge of local landmarks, you’ll greatly improve your ability to navigate the night sky and track seasonal changes in star positions.
Orienting Cardinal Directions
Finding your way around the night sky begins with knowing which direction you’re facing. A compass is your essential first tool for orienting cardinal directions properly.
When you identify North, South, East, and West, you create a foundation for all your stargazing activities.
- North-facing observations help locate circumpolar constellations that never set below the horizon
- Eastern direction lets you spot celestial objects as they first rise into view
- Southern facing provides ideal views of many prominent seasonal constellations
- Western direction allows you to catch objects before they set for the night
Measuring Altitude Degrees
Three key measurements define an object’s position in the night sky: direction, altitude, and time. When measuring altitude degrees, you’ll track how high an object appears above the horizon, from 0° (horizon) to 90° (directly overhead at zenith).
| Tool | Function | Accuracy | Complexity | Availability |
|---|---|---|---|---|
| Protractor | Basic angle measurement | Moderate | Low | High |
| Clinometer | Combines level and protractor | Good | Medium | Medium |
| Smartphone Apps | Digital measurement | High | Low | Very High |
| Altimeter | Electronic angle reading | Very High | Medium | Medium |
| Astrolabe | Traditional sky mapping | Good | High | Low |
You’ll find these tools invaluable as you navigate around the night sky. For best results, guarantee a clear line of sight when taking measurements and minimize potential obstructions that could compromise your readings.
Finding Azimuth Bearings
When locating celestial objects precisely, you’ll need to determine their azimuth bearings – the horizontal angle measured clockwise from true North. A compass combined with a horizon measurement tool creates a powerful navigation system for stargazing.
To find azimuth bearings effectively:
- Orient your compass toward true North, allowing the needle to stabilize before taking readings.
- Read the degree marking (0° to 360°) that aligns with your target celestial object.
- Remember key reference points: East is at 90°, South at 180°, and West at 270°.
- Pair azimuth readings with altitude measurements from your clinometer or altimeter.
This coordinate system, known as altazimuth, provides the exact position of any celestial object relative to your observation point.
With practice, you’ll quickly pinpoint stars and planets using these simple tools.
Green Laser Pointers for Star Identification

Among the most valuable tools in a stargazer’s arsenal, green laser pointers stand out for their remarkable visibility against the night sky. Operating at approximately 532 nm wavelength, these pointers are more easily perceived by the human eye than other colors, making them ideal for pointing out stars and constellations during your nighttime explorations.
| Feature | Benefit | Safety Consideration |
|---|---|---|
| High visibility | Easily seen by groups | Never aim at aircraft |
| 532 nm wavelength | Maximum eye sensitivity | Avoid shining in eyes |
| Adjustable beam | Precise pointing | Use lowest necessary power |
| Extended reach | Identifies distant objects | Follow local regulations |
When teaching others about celestial patterns, you’ll find a green laser pointer invaluable for directing attention to specific objects. Their beam creates a virtual “finger” extending hundreds of feet, connecting you directly to the wonders above.
Astronomical Sketching Materials
To start your astronomical sketching journey, you’ll need quality sketch paper, various pencils (HB through 4B), and kneaded erasers to capture celestial details effectively.
Your observation skills will improve dramatically as you learn to notice subtle features while documenting what you see through your telescope or binoculars.
For low-light conditions, consider adding a red-filtered light source to your portable kit along with a clipboard to maintain night vision while creating detailed renderings of planets, star clusters, and nebulae.
Sketching Materials Essentials
The right tools transform astronomical sketching from a frustrating exercise into a rewarding documentation of your celestial observations.
When preparing your sketching materials essentials, consider both functionality and how they’ll perform under nighttime conditions.
- Select high-quality sketching paper or a dedicated sketchbook that withstands various weather conditions you’ll encounter during star gazing.
- Pack a range of pencils – hard ones (H, 2H) for crisp details and soft ones (B, 2B) for creating texture and shading deep-sky objects.
- Include colored pencils or pastels to capture the vibrant hues of stars and nebulae.
- Don’t forget practical accessories: a red flashlight to preserve night vision, plus a ruler and eraser for accurate constellation lines and corrections.
Enhancing Observation Skills
While many amateur astronomers focus primarily on acquiring the latest optical equipment, sketching the night sky dramatically sharpens your observational abilities in ways technology alone cannot. By drawing what you see, you’ll develop a deeper understanding of star positions and celestial features, enhancing observation skills through deliberate attention to detail.
Regular practice not only improves your visualization capabilities but also creates a personal connection to astronomical events you witness. You’ll find your memory retention of celestial patterns improves greatly when you’ve sketched them by hand.
This practice forces you to notice subtle features you might otherwise miss through casual observation. The act of recording these observations manually cements your understanding of the night sky in ways passive viewing simply can’t match.
Low-Light Documentation Techniques
What materials should you select for effective astronomical sketching in darkness? Your low-light documentation techniques will dramatically improve with the right tools.
Choose a sketchbook with thick, dark paper that reduces light reflection and enhances visibility when recording celestial objects.
For successful astronomical documentation, you’ll need:
- A sturdy clipboard to stabilize your sketchbook while sketching stars or constellations
- White charcoal or gel pens that create striking contrast against black paper
- Soft pencils (2B or 4B) for capturing fine details without excessive pressure
- A red light flashlight to preserve your night vision while illuminating your work
These materials will help you document celestial observations with greater accuracy and detail, transforming your stargazing experience from passive watching to active recording.
Star Diagonal Finders and Simple Telescopes
Two essential tools can transform your stargazing experience from casual to enchanting: star diagonal finders and simple telescopes.
Star diagonal finders allow you to observe celestial objects at a comfortable angle, greatly reducing neck strain when your telescope points skyward. You’ll appreciate this accessibility especially when seated or tracking moving objects across the night sky.
Simple telescopes—refractors and reflectors—provide clear views of planets, stars, and the Moon, making them perfect for beginners.
A basic setup includes an optical tube, mount, and eyepieces that work together to magnify distant objects. Many entry-level models come with star diagonals included, ensuring you’re ready to explore immediately.
With these fundamental tools, you’ll navigate the cosmos with greater comfort and clarity, revealing the universe’s wonders from your backyard.
Astronomy Community Resources and Star Parties
Beyond the physical tools in your stargazing kit, the astronomy community offers resources that can dramatically enhance your celestial explorations.
Joining local astronomy clubs connects you with experienced stargazers who’ll share valuable knowledge and provide support as you develop your skills.
Experienced club members become your celestial mentors, guiding your astronomical journey through shared wisdom and encouragement.
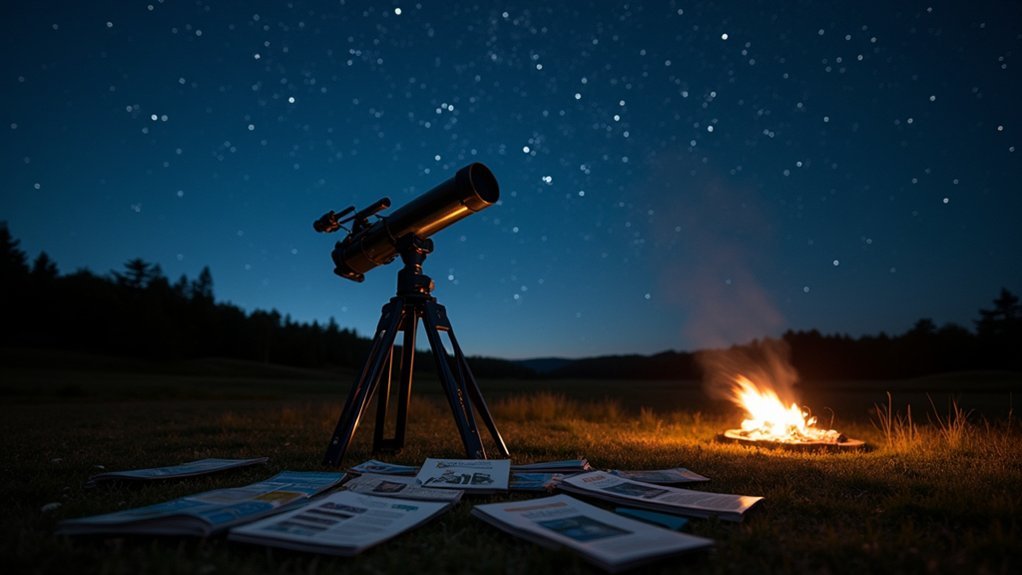
- Attend star parties to observe celestial objects through various telescopes with guided assistance from knowledgeable enthusiasts.
- Join astronomy groups that organize workshops, presentations, and discussions to accelerate your learning.
- Engage with online forums like Cloudy Nights to ask questions and receive advice from a global community.
- Participate in community events to access specialized equipment you mightn’t otherwise experience.
These connections often prove as valuable as any physical tool, creating opportunities to learn faster and enjoy deeper astronomical experiences.
Frequently Asked Questions
What Tool Can We Use to Observe the Night Sky?
You can use binoculars, a planisphere, smartphone apps like Sky Guide, a simple telescope, or a red light torch to observe and navigate the night sky effectively.
What Is the Best Way to Learn the Night Sky?
You’ll learn the night sky best by starting with bright landmarks like the Big Dipper, using astronomy apps, practicing regularly, joining local astronomy clubs, and keeping a stargazing journal to track your observations.
How Do You Read the Sky at Night?
You’ll need to locate major constellations first, using them as guides. Let your eyes adjust to darkness, use a star chart or app, and identify key asterisms like the Big Dipper for navigation.
What Is the Best Tool for Stargazing?
The best tool for stargazing depends on your experience level. You’ll find a planisphere excellent for beginners, while binoculars provide more detail. Don’t overlook mobile apps like Sky Guide for real-time celestial identification.
In Summary
You’ve now got the 10 essential tools to begin your cosmic journey. With a planisphere, apps, and quality binoculars in hand, you’re ready to explore the night sky’s wonders. Don’t forget your red flashlight and reference materials as you venture out. Whether you’re sketching celestial objects or attending star parties, you’ll find astronomy is both accessible and awe-inspiring. The universe awaits your discovery!


Leave a Reply