A perfect dark sky stargazing spot needs minimal light pollution (ideally Bortle Class 3 or lower), clear horizons in all directions, and reliable weather patterns. You’ll want to check light pollution maps and visit during a new moon for ideal darkness. International Dark Sky Places offer certified locations with strict lighting policies. Don’t forget essentials like binoculars, a red flashlight, and warm clothing. The universe reveals its most spectacular treasures when you know exactly where to look.
Essential Dark Sky Criteria: Light Pollution Levels Explained
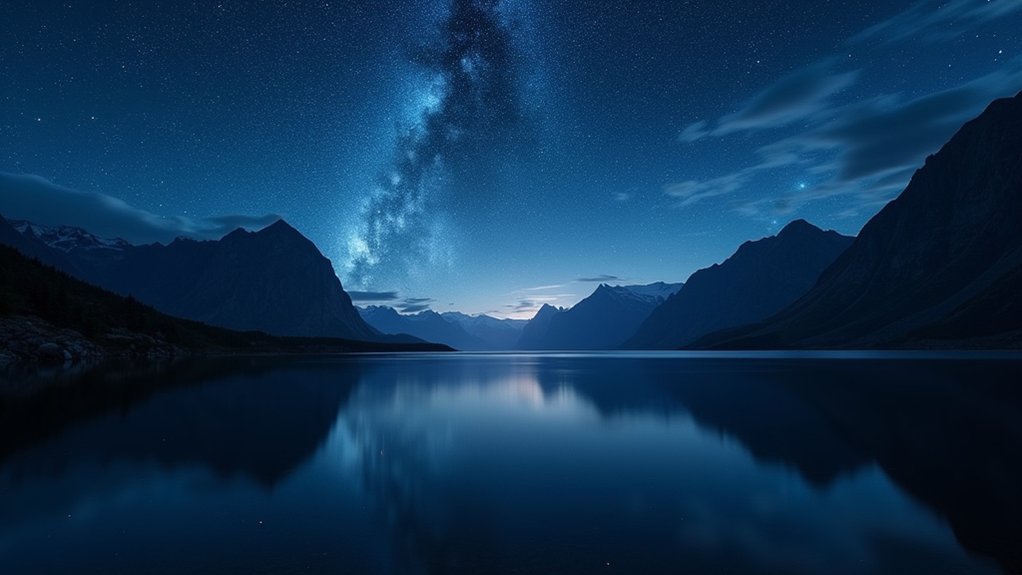
When seeking the perfect celestial display, understanding light pollution becomes your first step toward successful stargazing. The Bortle scale measures darkness from Class 1 (excellent) to Class 9 (extreme light pollution), with at least Class 4 needed to see the Milky Way clearly.
You’ll want to avoid skyglow, light trespass, and glare—the three main types of light pollution that wash out stars and reduce night sky contrast. Check light pollution maps to identify promising locations before heading out.
For ideal viewing, seek out International Dark Sky Places, which include over 200 certified locations worldwide. These designated parks and sanctuaries enforce strict outdoor lighting policies that minimize artificial light, creating perfect conditions for astronomical observations and protecting the nocturnal environment.
Finding Your First Dark Sky Location: Resources and Maps
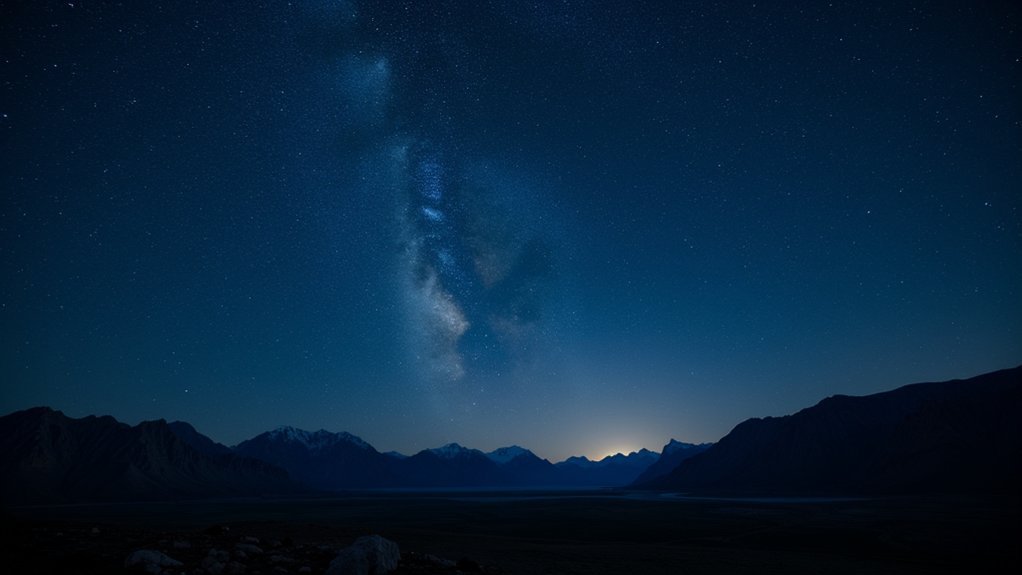
Where should you begin your stargazing journey? Start by consulting light pollution maps at lightpollutionmap.info to identify areas with minimal artificial illumination.
Focus on locations with Bortle Scale ratings of Class 4 or better to guarantee you’ll see the Milky Way’s stunning details.
Several online tools make finding dark sky sites easier. Check Clear Dark Sky and Dark Site Finder for extensive databases that include vital stargazing conditions like cloud cover and humidity forecasts.
Mobile apps provide on-the-go assistance when planning your adventure. Star Walk 2 and Dark Sky Finder help you locate well-reviewed observation spots while providing real-time information about celestial visibility.
Don’t forget to check local weather forecasts and moon phases before heading out—clear skies during a new moon create ideal viewing conditions for deep-sky objects.
Weather and Timing: Planning Your Stargazing Session
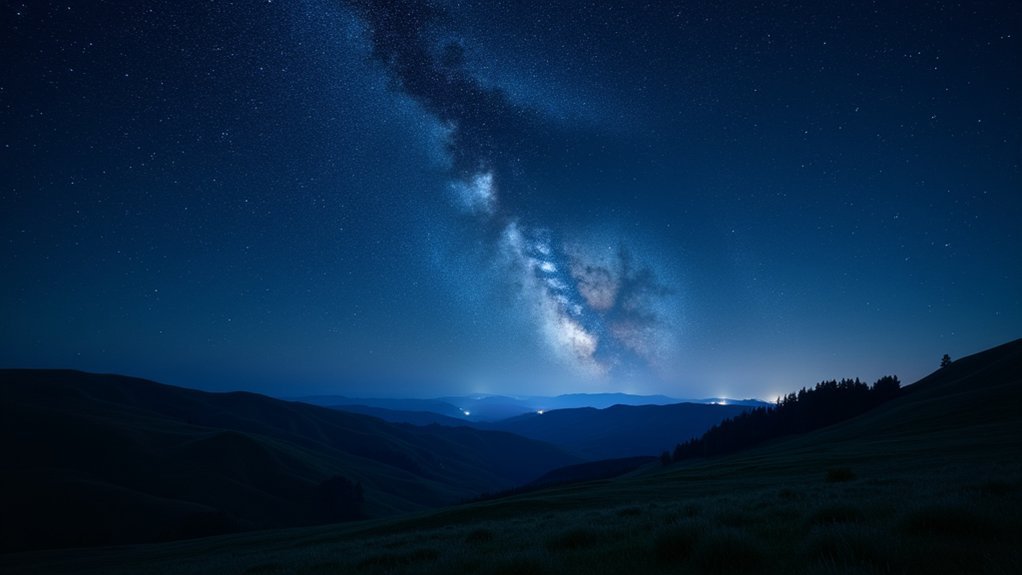
Now that you’ve located potential dark sky destinations, your attention should shift to selecting the perfect time to visit. Clear skies are absolutely crucial, so check weather forecasts before finalizing your plans. The moon phase dramatically impacts visibility—new moon periods provide the darkest conditions for maximum viewing.
| Factor | Ideal Condition | Impact on Viewing |
|---|---|---|
| Moon Phase | New moon | Maximizes celestial visibility |
| Sky Clarity | No clouds | Essential for seeing details |
| Time | After nautical twilight | Guarantees complete darkness |
| Bortle Scale | Class 1-3 | Reduces light pollution effects |
Local atmospheric conditions like humidity and air stability also affect your experience. For best results, schedule your stargazing during dry seasons when air tends to be clearer and more stable, especially if you’re targeting the Milky Way or distant deep-sky objects.
Beginner-Friendly Deep Sky Objects to Observe
The universe offers spectacular treasures that even novice stargazers can appreciate with minimal equipment. Under the darkest skies, celestial wonders become visible to the naked eye, transforming your night sky experience.
- The Andromeda Galaxy – appearing as a fuzzy patch 2.5 million light-years away, it’s the closest spiral galaxy to our own and a perfect first target.
- The Pleiades (Seven Sisters) – this bright, compact cluster of over 1,000 stars sits just 440 light-years away and is easily identifiable.
- The Orion Nebula – located in Orion’s sword 1,344 light-years away, this stellar nursery appears as a distinct cloudy area.
- The Lagoon Nebula – visible in Sagittarius as a glowing patch from dark locations, despite being 5,000 light-years distant.
Equipment Recommendations for Dark Sky Adventures
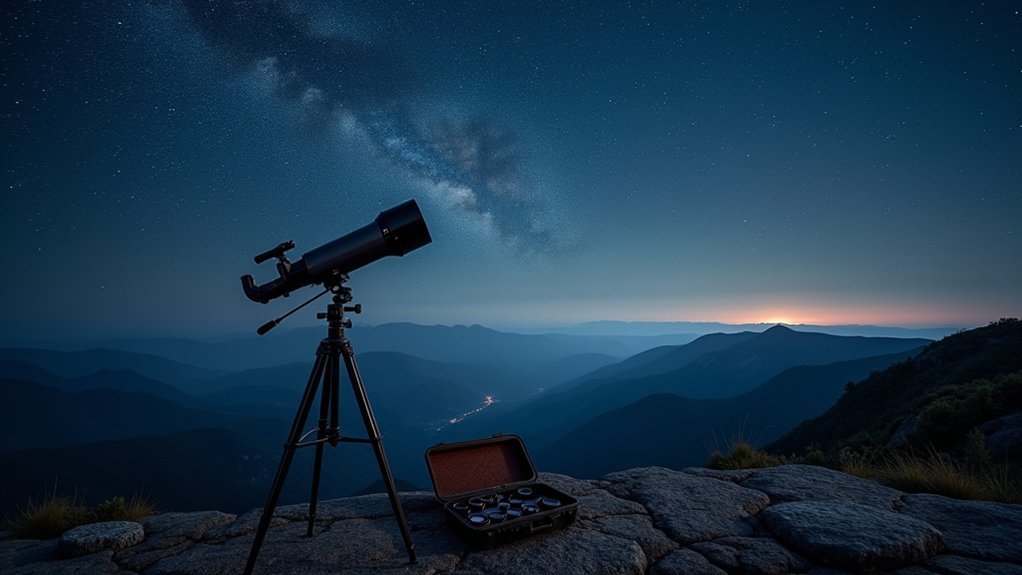
While spotting celestial wonders adds magic to your stargazing experience, having the right equipment can transform a good night under the stars into an unforgettable adventure.
Start with quality binoculars—they’re beginner-friendly, affordable ($30 for basic models), and offer ideal 7x-10x magnification for stargazing.
For stargazers just beginning their cosmic journey, binoculars offer an affordable window to the stars with perfect magnification for celestial exploration.
Before investing in telescopes, do your research and connect with local astronomy groups for tailored advice.
Preserve your night vision with a red flashlight, essential for maneuvering through dark locations without ruining your adapted eyesight.
Don’t forget stargazing apps like Star Walk 2 and Stellarium to help identify what you’re seeing overhead.
Pack warm clothing regardless of season, as dark sky sites typically grow chilly after sunset.
Bring food and water for longer sessions—you’ll want to stay comfortable while the universe unfolds above you.
Frequently Asked Questions
How to Find Dark Skies for Stargazing?
To find dark skies for stargazing, you’ll need to check light pollution maps, travel far from cities, visit during new moon phases, and use stargazing apps to locate Bortle Class 4 or lower areas.
What Makes Good Stargazing Conditions?
Good stargazing conditions include dark skies (Bortle 1-4), new moon phases, clear weather without clouds, high elevation for less atmospheric interference, and minimal light pollution. You’ll see more celestial objects when these factors align.
How Do You Know if It’s a Good Night for Stargazing?
You’ll know it’s a good night for stargazing when there’s a new moon, clear skies with low humidity, minimal light pollution, complete darkness after twilight ends, and ideally during winter’s longer nights.
What Is the Best Way to Look at a Dim Star in the Night Sky?
To see a dim star, go to a low light pollution area (Bortle Class 4+), use binoculars, allow your eyes 30 minutes to adapt, and use a red flashlight for navigation. Stargazing apps can help locate faint stars.
In Summary
You’ve learned what makes those perfect stargazing spots special—from finding truly dark locations to choosing ideal weather conditions. Now it’s time to pack your equipment and venture out! Remember, whether you’re observing with sophisticated gear or just your naked eyes, what matters most is your connection with the cosmos. The perfect dark sky spot isn’t just about darkness—it’s where you’ll create unforgettable memories under the stars.


Leave a Reply