To best view the Andromeda Galaxy, choose autumn evenings when it’s high in the sky. Use binoculars or a 4-inch telescope with a 25mm eyepiece. Star-hop from Pegasus to Mirach then to M31. Seek dark, moonless nights and use averted vision techniques to see its full structure. Look for satellite galaxies M32 and M110 nearby. Try apps like Stellarium for navigation assistance. These techniques will transform your cosmic observation experience.
10 Best Tips For Viewing The Andromeda Galaxy
When searching for the magnificent Andromeda Galaxy, you’ll need to master a few essential techniques to guarantee success.
Start by star hopping from the Great Square of Pegasus to locate Mirach, then Mu Andromedae, which points toward this cosmic neighbor.
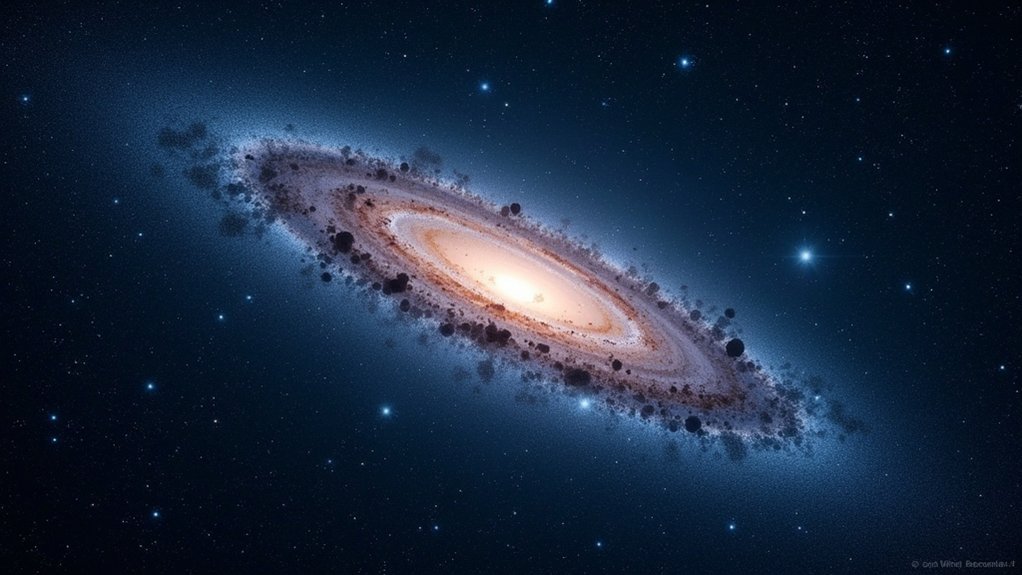
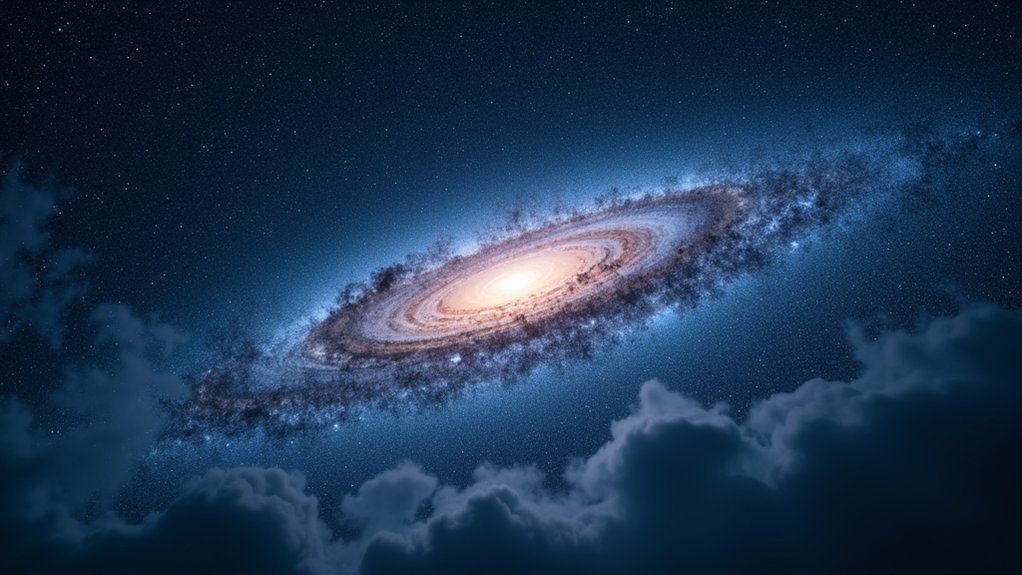
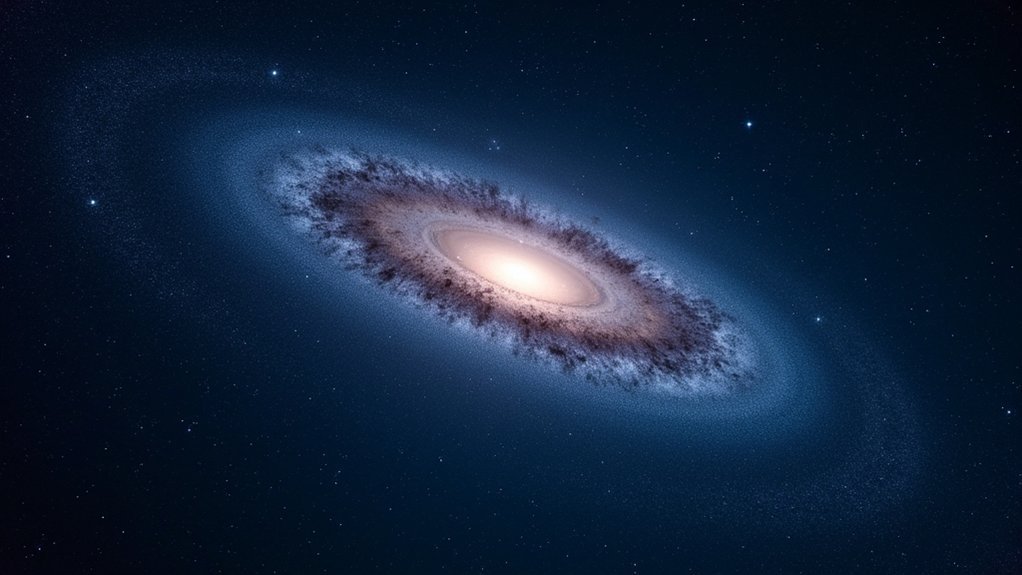
Choose autumn evenings around 8 PM when Andromeda rides high in the southern sky. You’ll spot it as a misty patch spanning six full Moon-widths.
Use a small telescope (4+ inches) with low power to reveal its elongated shape and bright core.
For beginners, binoculars work well for initial location before shifting to telescopic viewing.
Practice averted vision by looking slightly to the side of your target, and always observe during moonless nights from dark locations for the best contrast.
Choosing the Optimal Time of Year for Andromeda Viewing
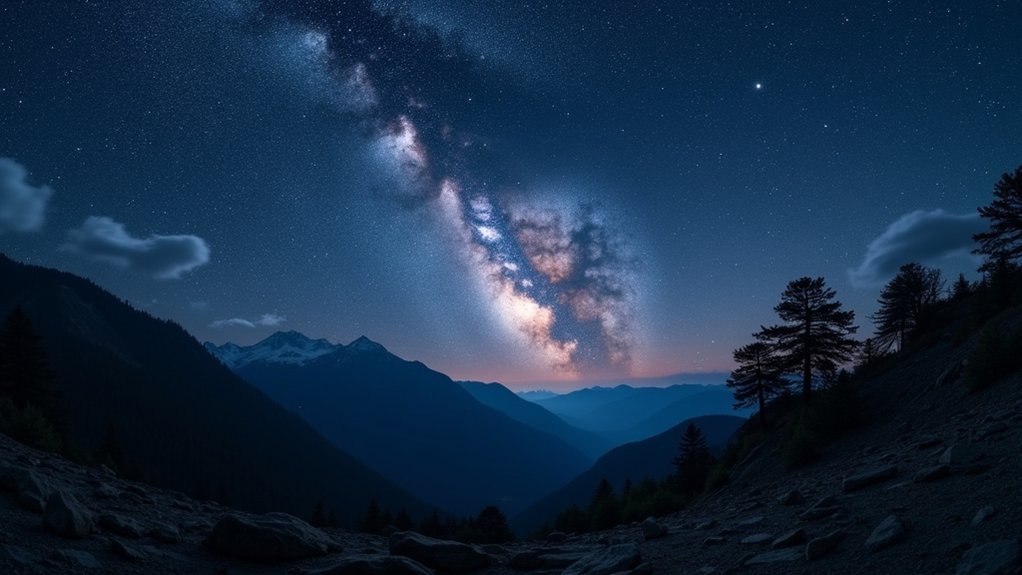
The autumn months provide stargazers with prime Andromeda viewing opportunities, transforming this celestial neighbor from a challenging target to a magnificent sight. During fall, the galaxy climbs high in the southern sky around 8 PM, offering excellent visibility when you’re ready to observe.
While Andromeda can be spotted throughout much of the year, you’ll want to plan your viewing sessions during moonless nights when the contrast between the galaxy and dark sky is most pronounced. This faint, misty patch reveals itself best when you’ve escaped light pollution by traveling to darker locations.
For the clearest views, schedule your observations for late evening hours when atmospheric disturbances have settled, allowing you to glimpse the most distant object visible to the naked human eye.
Finding Dark Sky Locations Away From Light Pollution
Since light pollution severely diminishes your ability to observe Andromeda’s delicate structure, finding truly dark skies becomes essential for a rewarding viewing experience. Use resources like Dark Site Finder or Light Pollution Map to identify areas with minimal artificial light interference.
| Location Type | Light Pollution Level | Ideal Viewing Conditions |
|---|---|---|
| National Parks | Minimal | Excellent for galaxy details |
| Dark Sky Reserves | Very Low | Protected viewing environments |
| High Elevation Sites | Reduced | Less atmospheric interference |
| Rural Areas | Variable | Check maps before traveling |
For best results, plan your observation during moonless nights when celestial objects appear most vivid. Connect with local astronomy clubs to discover recommended viewing sites in your region. These communities often maintain lists of accessible locations that offer the dark sky conditions necessary for appreciating Andromeda’s subtle features.
Essential Equipment: From Binoculars to Small Telescopes
Three types of optical equipment can dramatically enhance your view of the Andromeda Galaxy, each offering unique advantages.
For beginners, start with binoculars—they provide a wider field of view, making initial location much easier than with the naked eye.
When you’re ready for more detail, a telescope with at least 4 inches (100mm) of aperture will reveal Andromeda’s elongated shape and bright core.
Pair it with a 25mm eyepiece for 36x magnification to observe the core clearly, or choose a 32mm Plossl eyepiece for a broader view that includes satellite galaxies M32 and M110.
Remember to keep magnification low—avoid high-power eyepieces and Barlow lenses when observing this deep-sky object.
Verify your telescope is properly collimated, particularly with Newtonian designs, for the sharpest possible views.
Star Hopping Techniques: Using Cassiopeia and Pegasus as Guides
Finding the Andromeda Galaxy becomes remarkably easier when you master the art of star hopping from two prominent constellations visible in the northern hemisphere. Using Cassiopeia’s distinctive M or W shape, locate Schedar, which points directly toward Andromeda. Alternatively, start at the Great Square of Pegasus, moving to Mirach, then turn 90° northwest to find Mu and Nu Andromedae.
| Starting Point | Direction | Final Target |
|---|---|---|
| Cassiopeia | Follow Schedar | M31 (Andromeda) |
| Great Square | To Mirach | M31 (Andromeda) |
| Mirach (mag +60) | 90° Northwest | Mu & Nu Andromedae |
Try your star hop during autumn evenings when Andromeda rides high in the southern sky. For better results, use averted vision by looking slightly away from your target.
Low Power First: Why Wider Views Work Better for Andromeda
When approaching the Andromeda Galaxy through your telescope, resist the temptation to immediately crank up the magnification. Low power eyepieces, like a 32mm Plossl, provide the wide views needed to appreciate this magnificent object properly.
At lower magnifications, you’ll see Andromeda as an elongated oval with its core and spiral arms more clearly defined. Since the galaxy spans approximately six full Moons in width, wide views allow you to capture its entire structure in one glance without losing context.
These broader views also reveal Andromeda’s satellite galaxies, M32 and M110, which might go unnoticed at higher powers. Additionally, wider fields support averted vision techniques, helping you detect fainter details that would otherwise remain invisible.
Mastering Averted Vision to See Andromeda’s Full Structure
Despite being one of the brightest galaxies visible from Earth, the Andromeda Galaxy reveals its true splendor only to those who’ve mastered the art of averted vision.
By looking slightly to the side of your target, you’ll engage your peripheral vision, which detects fainter light better than direct viewing.
To maximize your view of Andromeda’s details:
- Focus on a star near the galaxy rather than directly at it—you’ll notice the galaxy suddenly appears brighter and more defined
- Allow your eyes at least 20 minutes to fully adapt to darkness before attempting this technique
- Gently move your gaze around the galaxy’s vicinity to capture different structural elements
- Practice repeatedly during each viewing session to spot dust lanes and satellite galaxies M32 and M110
With practice, Andromeda’s full six-moon-width structure will emerge from the darkness.
Identifying M32 and M110: Andromeda’s Satellite Galaxies
To spot Andromeda’s companion galaxies, you’ll want to first center your telescope on M31’s bright core. Then look for M32 appearing as a fuzzy star-like object to the northwest.
After finding M32, you can star-hop slightly outward to locate the more challenging M110, which appears as a fainter, elongated smudge against the night sky.
Both satellites become more apparent when using averted vision techniques and observing from darker skies, rewarding patient observers with a three-galaxy view in a single eyepiece field.
Companion Galaxy Hunting
Two fascinating companions orbit the magnificent Andromeda Galaxy, offering amateur astronomers an exciting challenge beyond just spotting M31 itself.
M32 appears as a bright, fuzzy star near Andromeda’s core, while M110 is fainter and more elongated, requiring darker skies to observe clearly.
To find these satellite galaxies:
- Use low power magnification to distinguish M32 from nearby stars
- Star hop from Andromeda’s core – M32 is closer to the center, M110 lies further out
- Choose darker viewing conditions to overcome M110’s subtlety in light pollution
- Select a telescope eyepiece that captures all three galaxies in one field of view
Memorizing their positions relative to the Andromeda Galaxy will dramatically improve your success rate when hunting these companion galaxies during your next stargazing session.
Star-Hopping to Satellites
Finding Andromeda’s satellite galaxies transforms your viewing experience from merely spotting a distant smudge to exploring an entire galactic neighborhood.
Start by centering your telescope on M31’s core, then employ simple star-hopping techniques to locate its companions.
M32 appears as a fuzzy star just off Andromeda’s western edge. It’s brighter and easier to spot even with low magnification.
For the more challenging M110, look about 6.3 arcminutes north of M31’s core. This elongated, fainter satellite requires darker skies to identify clearly.
Use a low-power eyepiece like a 25mm or 32mm Plossl to capture a wider field of view. This approach lets you see both satellites alongside Andromeda simultaneously.
Weather Conditions That Maximize Andromeda Visibility
Weather conditions play an essential role in whether you’ll spot the Andromeda Galaxy or miss it entirely. For ideal viewing conditions, choose moonless autumn nights when M31 rides high in the southern sky around 8 PM.
Clear skies away from light pollution are absolutely vital—artificial lighting will wash out Andromeda’s delicate glow. Low humidity levels improve transparency, allowing the galaxy’s faint details to shine through.
- Wait for stable, windless conditions when the atmosphere settles like glass
- Seek crisp, cold nights when the air holds less moisture and stars appear to sparkle
- Look for nights forecasted with exceptional transparency after weather fronts pass
- Plan your observation during autumn when Andromeda reaches its highest point
Smartphone Apps and Star Charts for Locating Andromeda
Several digital tools have revolutionized how amateur astronomers locate the Andromeda Galaxy. Apps like Stellarium and SkySafari transform your smartphone into a powerful navigation tool, offering real-time star maps that pinpoint M31’s exact position in the night sky.
These apps’ augmented reality features let you simply point your device upward to see constellation outlines and celestial objects overlaid on your actual view. Many include “star-hopping” guides that walk you through visible stars sequentially until you reach Andromeda.
Traditional star charts designed for amateur astronomers provide detailed illustrations of Andromeda’s location relative to surrounding constellations.
For ideal viewing, use apps that offer customized reminders based on your geographical location and current sky conditions—they’ll alert you when it’s prime time to spot this magnificent galaxy.
Frequently Asked Questions
What Is the Best Way to See Andromeda?
To see Andromeda best, you’ll need dark skies in fall around 8 PM. Start at Pegasus, find Mirach, then point northwest. Use binoculars or a telescope with low power for enhanced views.
What Camera Settings Are Best for Andromeda Galaxy?
For Andromeda Galaxy photography, you’ll want ISO 800-1600, exposure times of 30 seconds to minutes, aperture f/2.8-f/4, and a tracking mount. Don’t forget a remote shutter release to prevent camera shake.
What Is the Best Month to View Andromeda?
September and October are your best months for Andromeda Galaxy viewing. You’ll find it high in the evening sky after sunset around 8 PM, especially on moonless nights when dark skies enhance its visibility.
How Strong of a Telescope Do You Need to See the Andromeda Galaxy?
You’ll need at least a 4-inch (100mm) telescope to see Andromeda Galaxy clearly. Even small telescopes reveal its core, while larger ones show some spiral structure and satellite galaxies M32 and M110.
In Summary
You’re now ready to observe our cosmic neighbor in all its glory! With proper timing, dark skies, and the right equipment, you’ll witness Andromeda’s magnificent spiral structure. Don’t forget to use averted vision techniques and look for its satellite galaxies. Keep checking weather forecasts, use your star charts, and practice. Each viewing will improve your skills and deepen your connection to this distant island universe.


Leave a Reply